Adding A Person Into A Bubble – Combining Two Photos Together – Merging Two Photos – Photoshop Composite – Photoshop Tutorial
This is going to look long at a glance but it’s actually not hard to do at all.. it looks long because I took a screen shot of every move to help out beginners.. When I was trying to use Photoshop they would say “duplicate the layer”, assuming I knew how, and I didn’t. So I prefer to be extra thorough :).
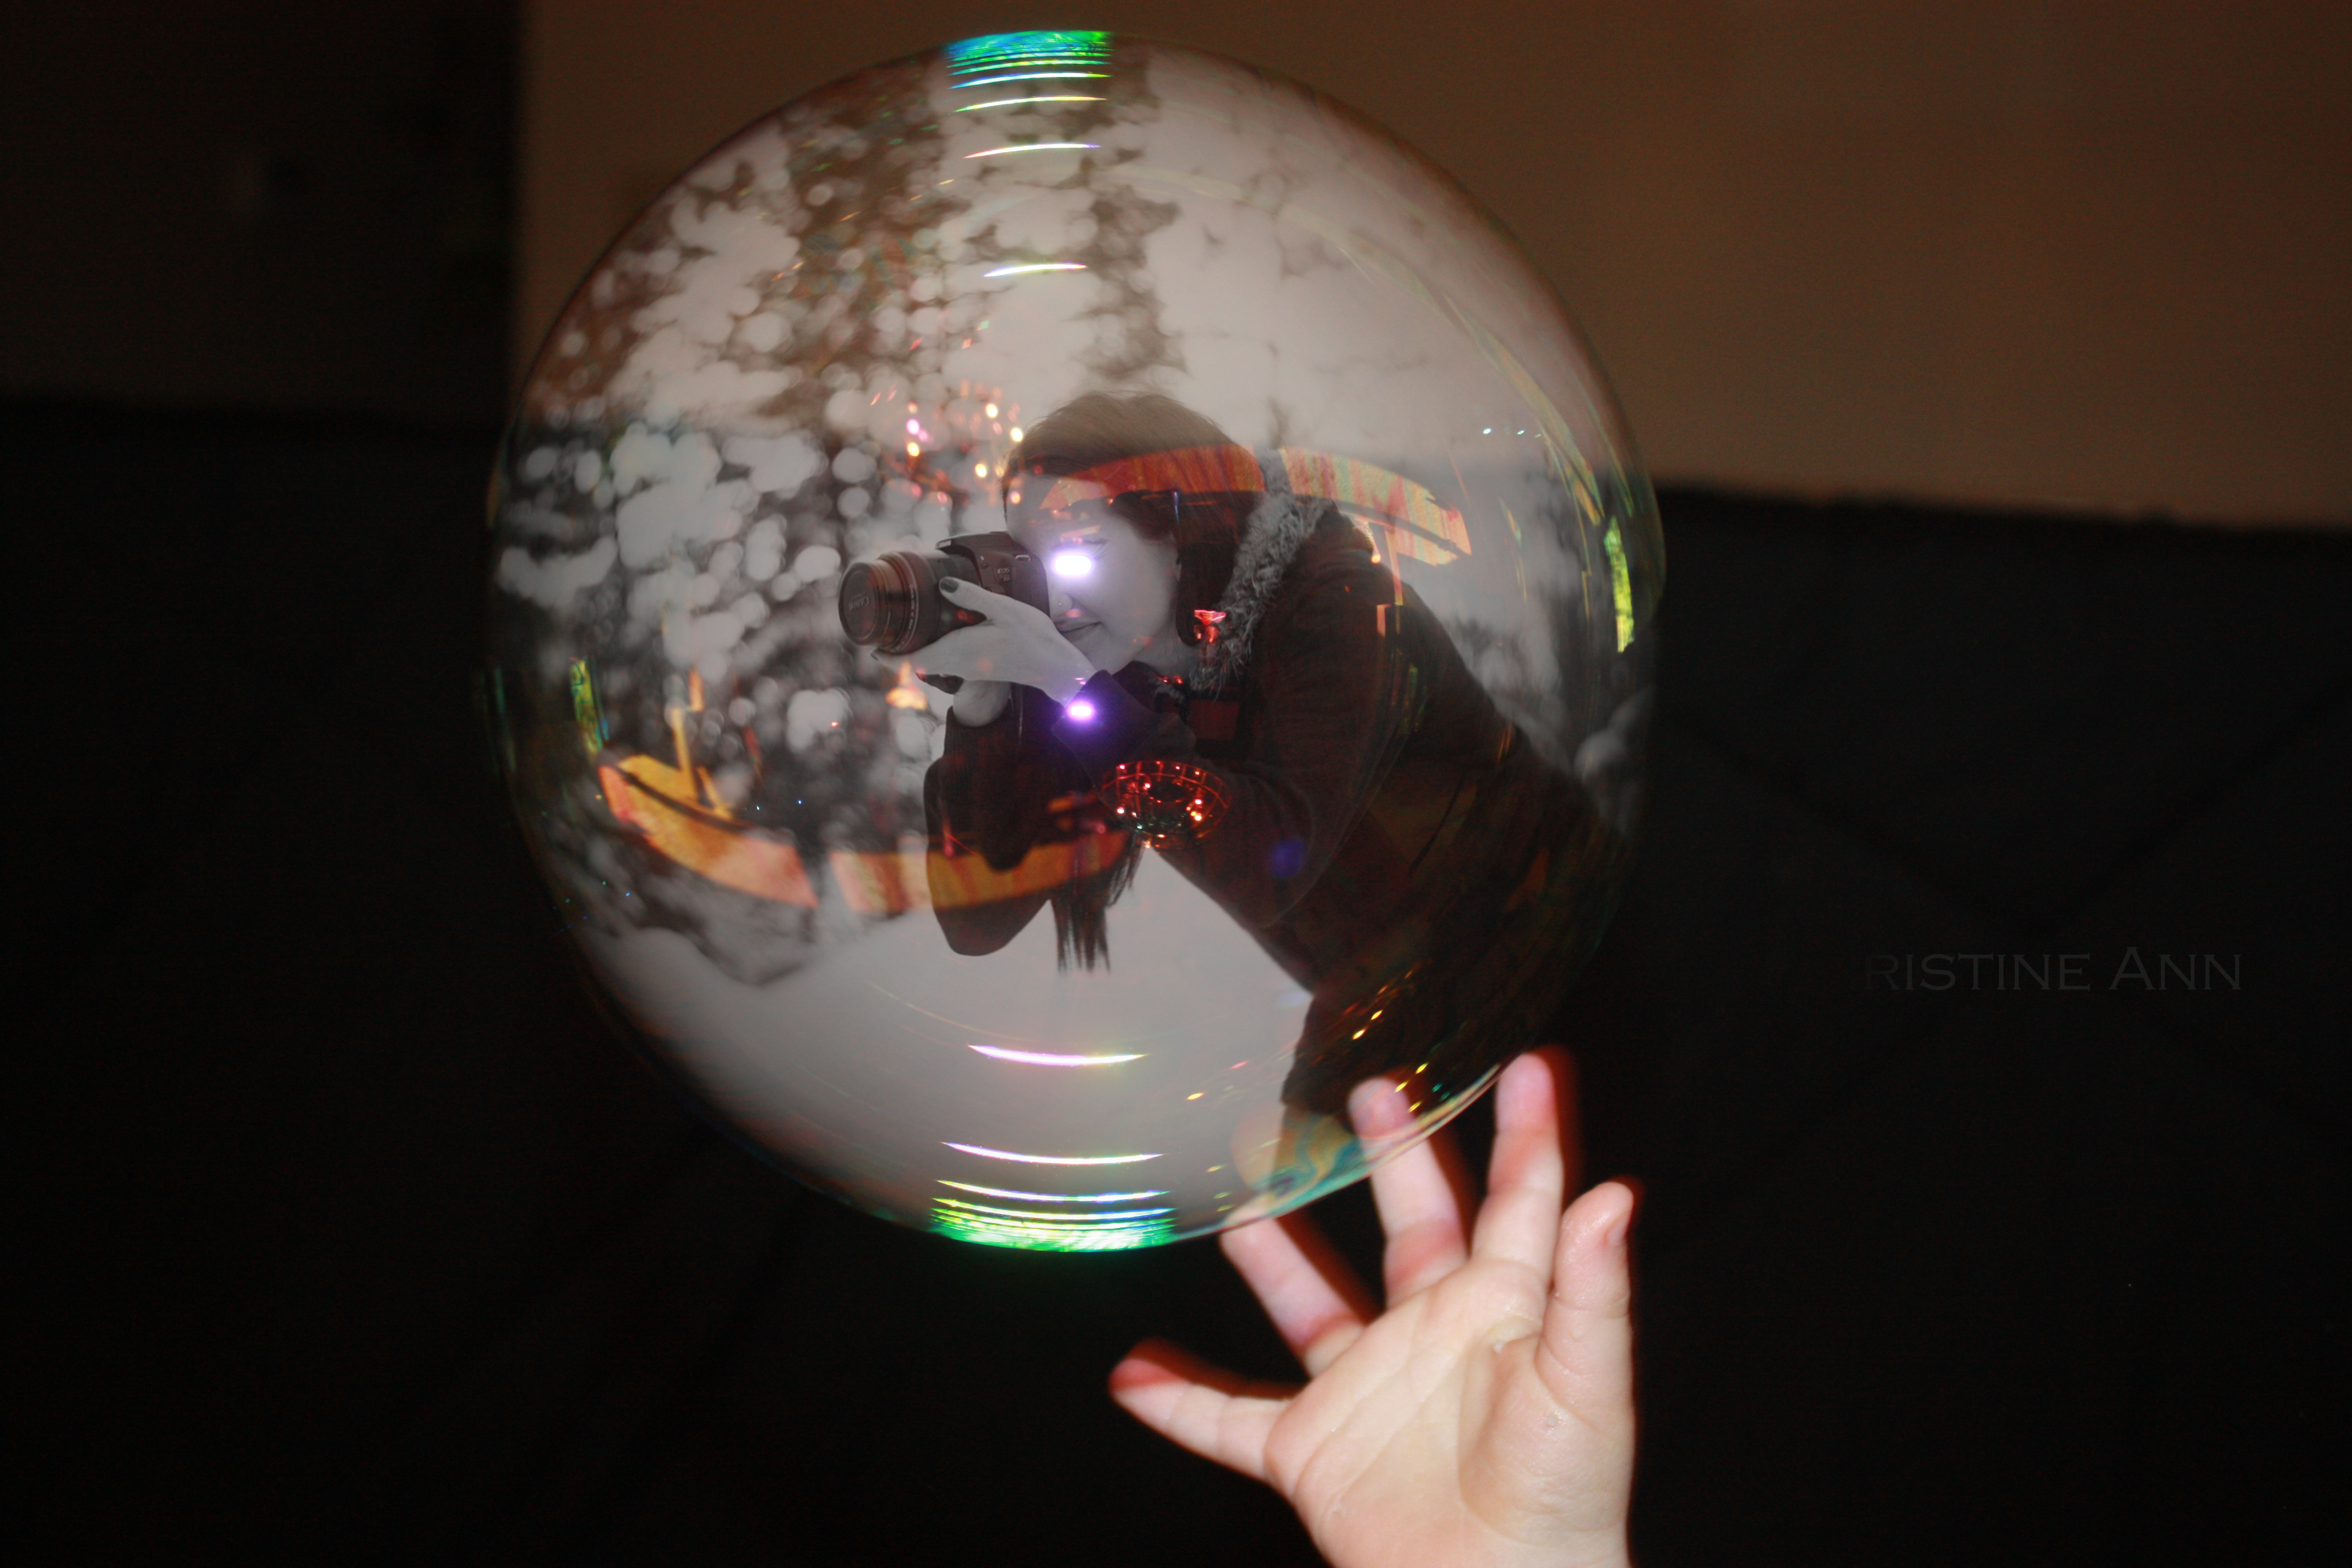
This is a tutorial on how to add two photos together.. in this one in particular, we’ll be adding a shot of me into a shot of a bubble.
This will be the final product:

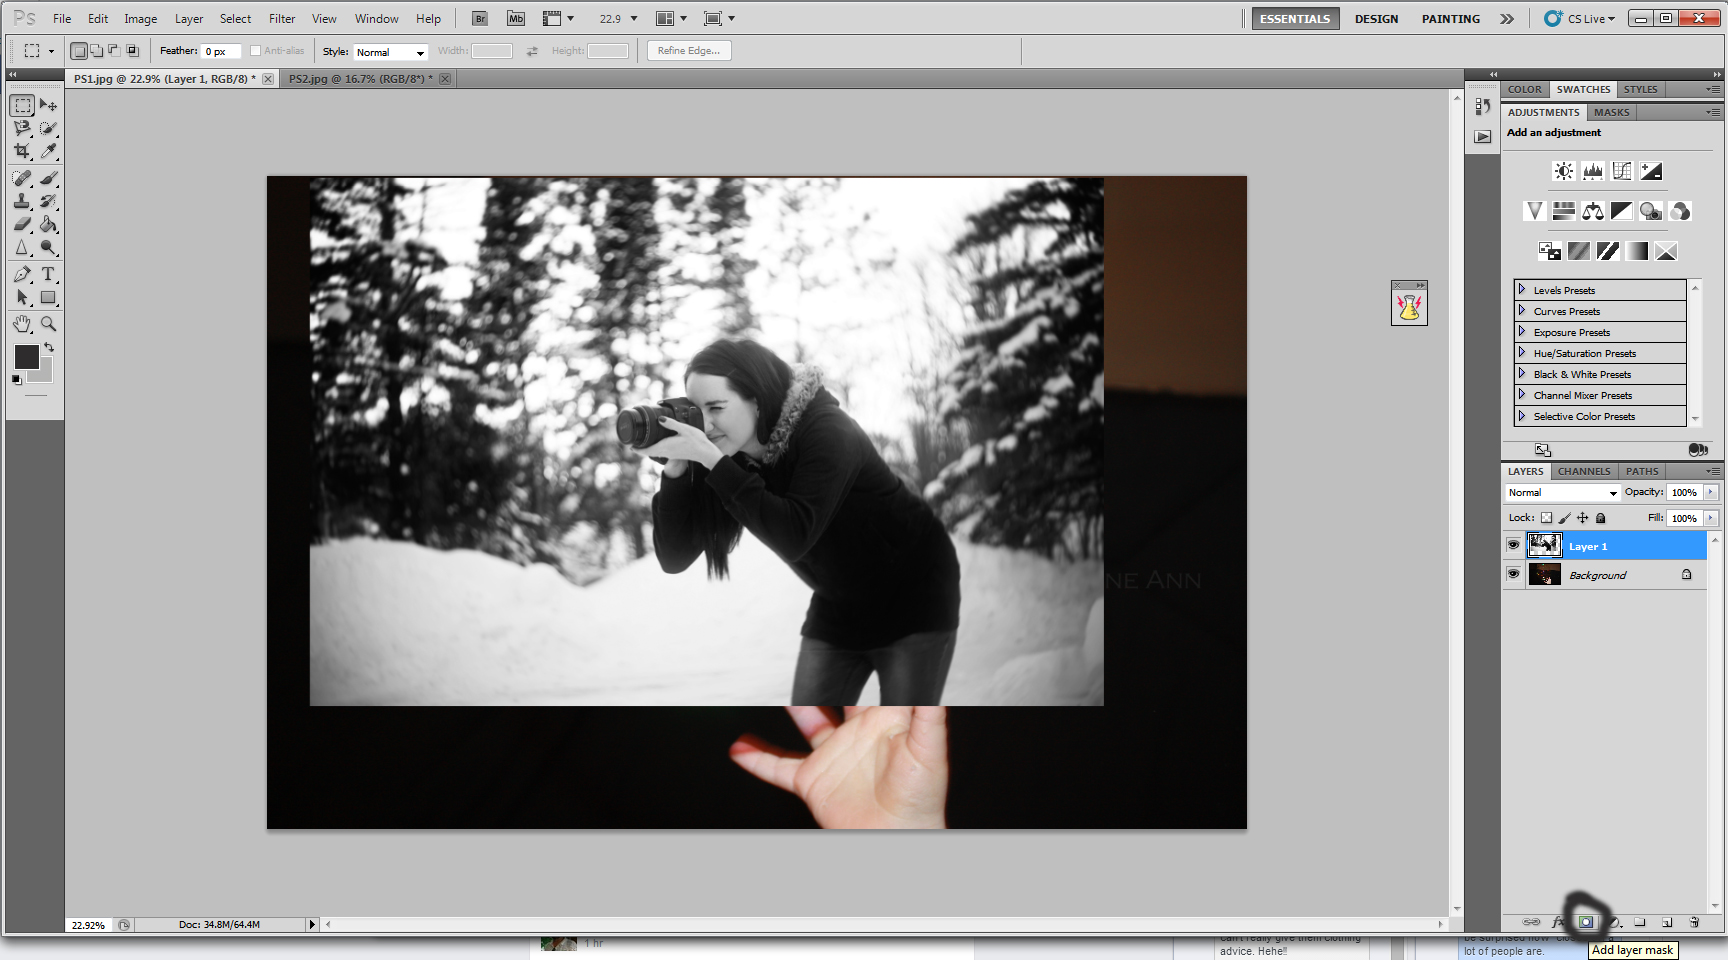
These are the original images:

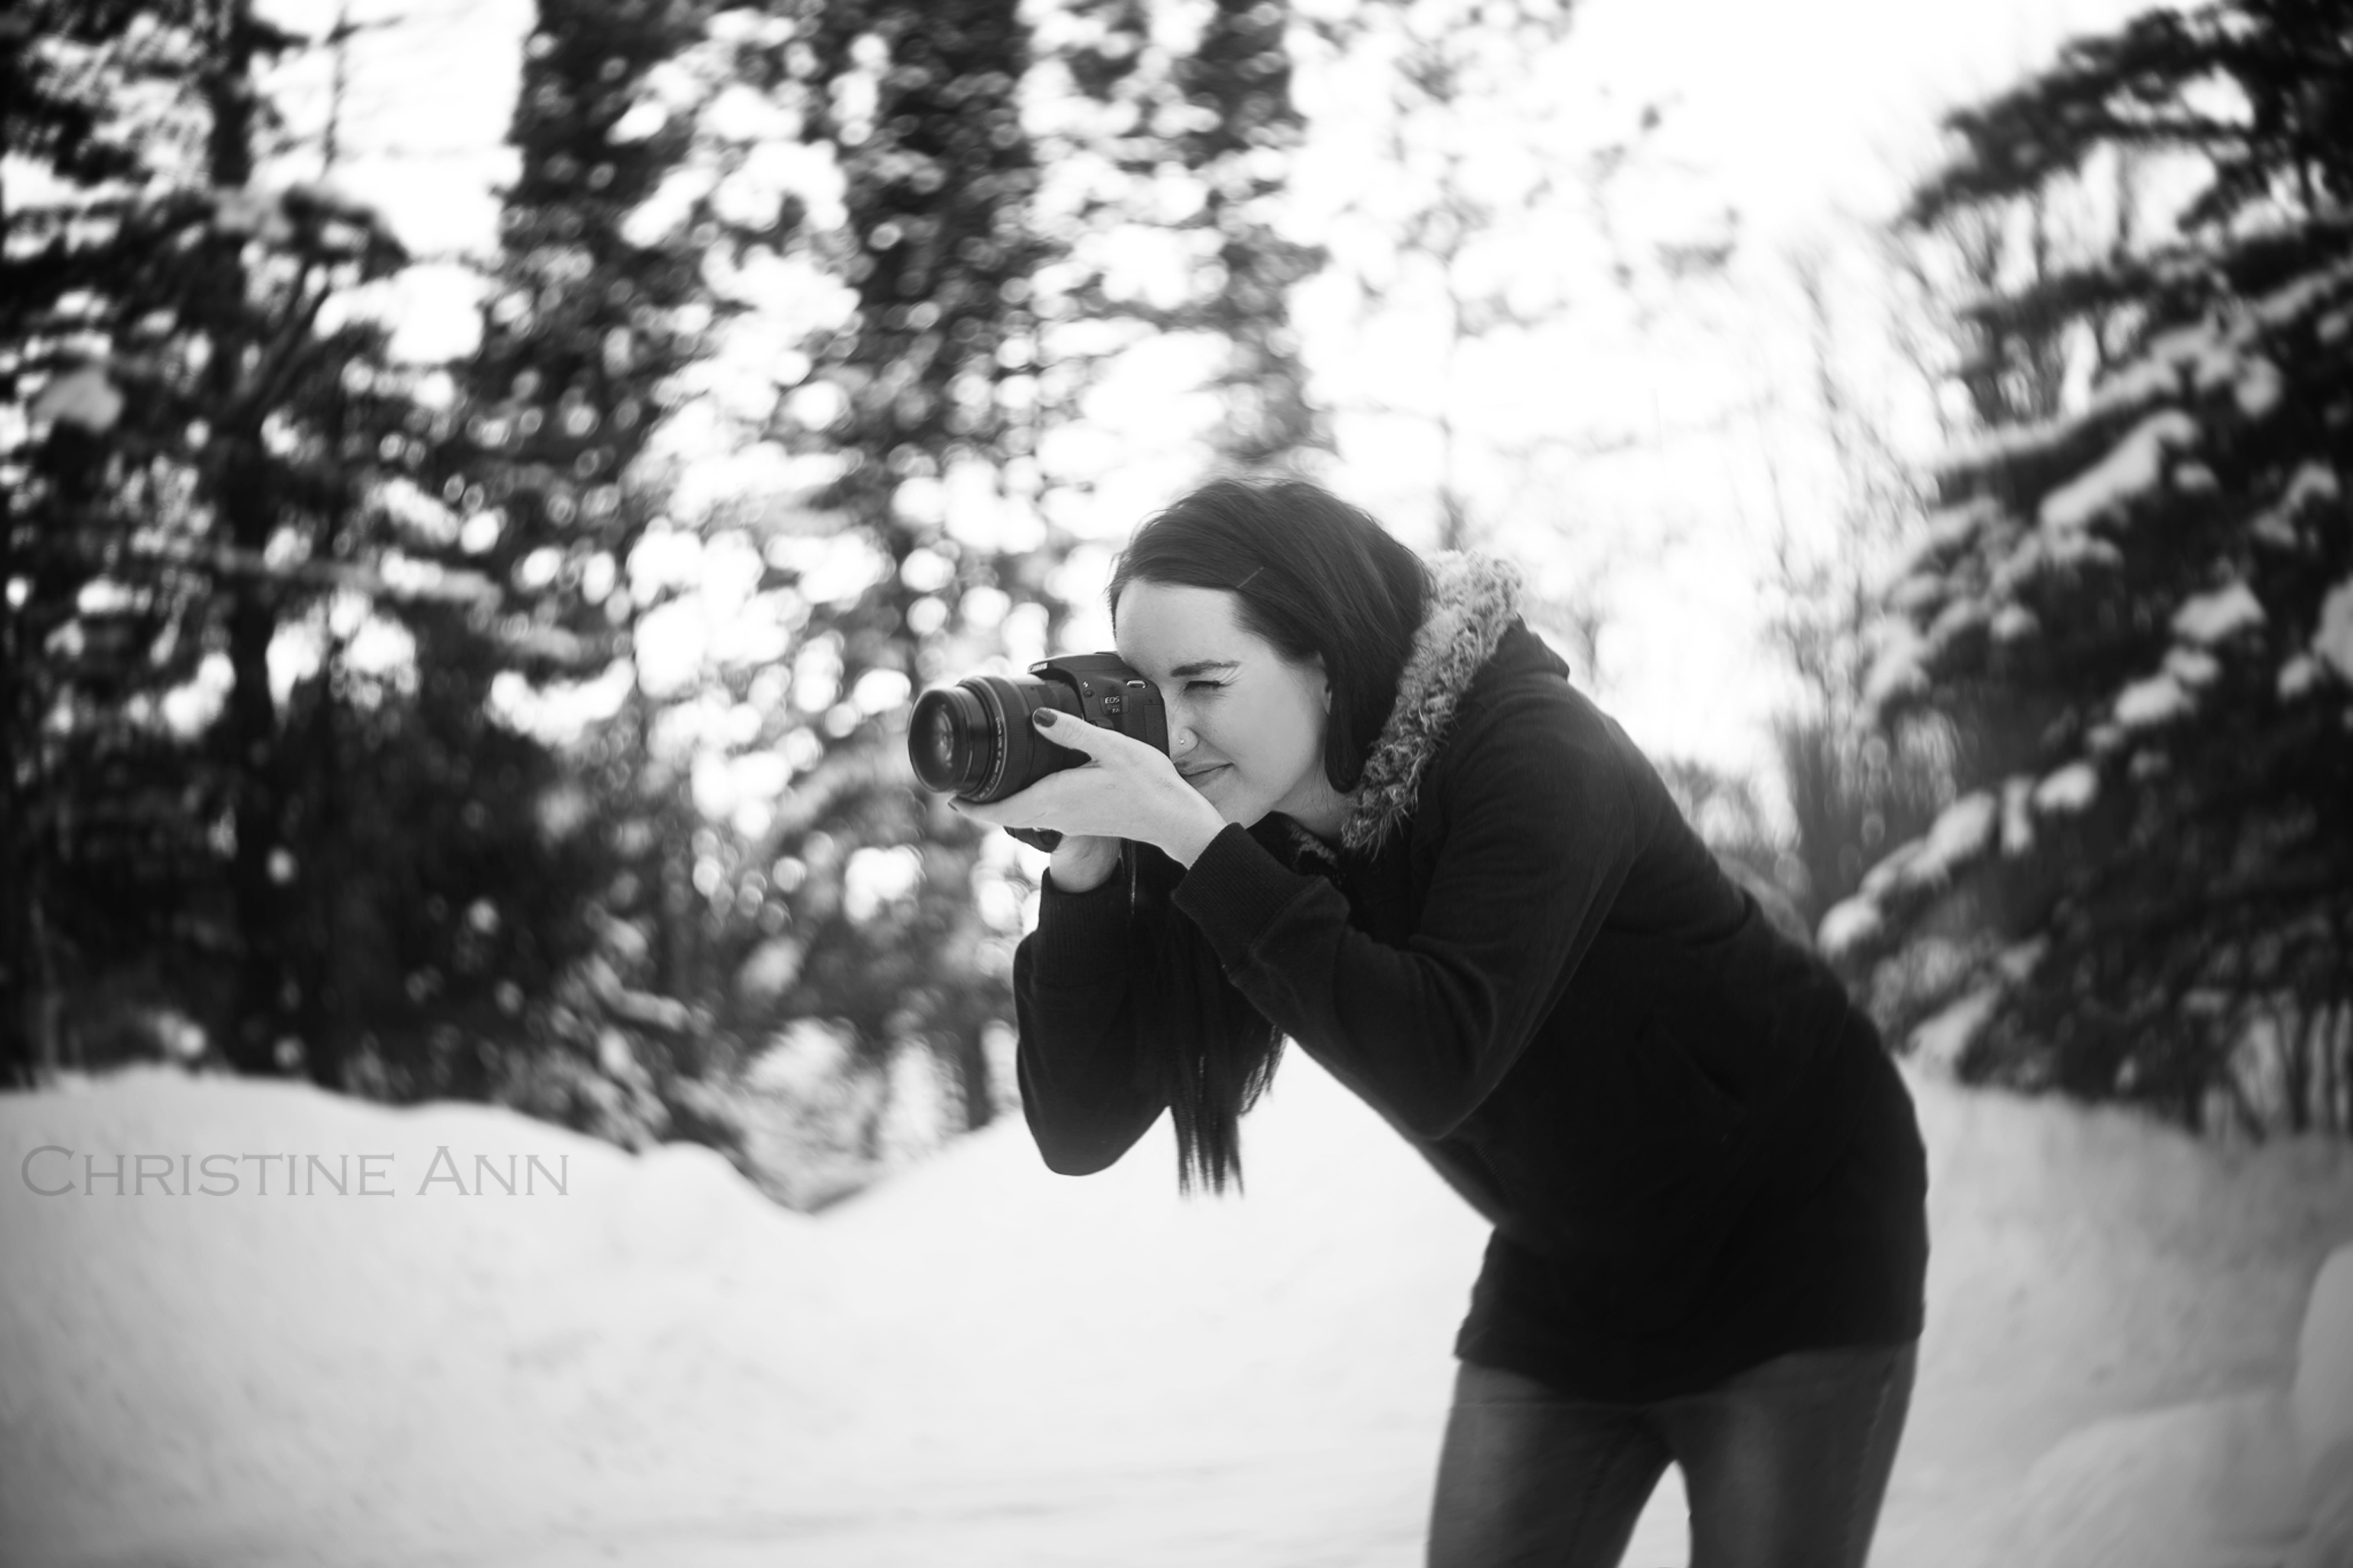
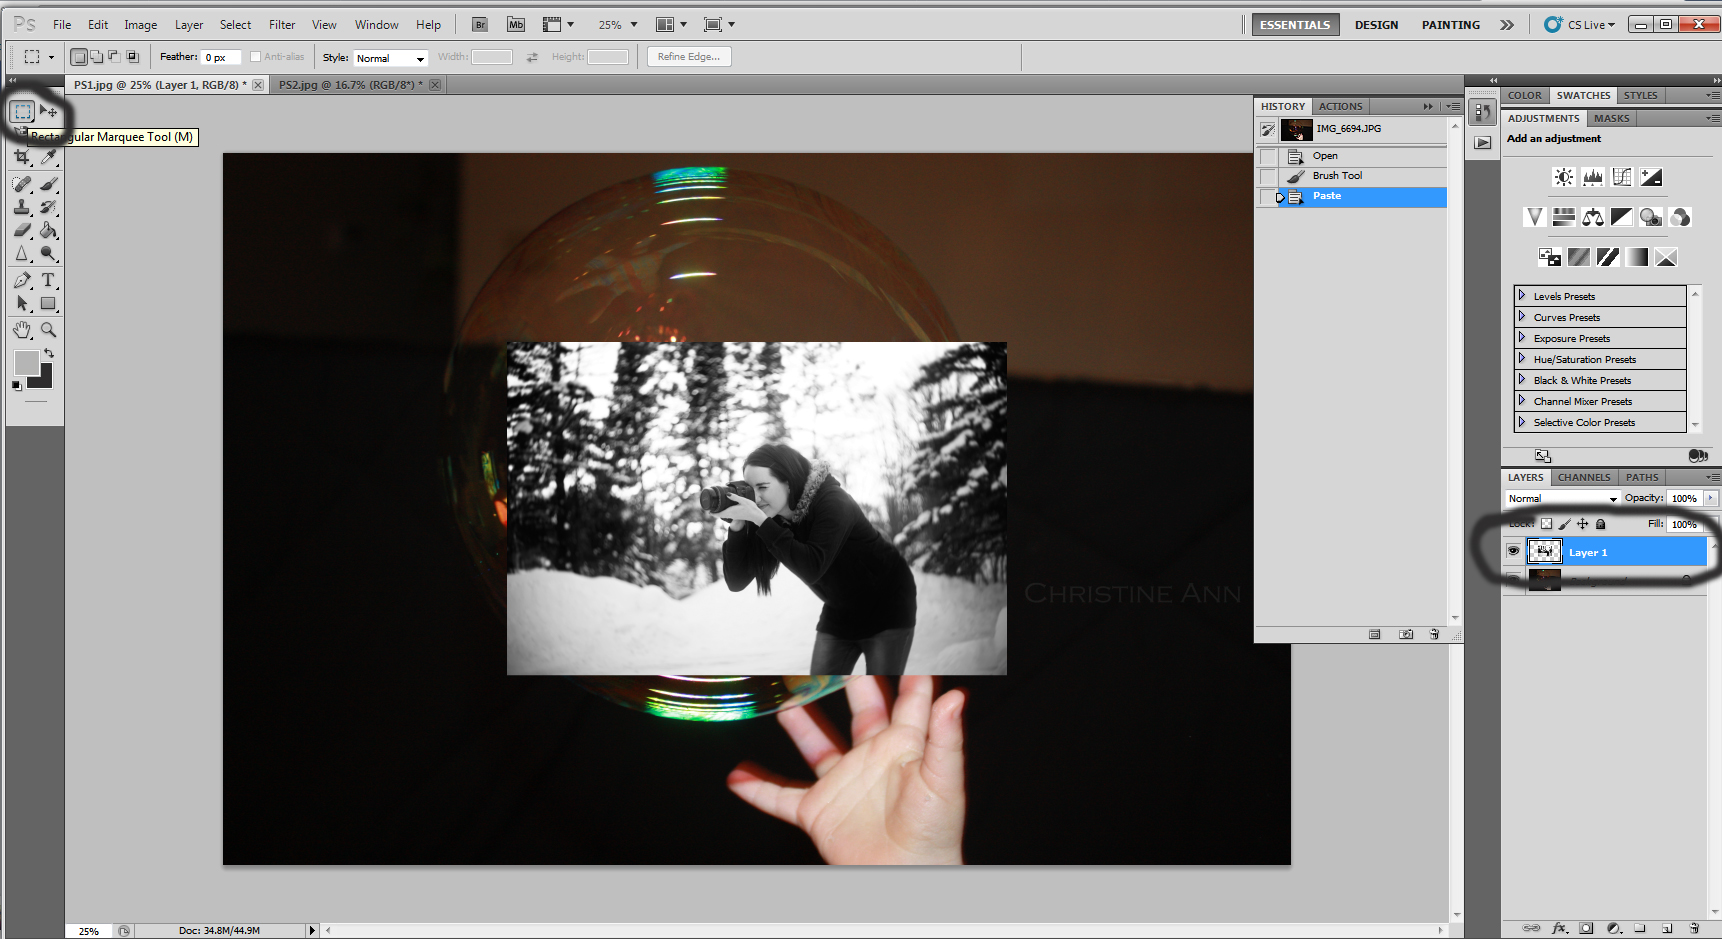
^That’s me BTW :). Anyway, open both photos in Photoshop that you want to merge together. Copy and paste the photo onto the other photo.. in this case I’m going to copy and paste the photo of me on top of the photo of the bubble.
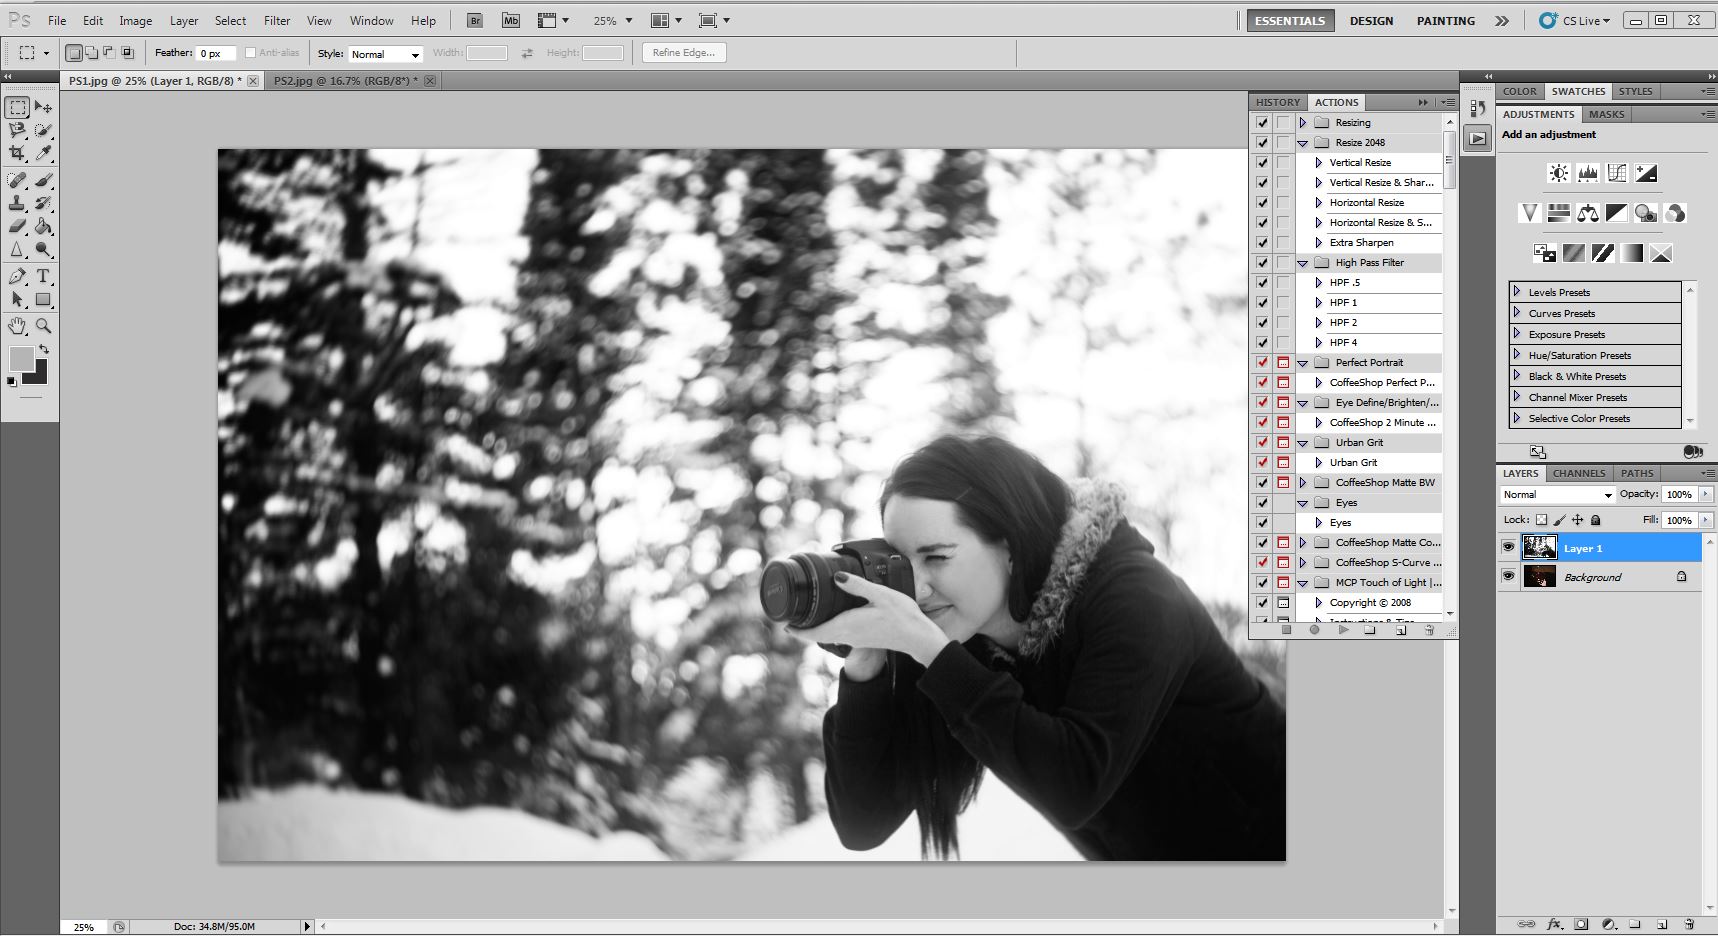
^The photos are both from different cameras, and the bubble photo is smaller than the photo of me taking a picture (please ignore the lens cap :p I edited it out of the final edit!). Anyway, so I need to make this file smaller.
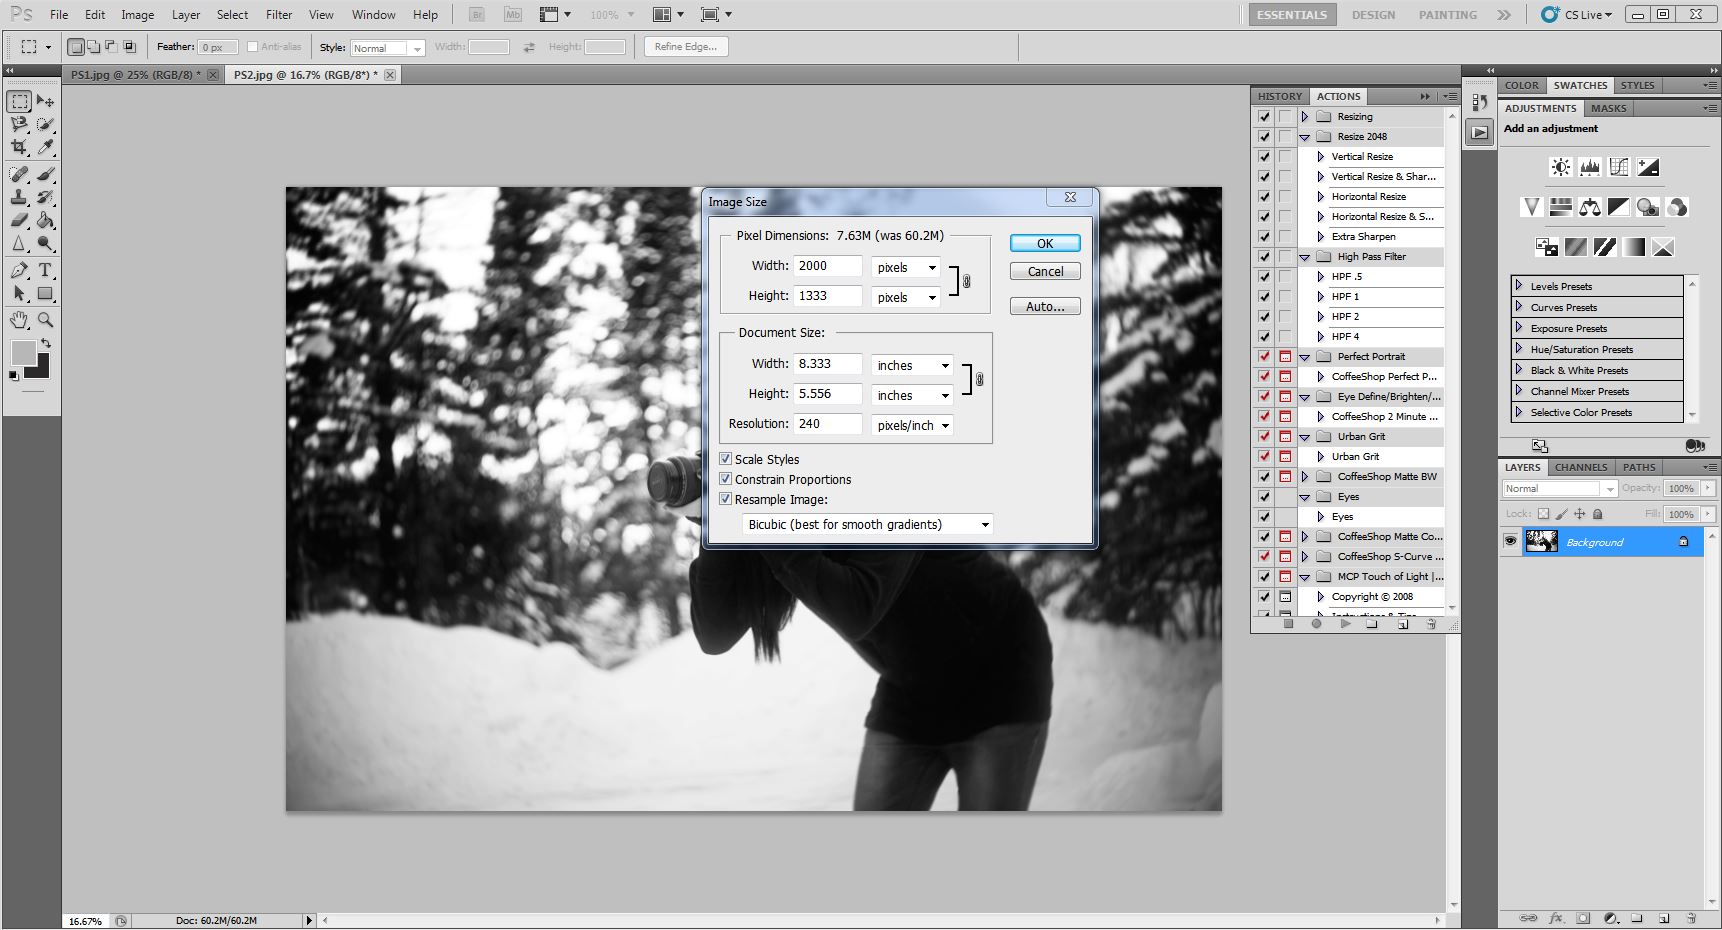
^Back in the original file, I go to “Image” “Image size” and reduce the size of it and copy it again to bring over and paste.
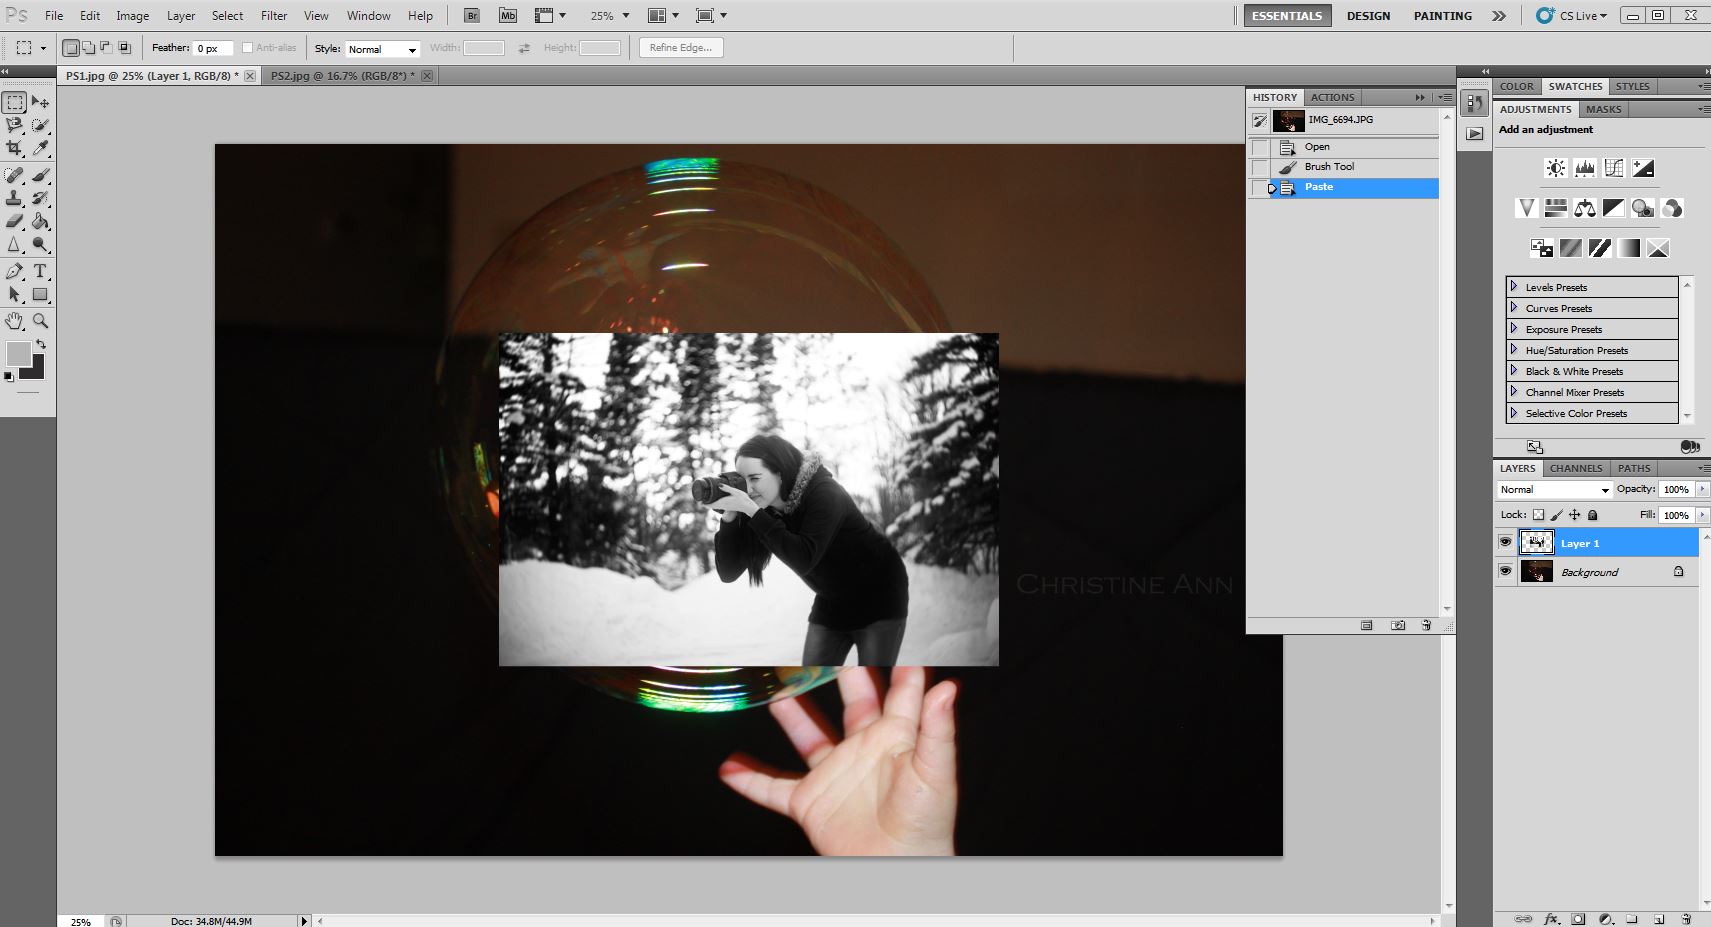
^Now it is smaller but it’s too small.. this is easy to work with though…
^Select the marquee tool and click and drag it over the image
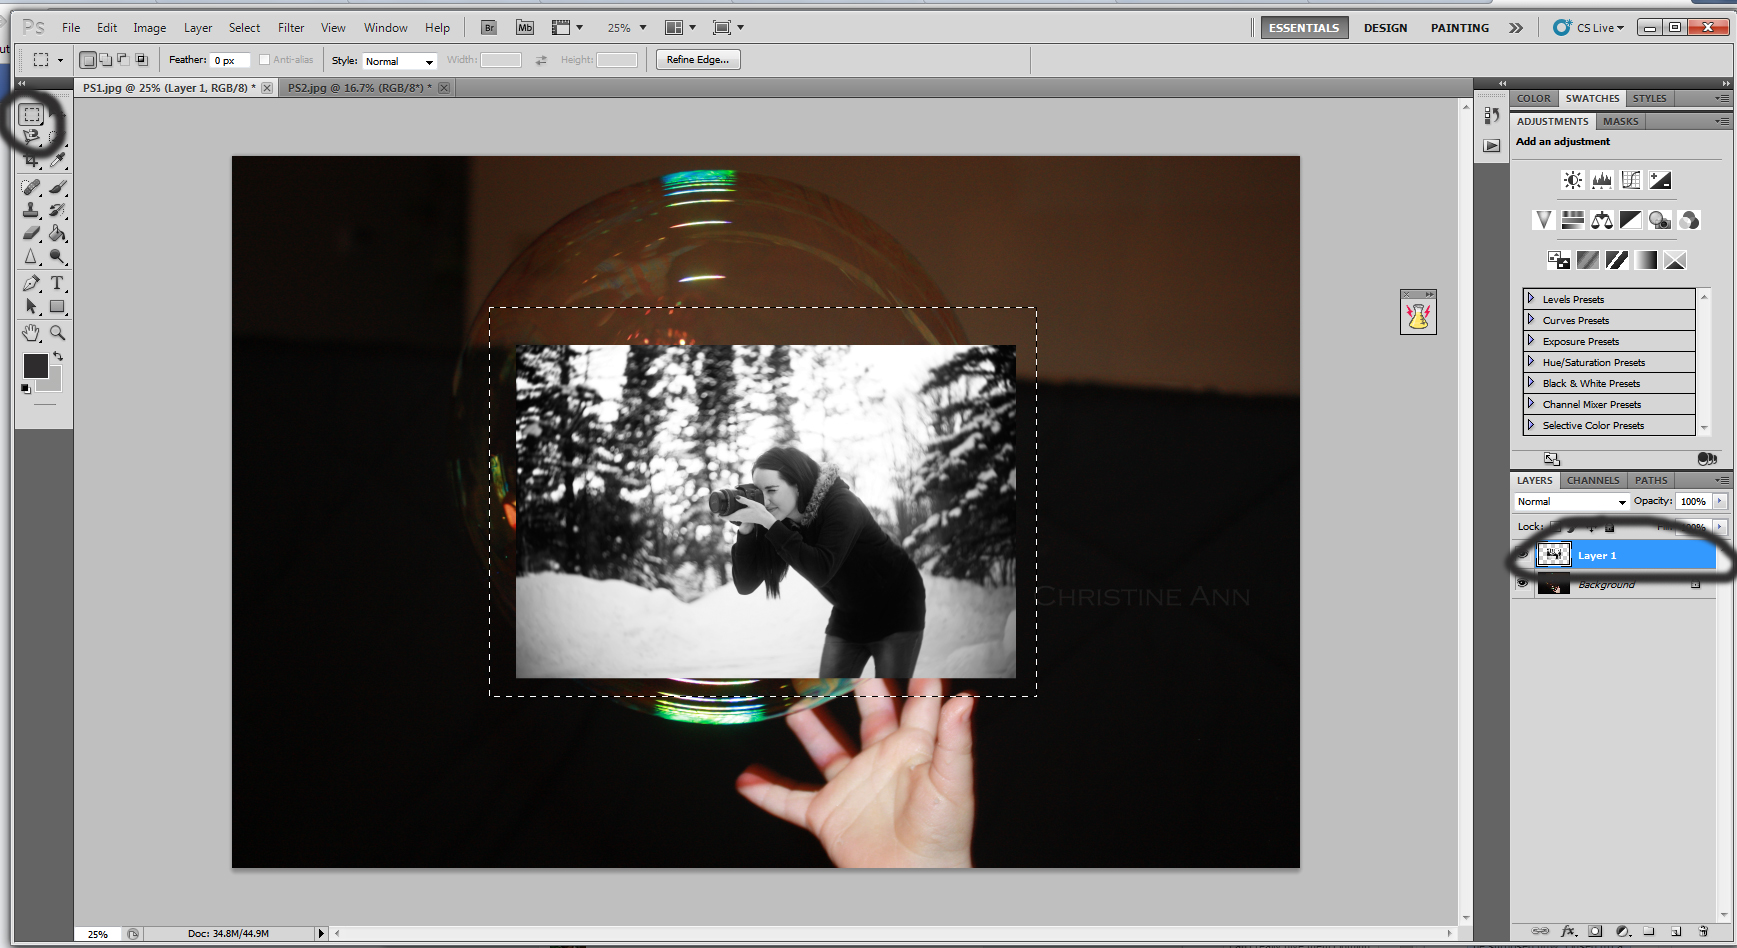
^Now it is selected..
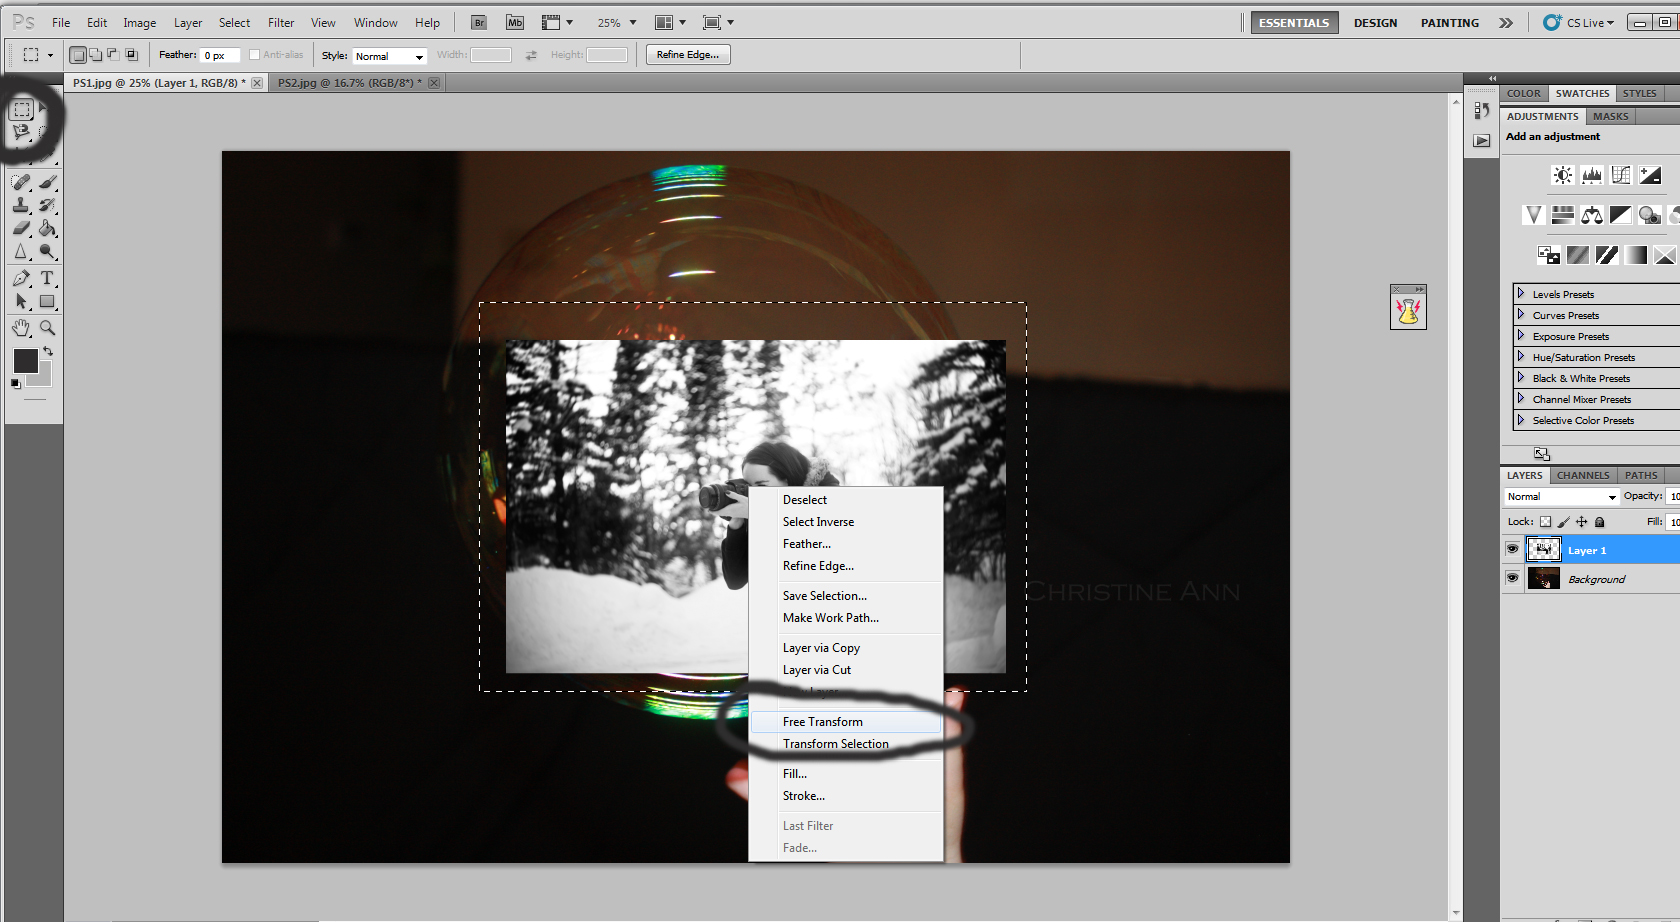
^Right-click within the selection and select “free transform”
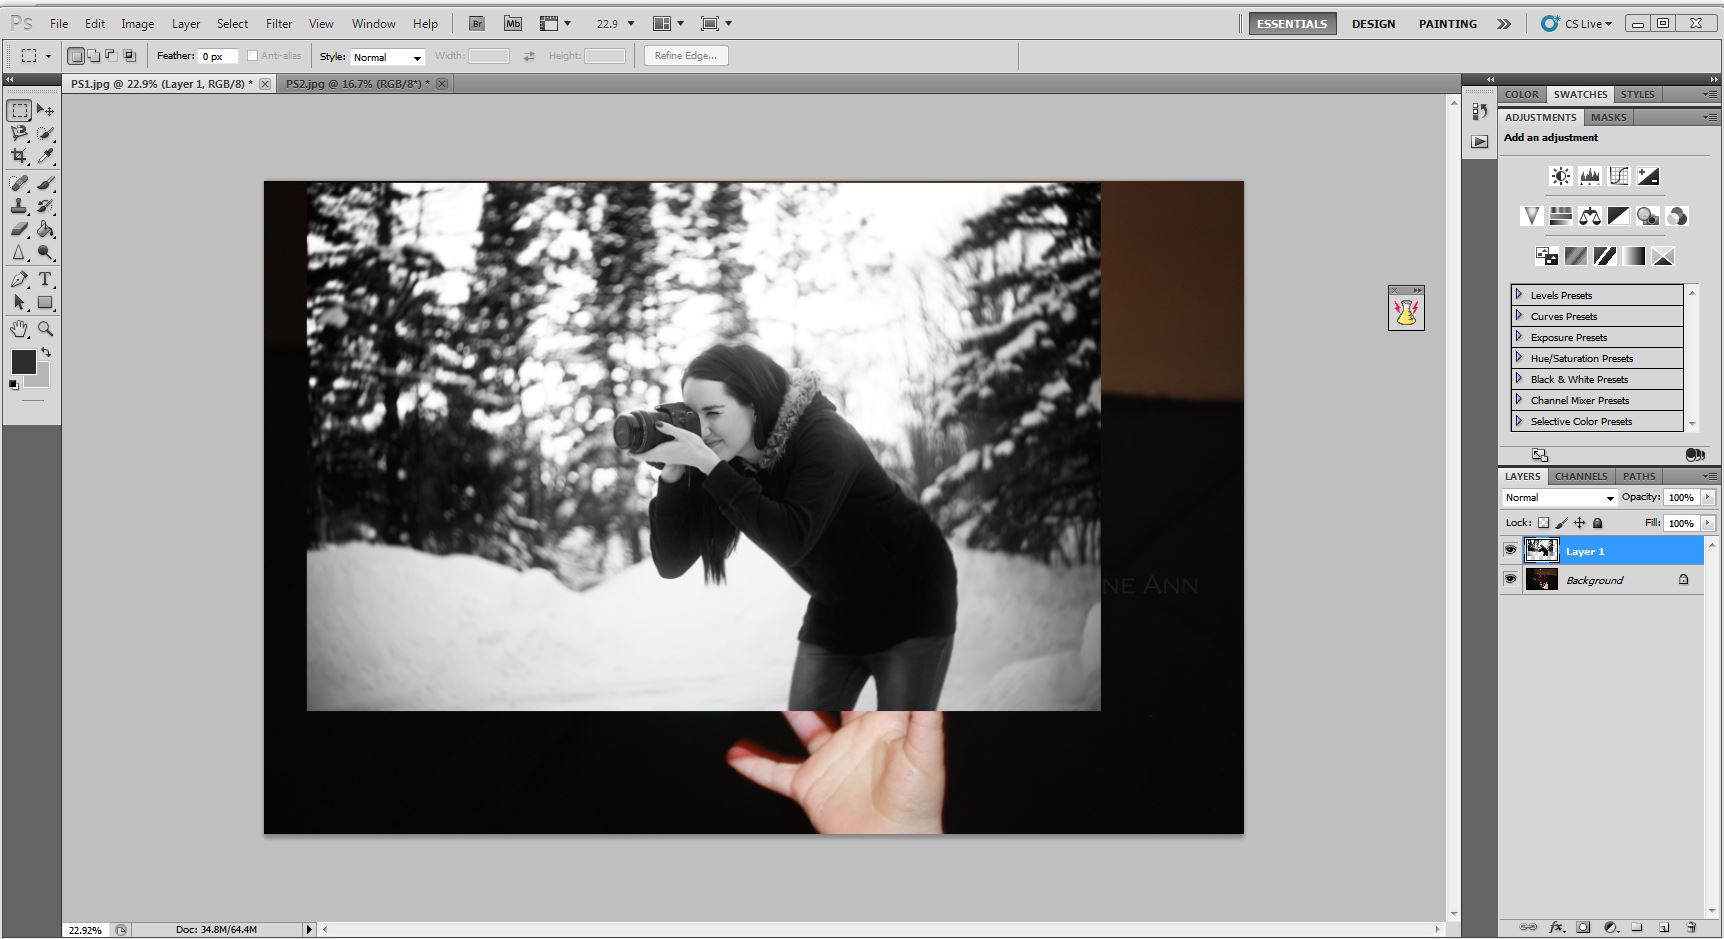
^Hold down the shift key which will retain the proportions of the image and click and drag the arrows to make the image bigger or smaller.
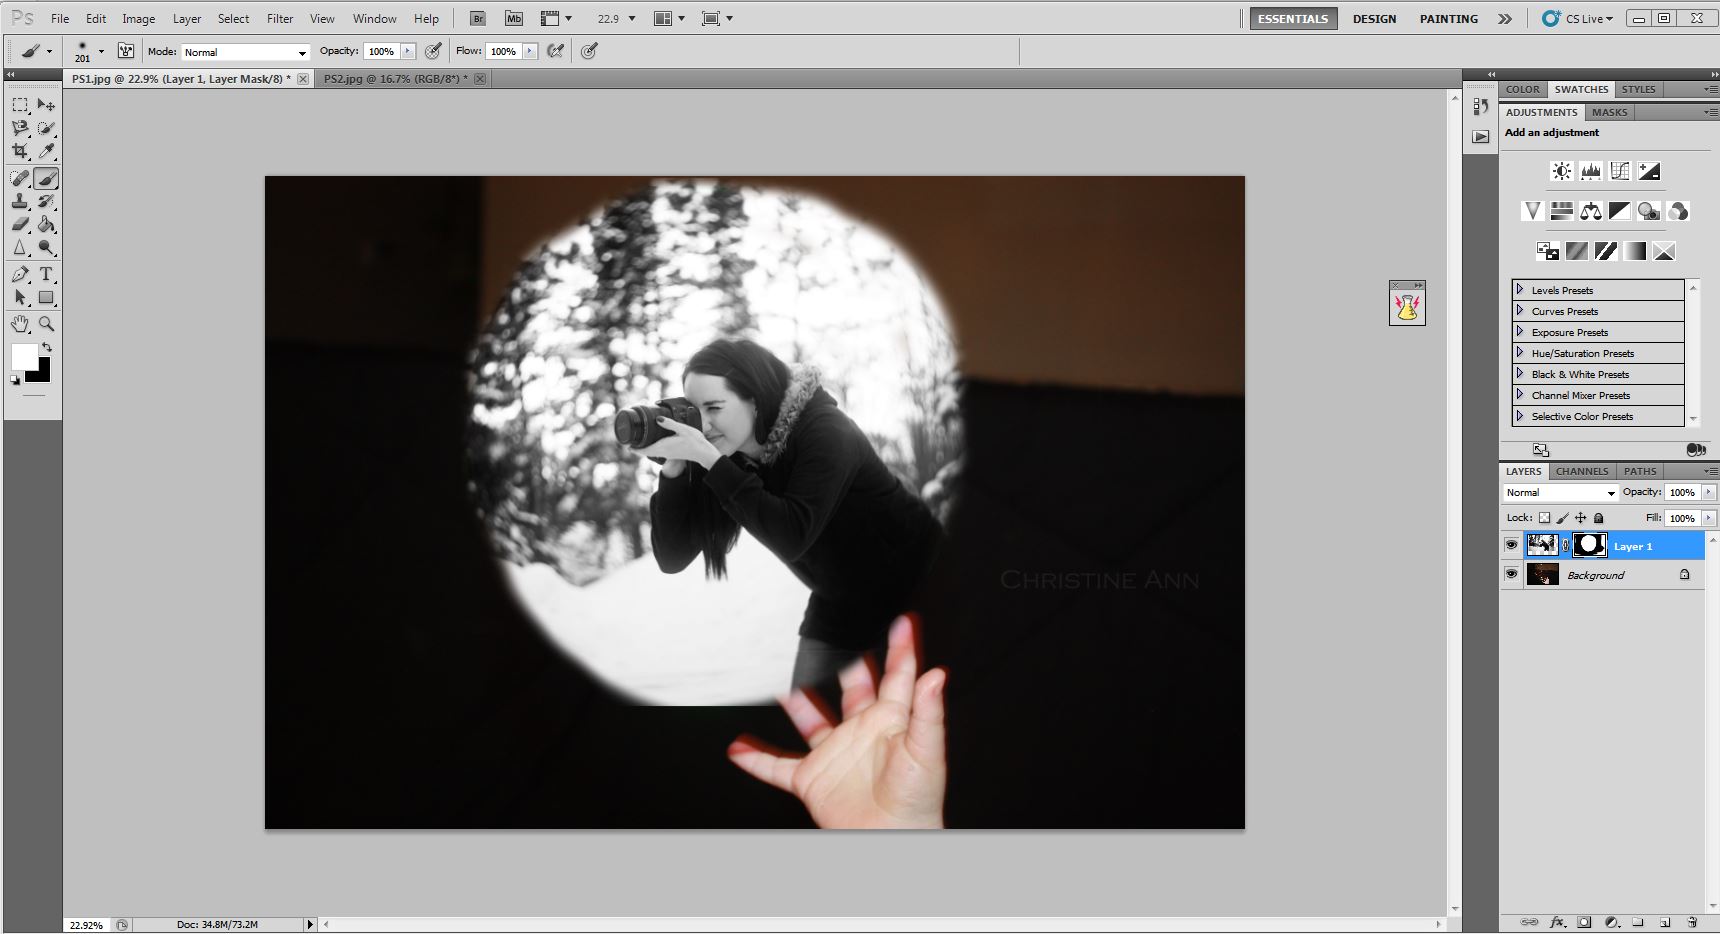
^Next, be sure that the top layer is clicked on, then click the little square towards the bottom of the layers palette (the layer mask tool) and click it.

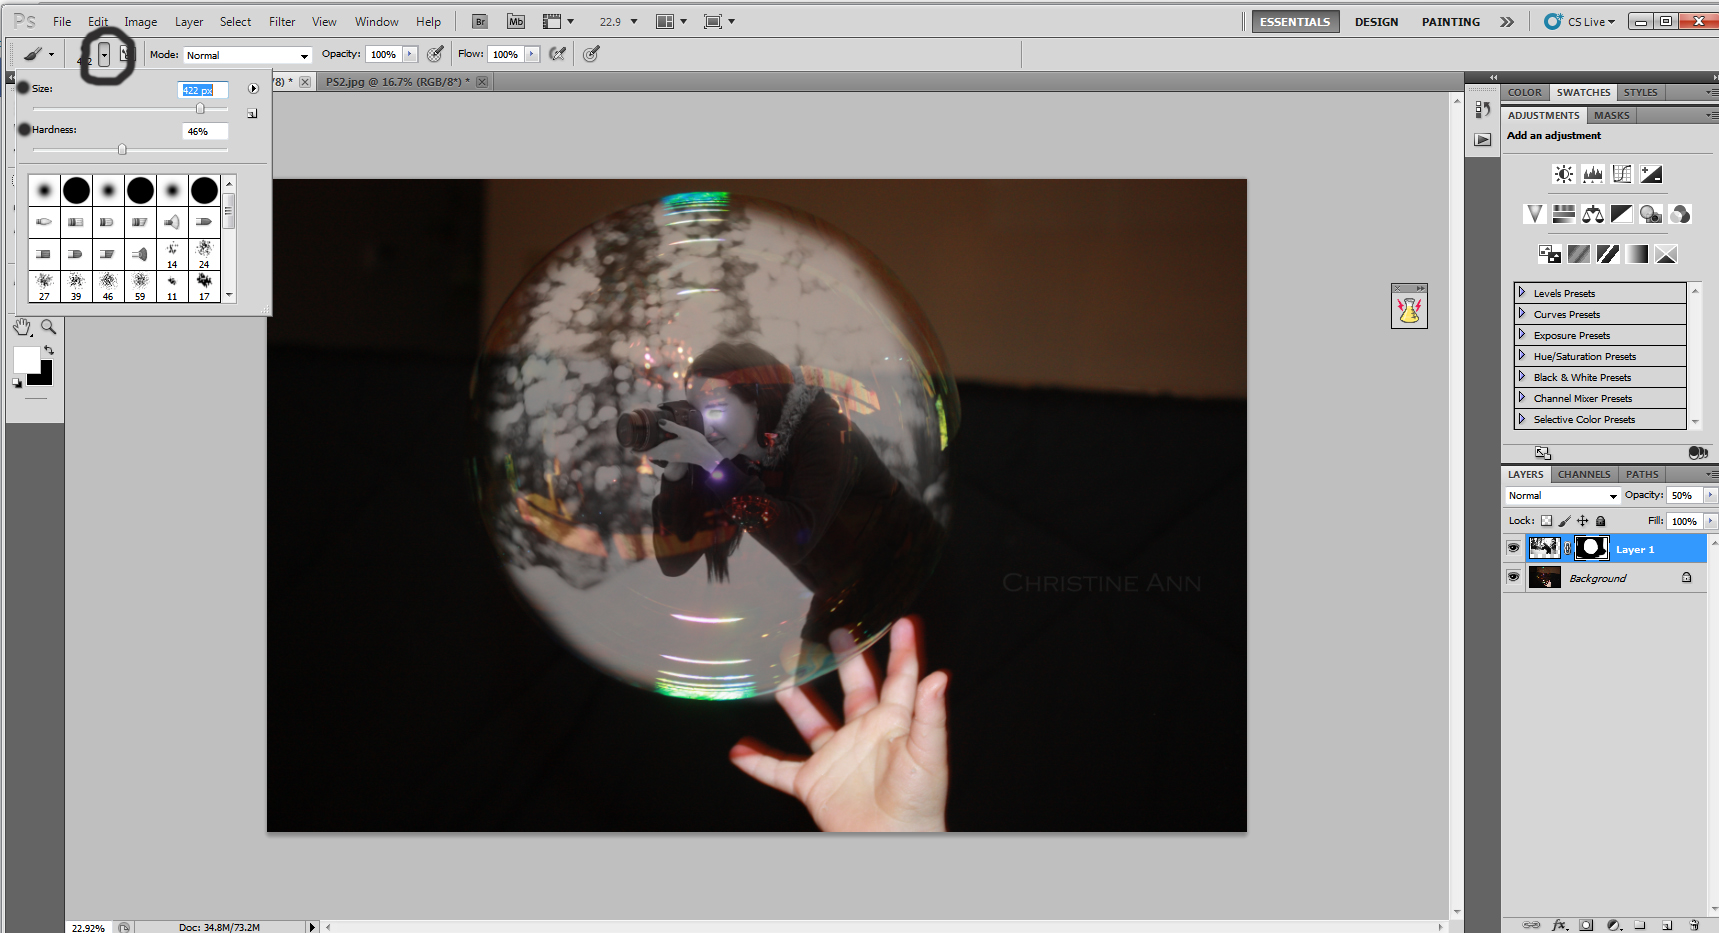
^You now have a layer mask on your top layer! This will allow you to add and subtract from the top layer via the paintbrush. Select your paintbrush and be sure its color is set to black.
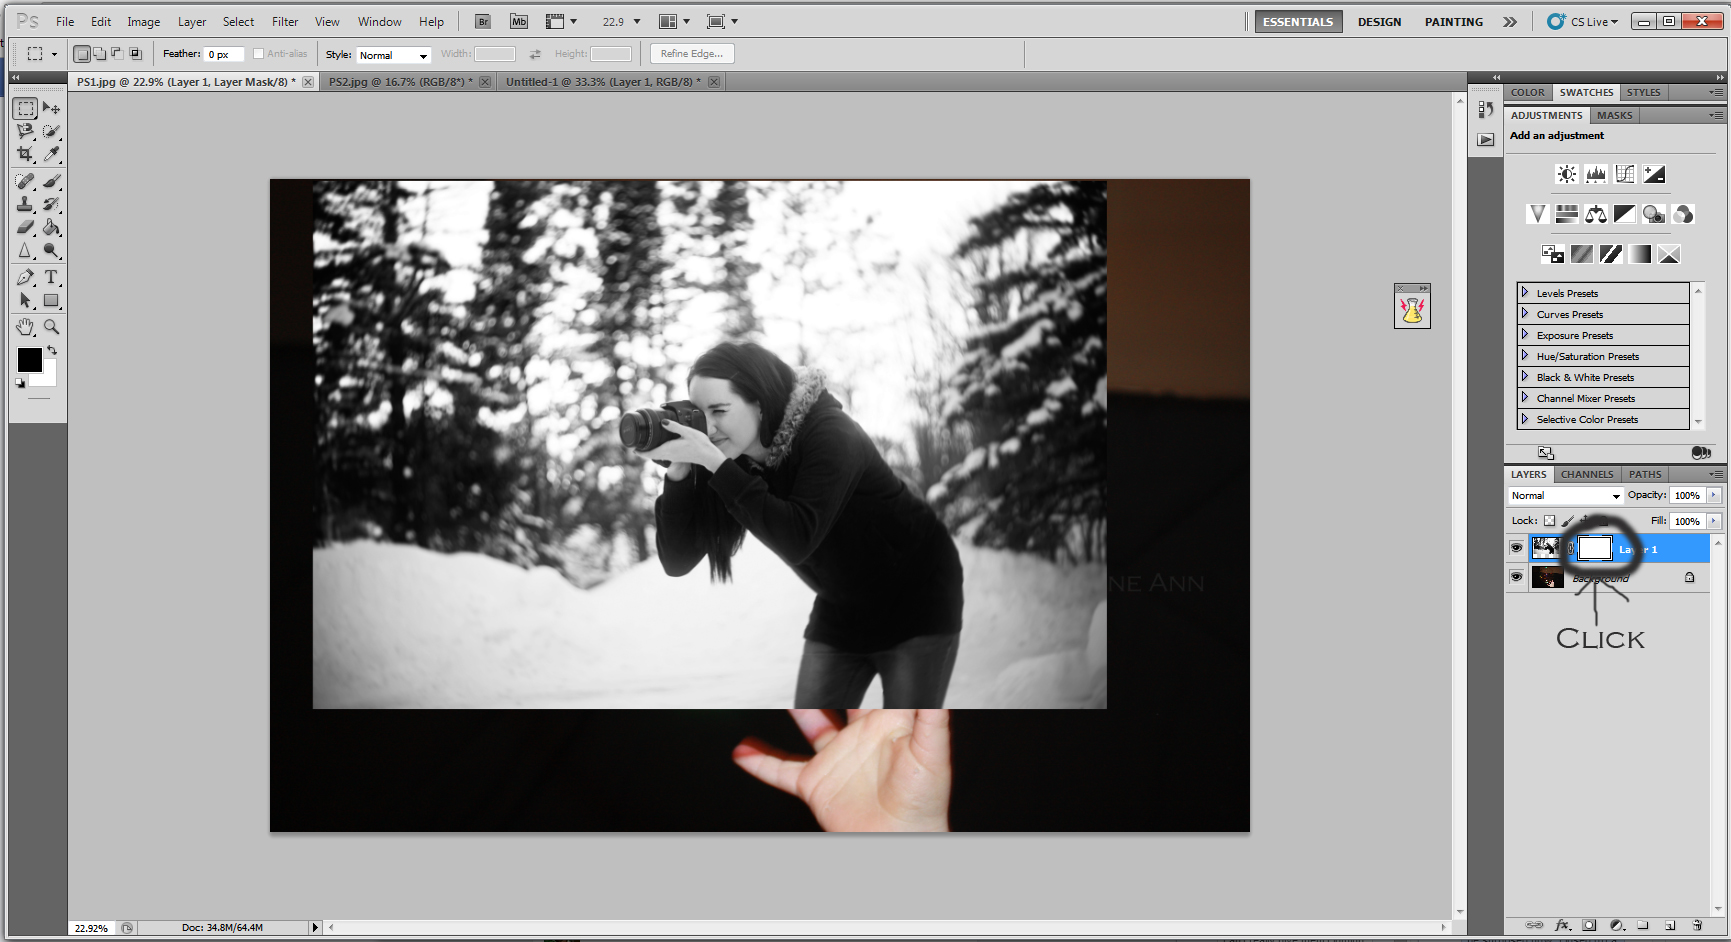
^Ensure your layer mask is clicked on and now you can paint on the image to make it disappear!
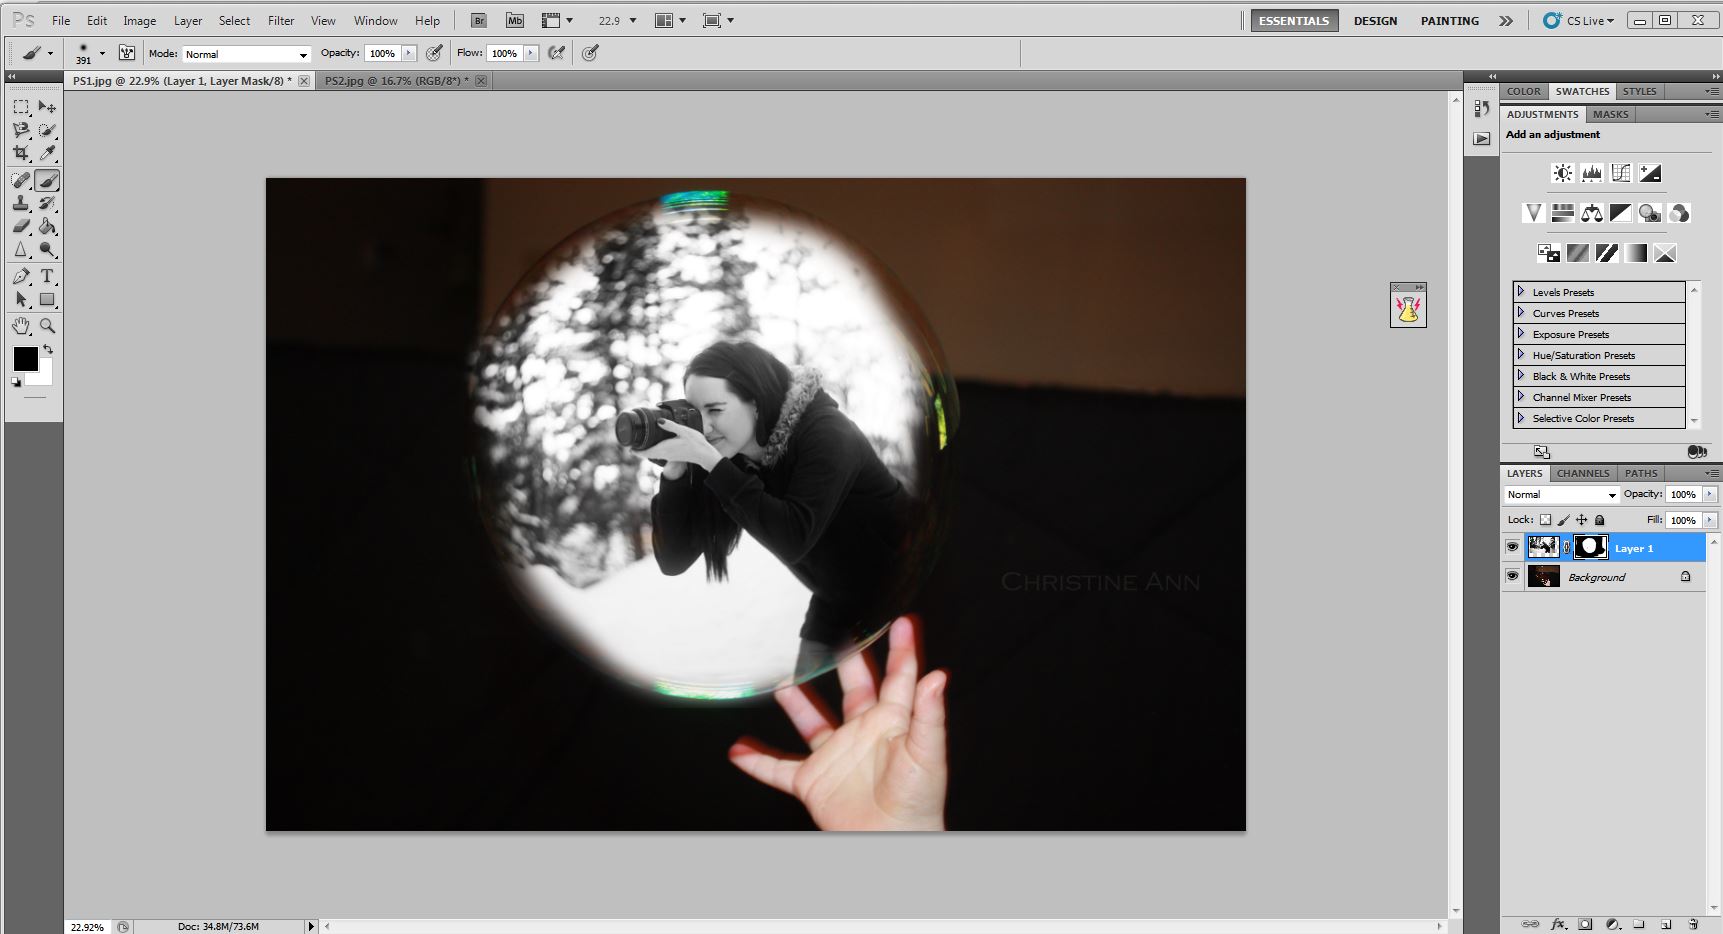
^The image after painting with the black paint brush. But now I’ve removed too much of the image and need to bring some of it back..
^Turn your paintbrush white and paint wherever you’d like to bring the image back.
^Image after bringing back some of the image.. it still isn’t aligned perfectly because it’s hard to tell where the bubble is exactly.

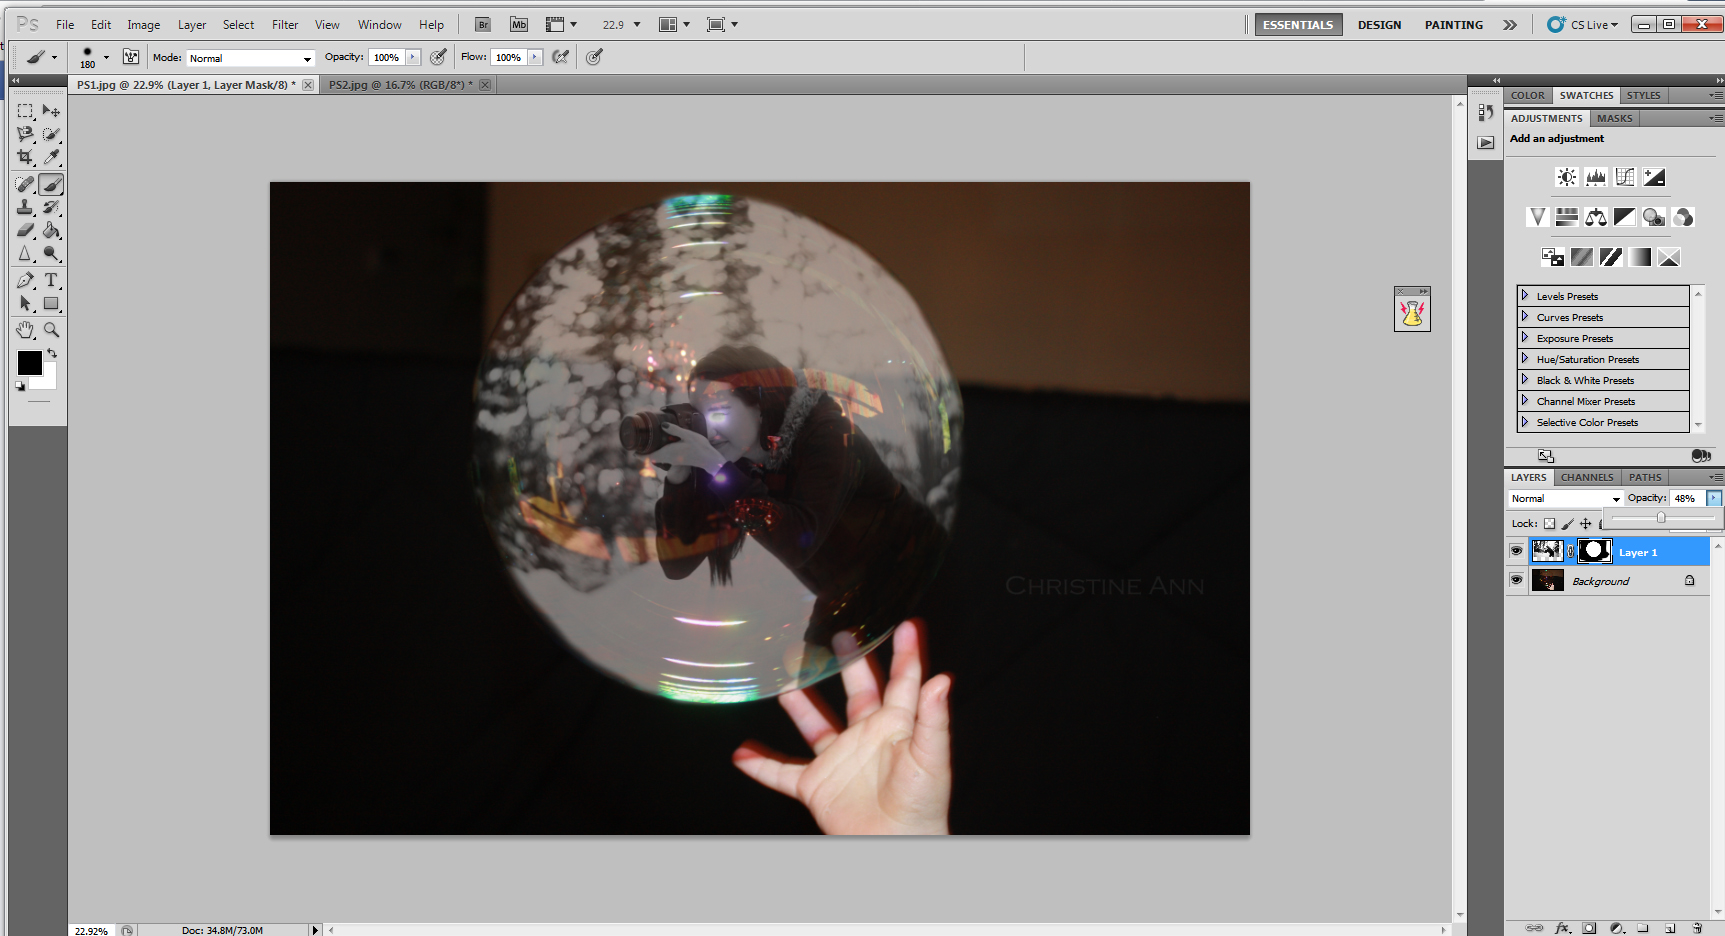
^To gain the ability to see the bubble below it, reduce the opacity of the top layer. The opacity determines how “see through” the top layer is.. by reducing the opacity we can see underneath it to better determine where the lines of the bubble are.
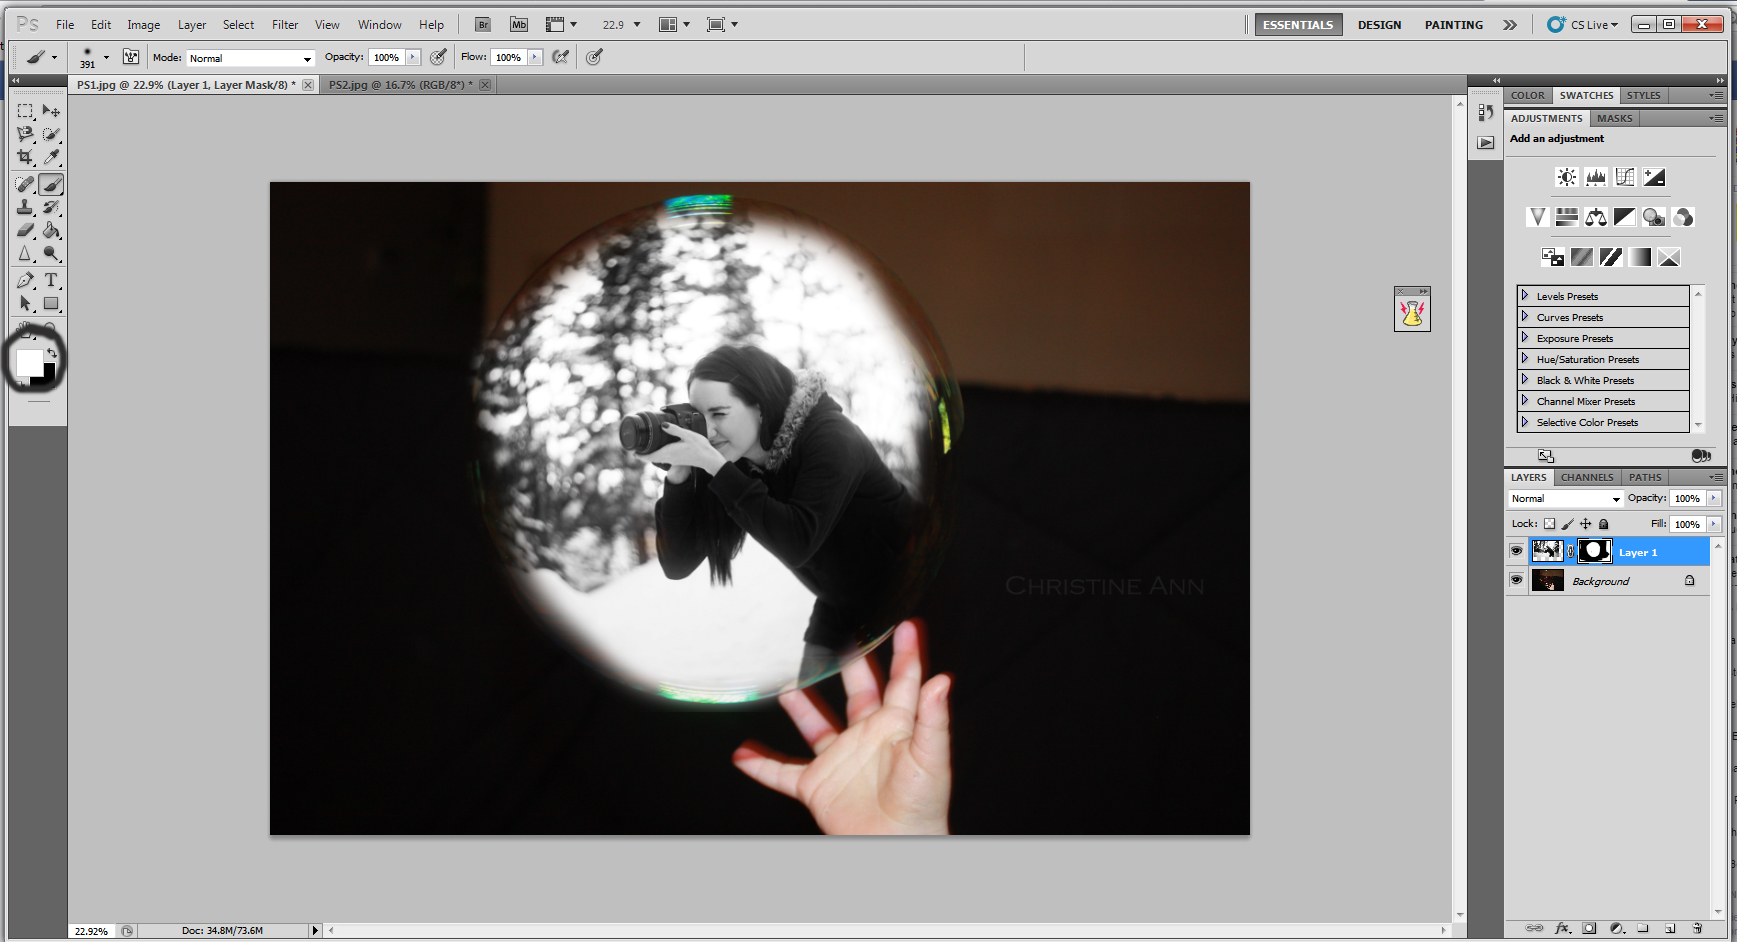
^At this point, you could be “done” if you wanted to be.. but if you want to perfect it more, there’s some additional steps.
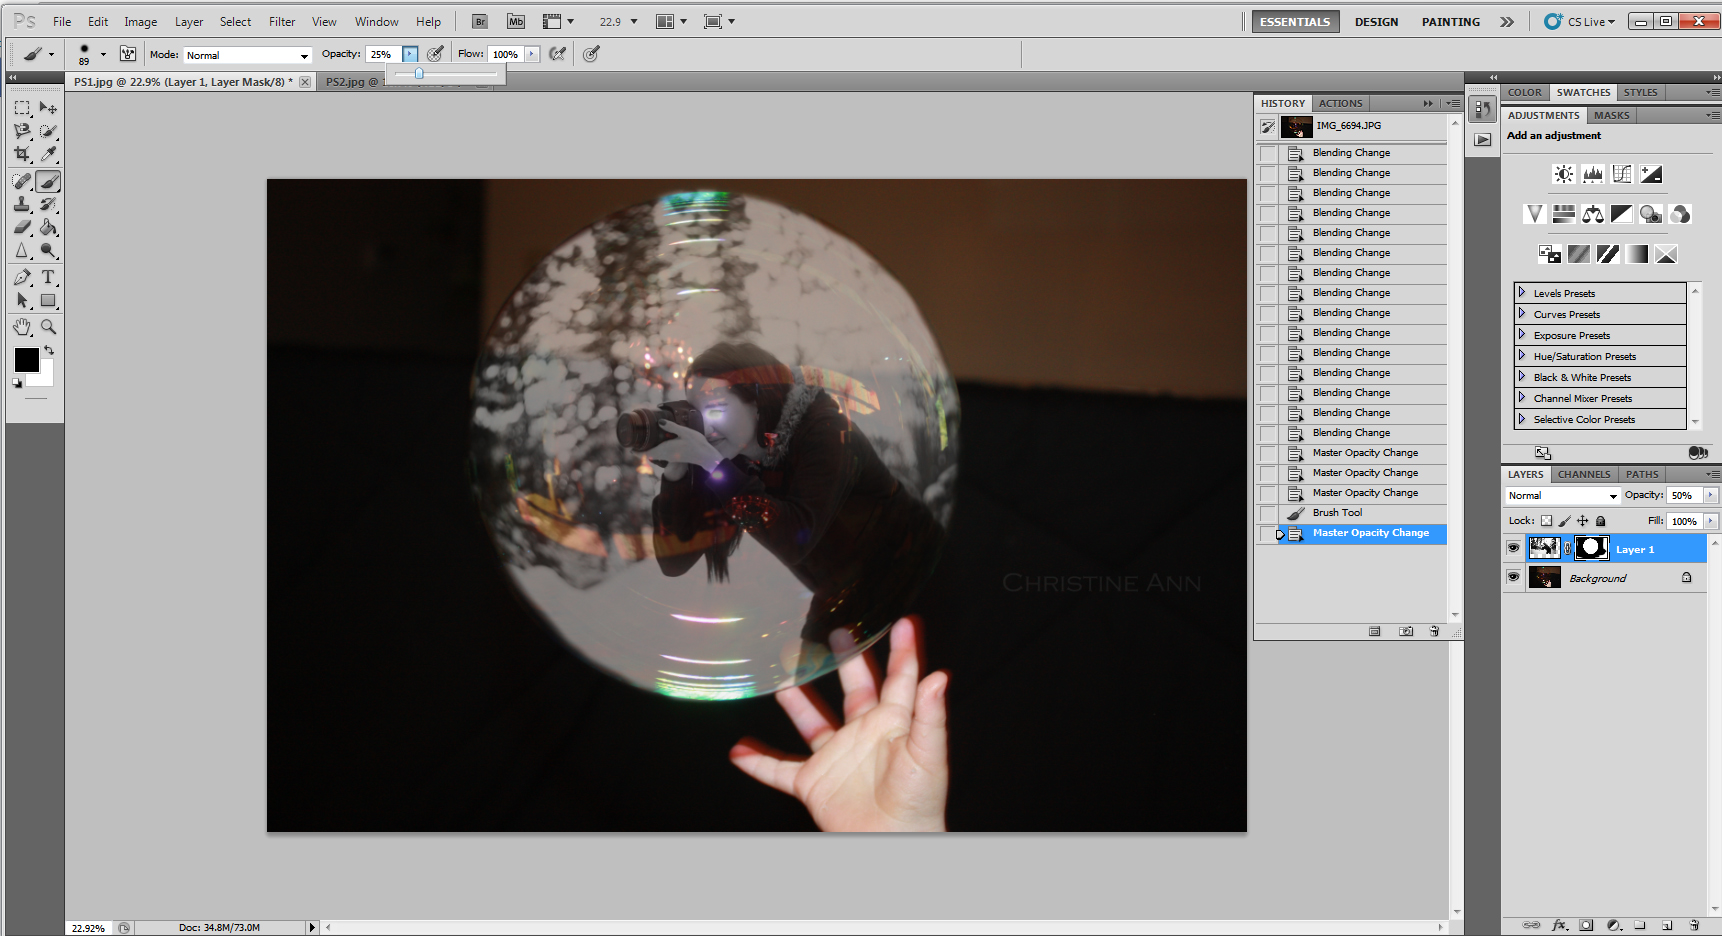
First, reduce the opacity of your brush.. set it to around 5-15 and paint over very select spots to make it look more 3D (the paintbrush at such a low opacity will only take off a tiny bit at a time vs a lot at a time). I chose to paint around the bubble (so there is less image on the outsides, so it’s strongest in the middle and most faded on the outside, helping it have the round appearance). I also painted additionally off on the colorful lines of the bubble also to help show the shape of the bubble.
^Now it’s decently aligned (I ended up cleaning it up again later..). This is a really good time to “save as .psd” so if you need to come back to it later, you can.
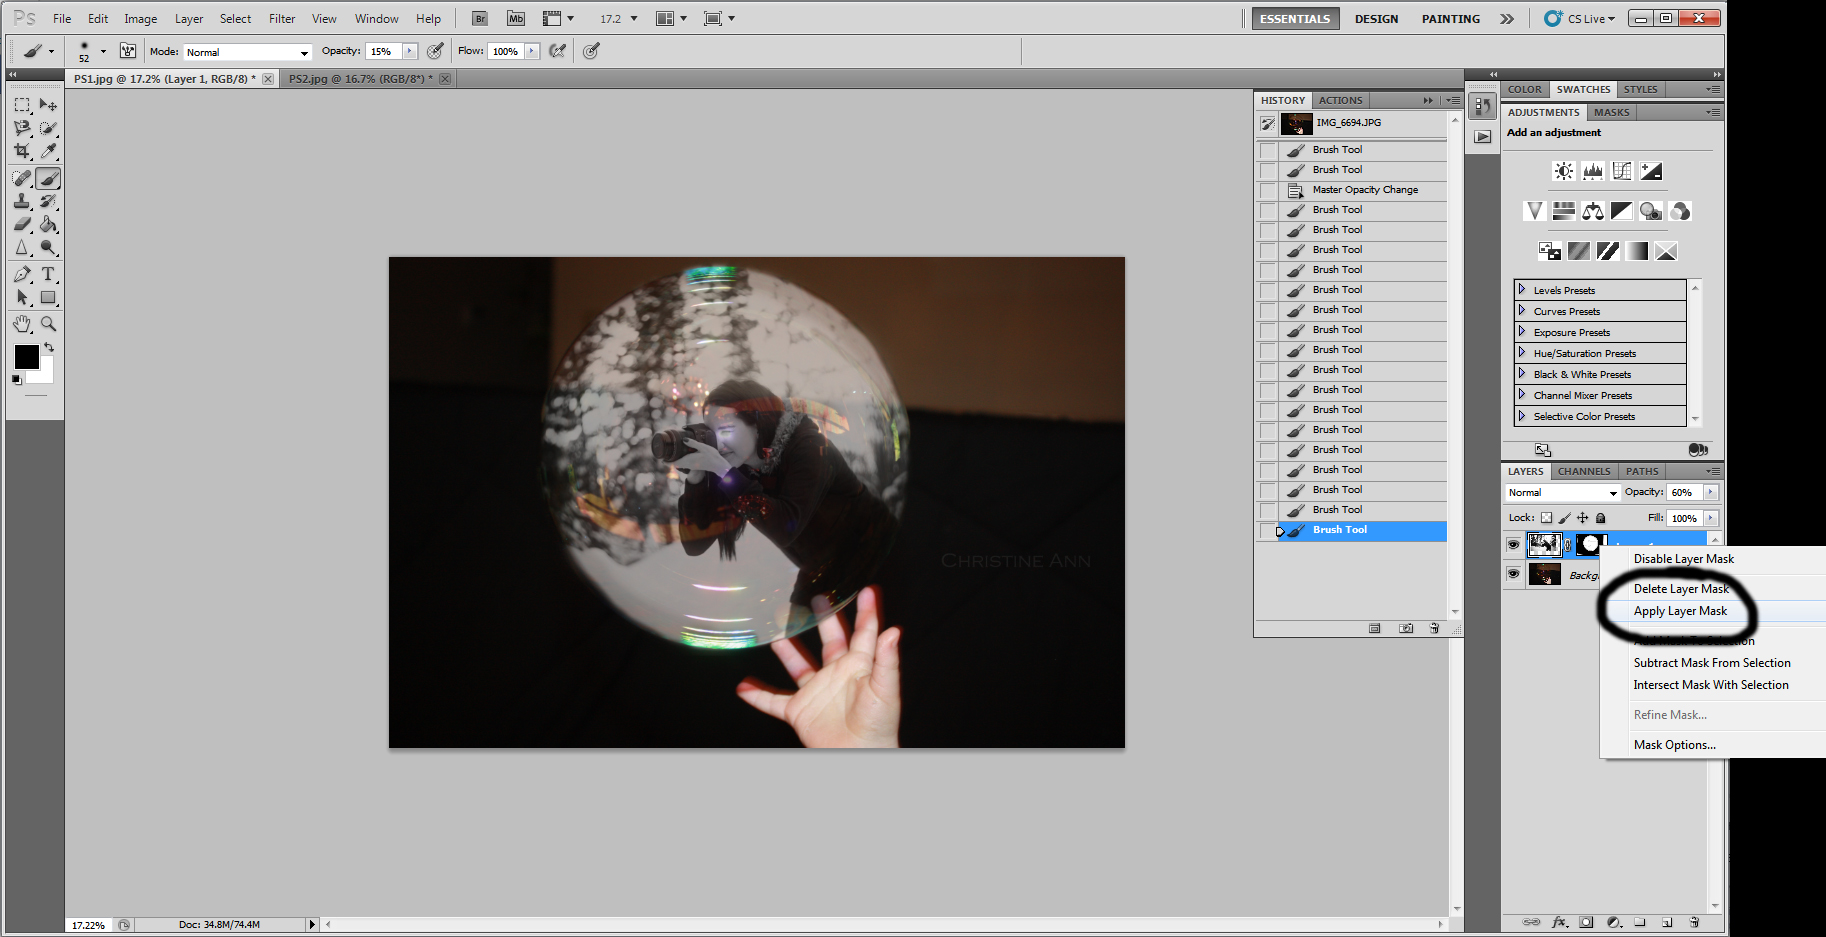
^Now, right click on your layer mask and select “apply layer mask”.

^Right click on your top layer and select “screen”.
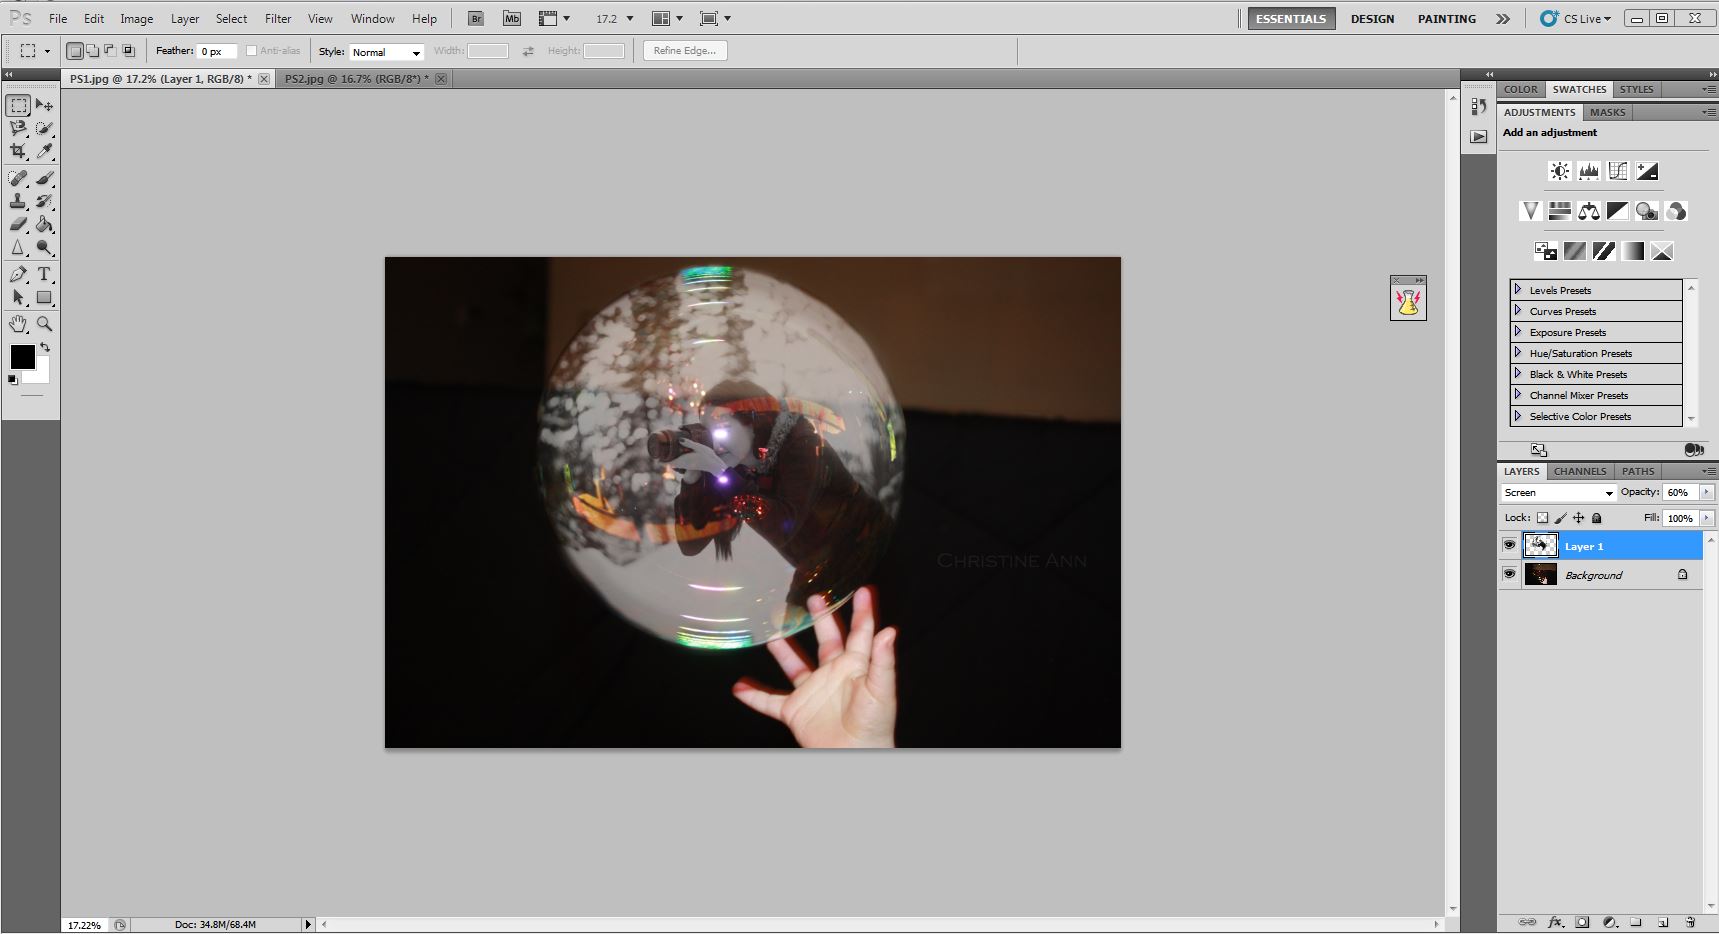
^This was my final verdict on this edit.. top layer opacity 60% with a screen applied to it. I still have a few things left to do..
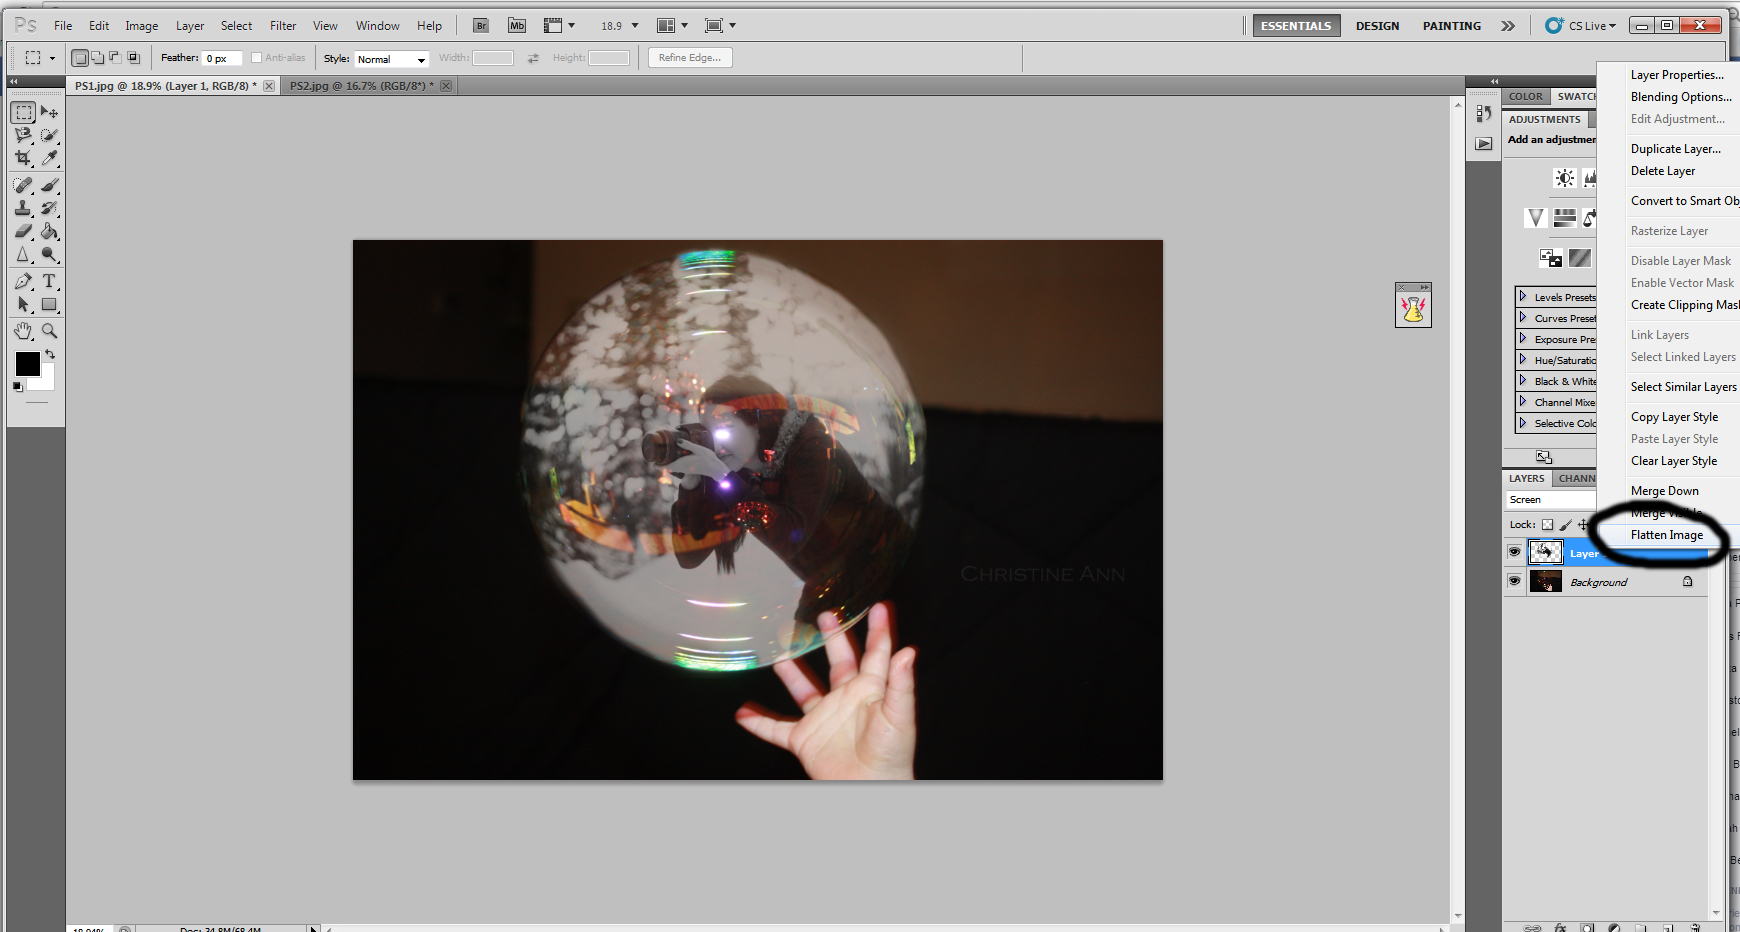
^Right click on the top layer and select “flatten image”.
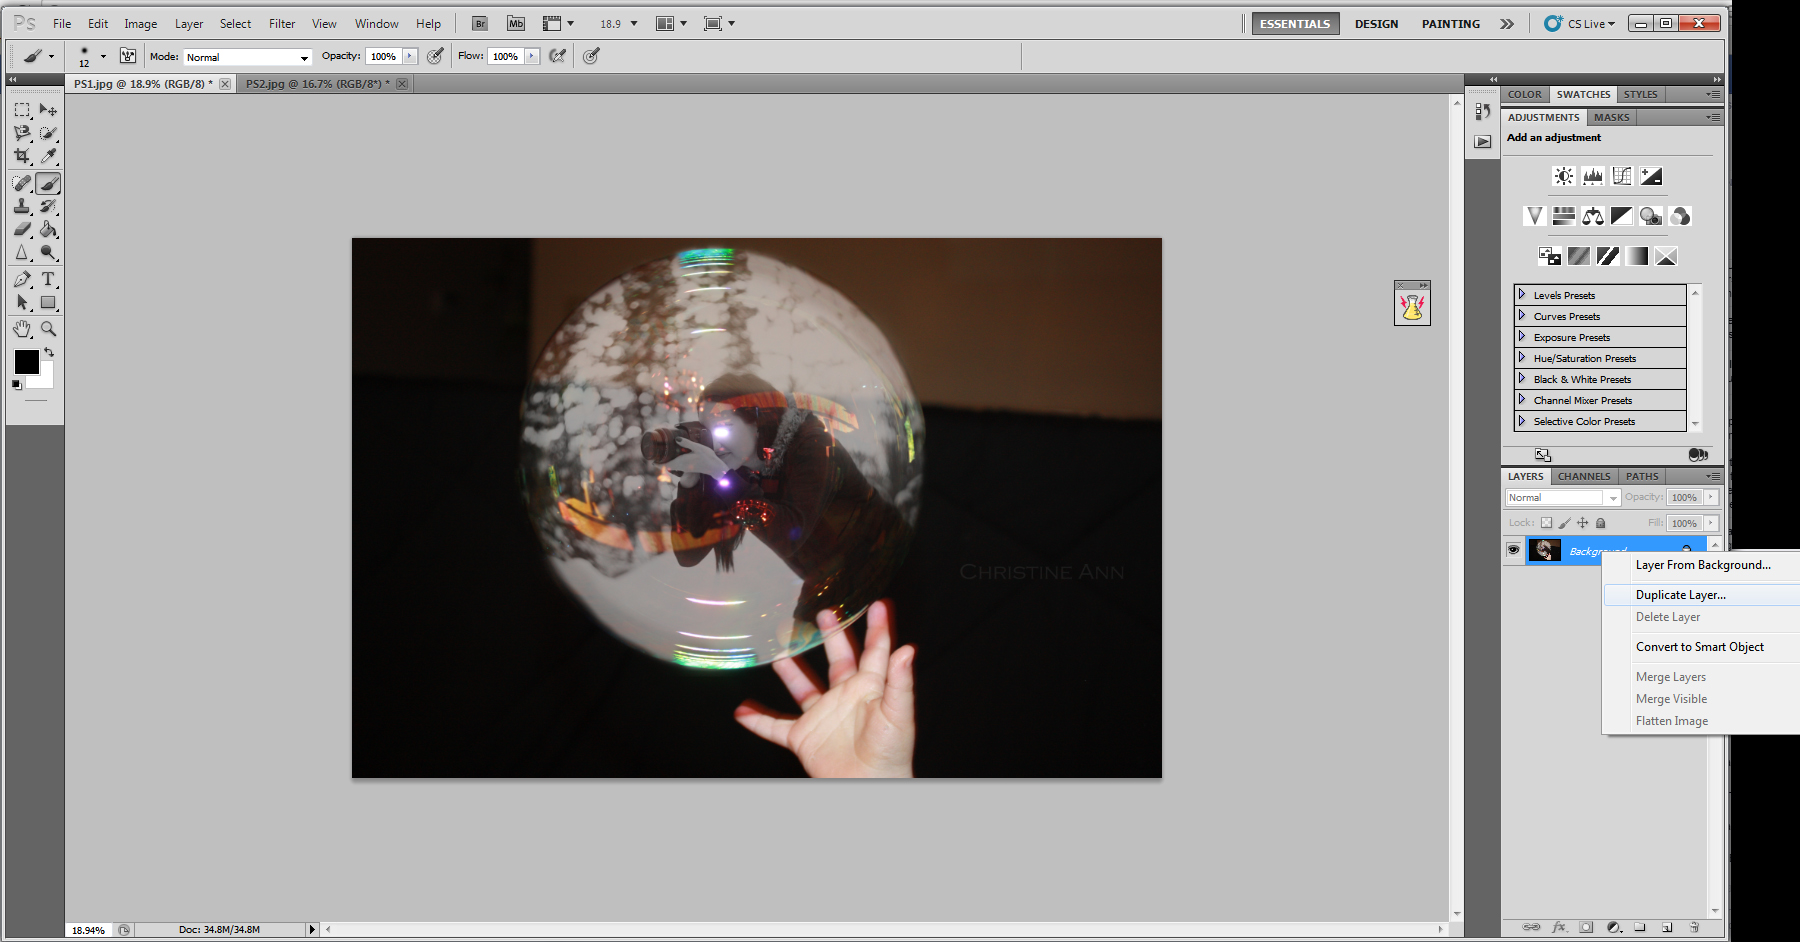
^Right click on your layer and select “duplicate layer”. This will create a second layer.

^Ensure the top layer is clicked on and click the dropdown arrow and select “overlay”. This will help blend, sharpen, and increase colors.
^I felt there were a few additional edits to be done so I took the final edit and layered it with the original, used the eraser tool to erase away some of the edges to give it more of a 3D look. I used the burn tool around the diameter of the bubble and I also used Coffeshop Blog’s Perfect Portrait Action on this.. I used “Urban Grit” @ around 20% and “Eye Define” at around 50%. If you do not know how to use layer masks with actions, I have a blog post explaining How To Run An Action With Layer Masks here. I believe there is also a tutorial on Coffeshop Blog’s page.
^This is my final edit. Not perfect & I think it’d look cooler if the photo I merged in were in color but oh well.. and hopefully this blog post gave you enough information to be able to do what you’re wanting to do!
If you have any additional tips or resources, leave them in the comments below :).
-Christine Ann
Duluth MN Photographer
