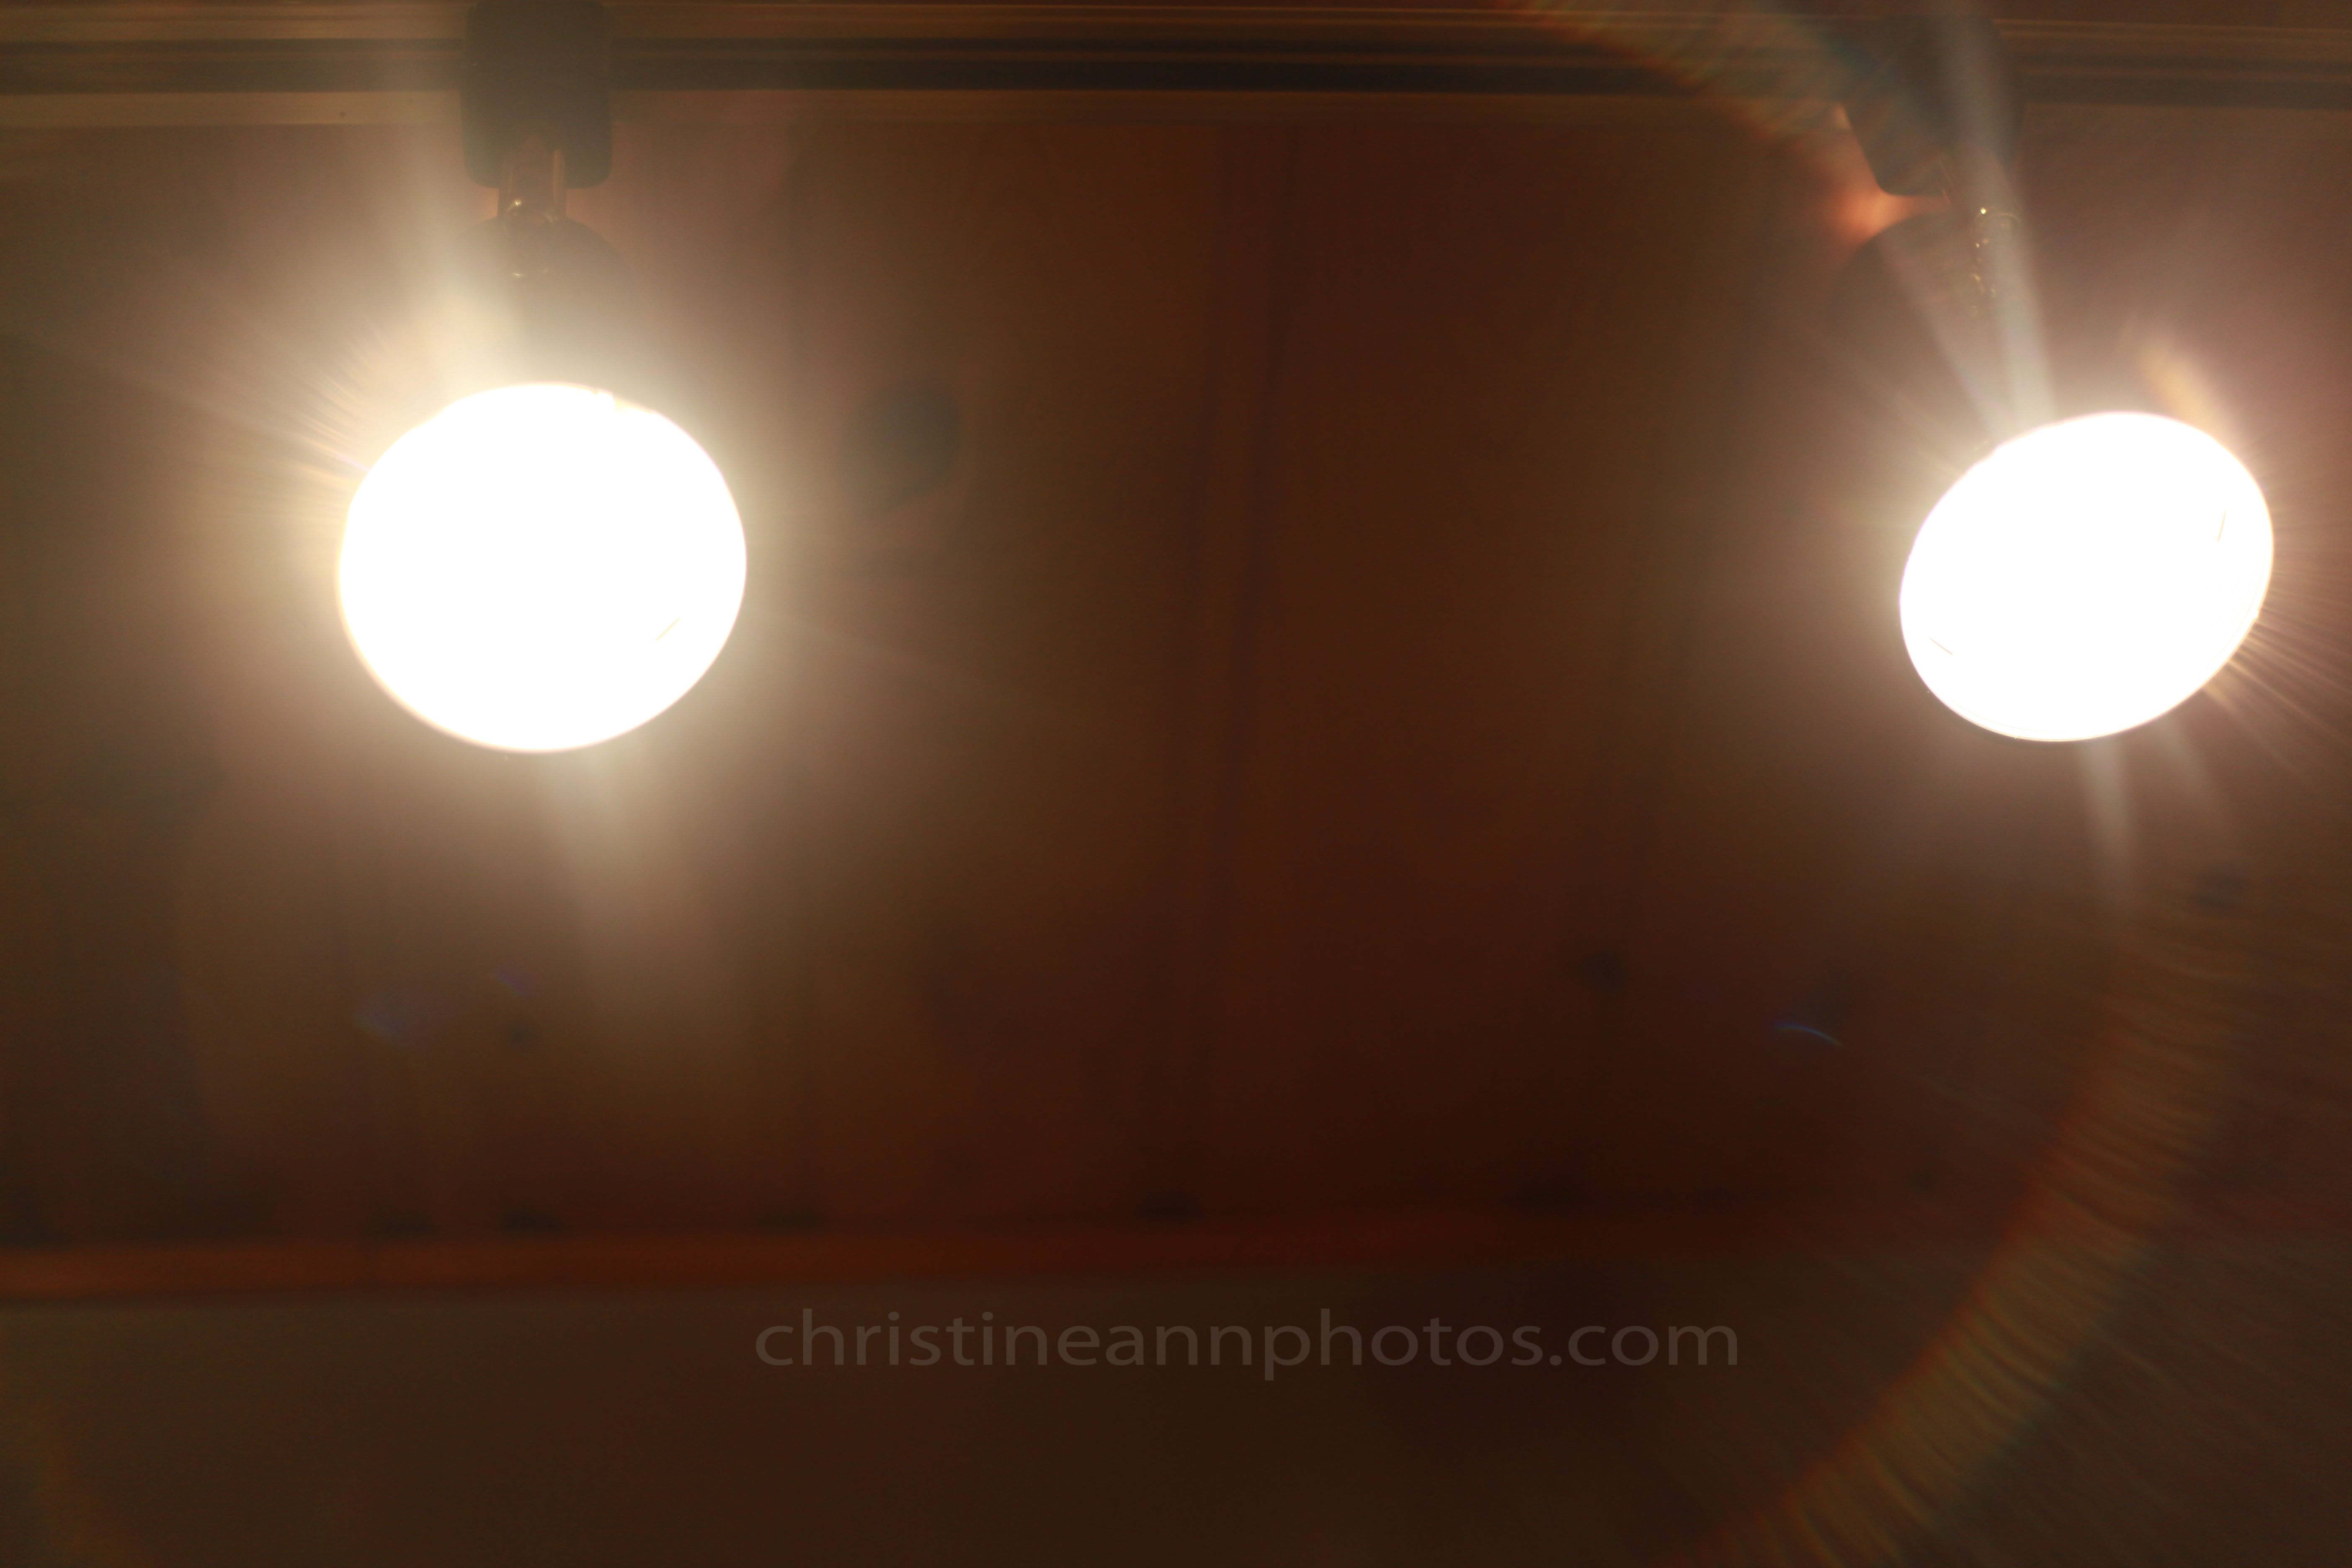
Have you ever taken a photo that turned out extremely orange, red, or blue? It seems inevitable, especially when you’re indoors.. however there is a very simple way to fix/prevent this! You have fallen victim to auto white balance. On auto white balance your camera is trying to guess your lighting situation.. sometimes it does a good job and sometimes it does not. If you simply tell your camera what your lighting situation is instead of it guessing you can get much more accurate colors.
The times I most notice incorrect white balance is when I’m indoors and my photos turn out red/orange. I remember a few years ago I took some Christmas photos and the coloring seemed off on all of them.. and I had no idea why or how to fix it (most of them were turned to black and white). Put simply, the white balance is off.
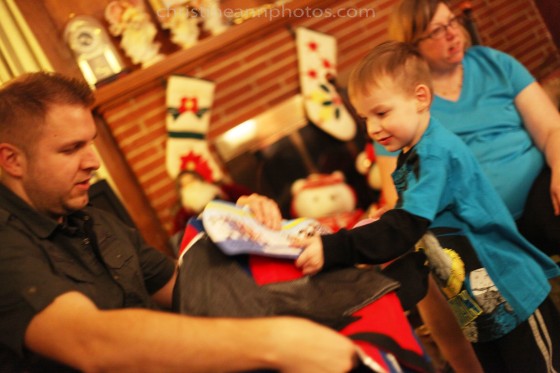
All I need to do to fix this is go into my camera and tell it my white balance is “tungsten” or “fluorescent” (depending on what type of lighting is in the room).
This is the easiest way to try to get it right in camera however there are a few other options:
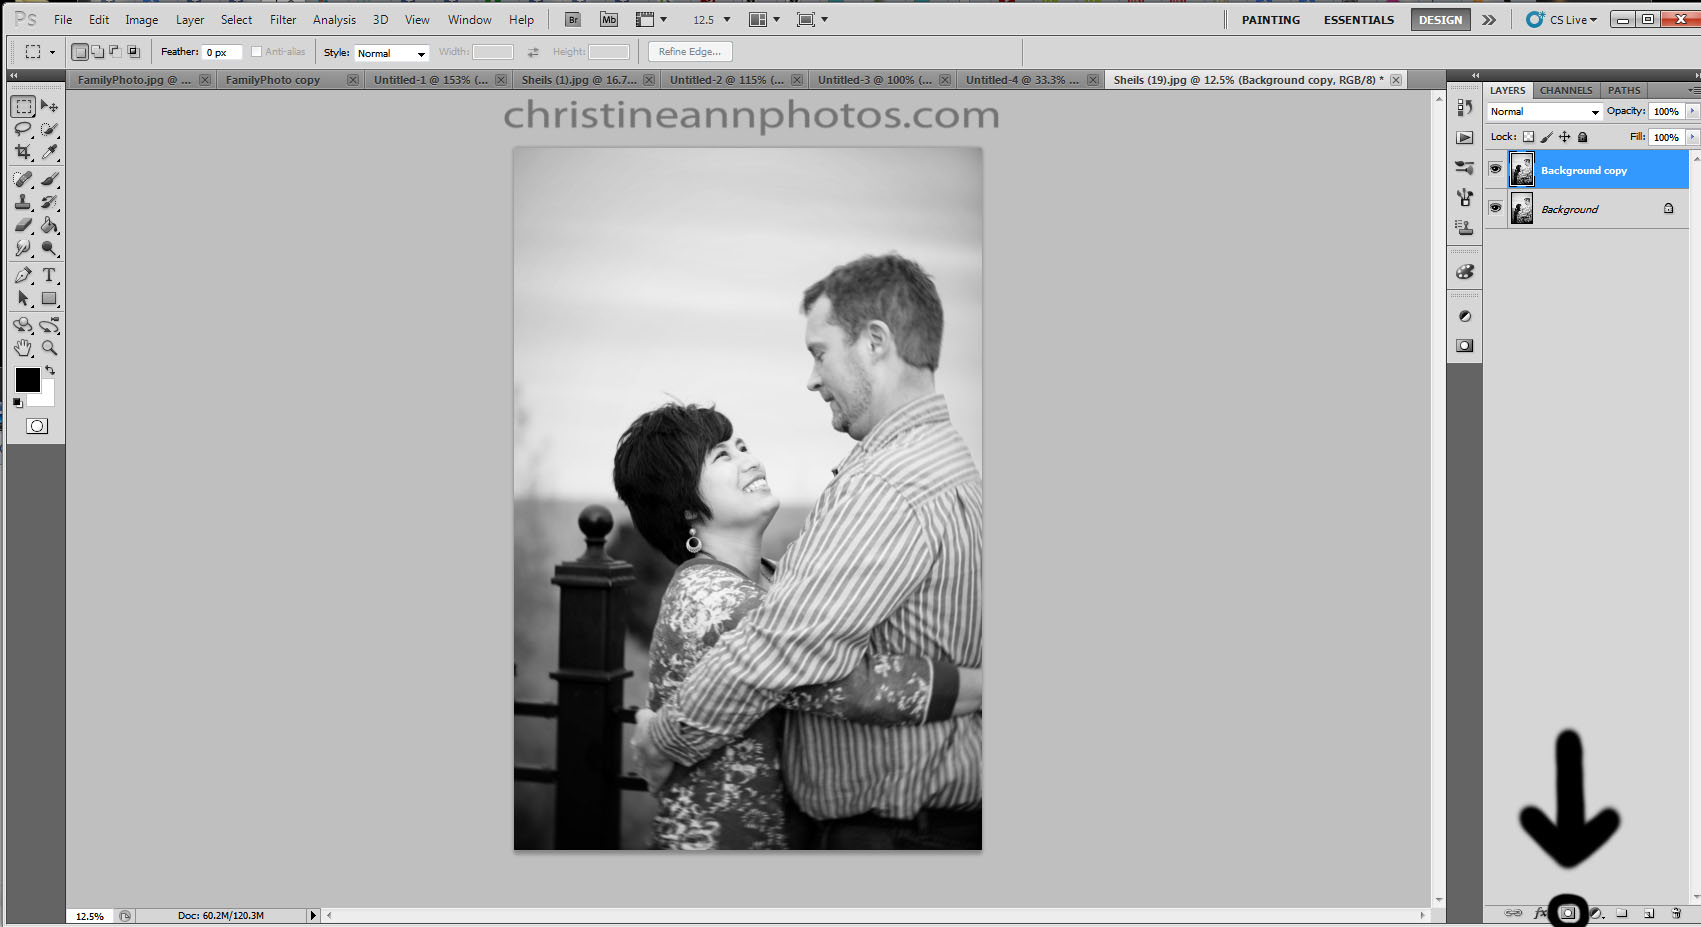
1. Use a grey card. You take a photo with the grey card in the photo, then take the rest without it and later, in your editing software, you can use the “white balance dropper” tool to select the grey card and tell your program what your white balance truly was and it adjusts the photo based on that.
2. Adjust it in an editing program. Most editing programs have ability to “warm” the image or “cool” it down and these sliders help a lot to fix WB.
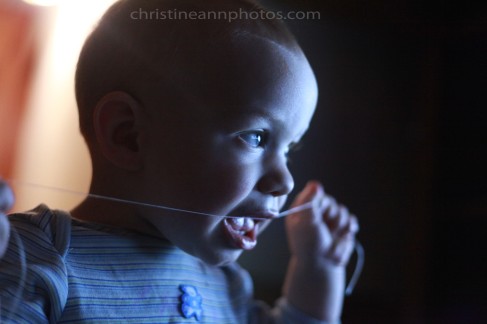
In the following image, the first one is straight out of the camera, unedited (VERY blue) and the second edit is my edit adjustment in Lightroom, adjusted only with the “WB slider”.. I moved the WB from “as shot” to “auto” (LR tries to predict what the auto wb should be) and then I slightly tweaked the slider from there. Super easy.

3. Adjust WB in camera based on the presets such as “daylight” “cloudy” tungsten” “shade” etc.
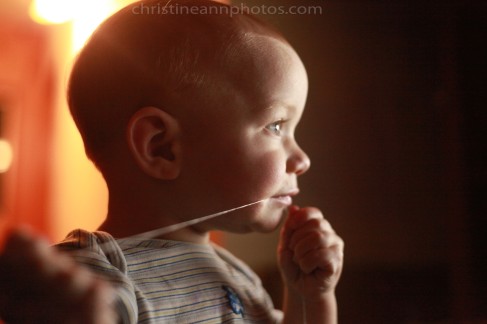
After seeing how blue the first shot came out I changed the WB to (I believe?) tungsten and this is how it affected the image.. this image is unedited.
4. Custom set your WB by telling your camera which temperature to shoot at. The range on my camera is from 2500 (cool) to 10000 (very warm) .. I can set it at any increment of 100 between those 2 numbers.
Most photographers use the presets (cloudy/flash/etc) or set the temperature manually and then tweak it by hand during editing if necessary.
White Balance presets (ie: daylight, cloudy, shade, flash etc):
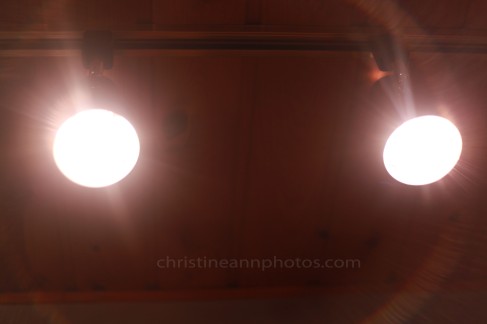
Auto White Balance:

Auto White Balance ^.
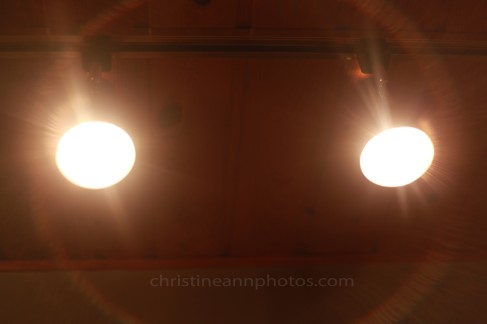
Daylight:

^ Daylight.
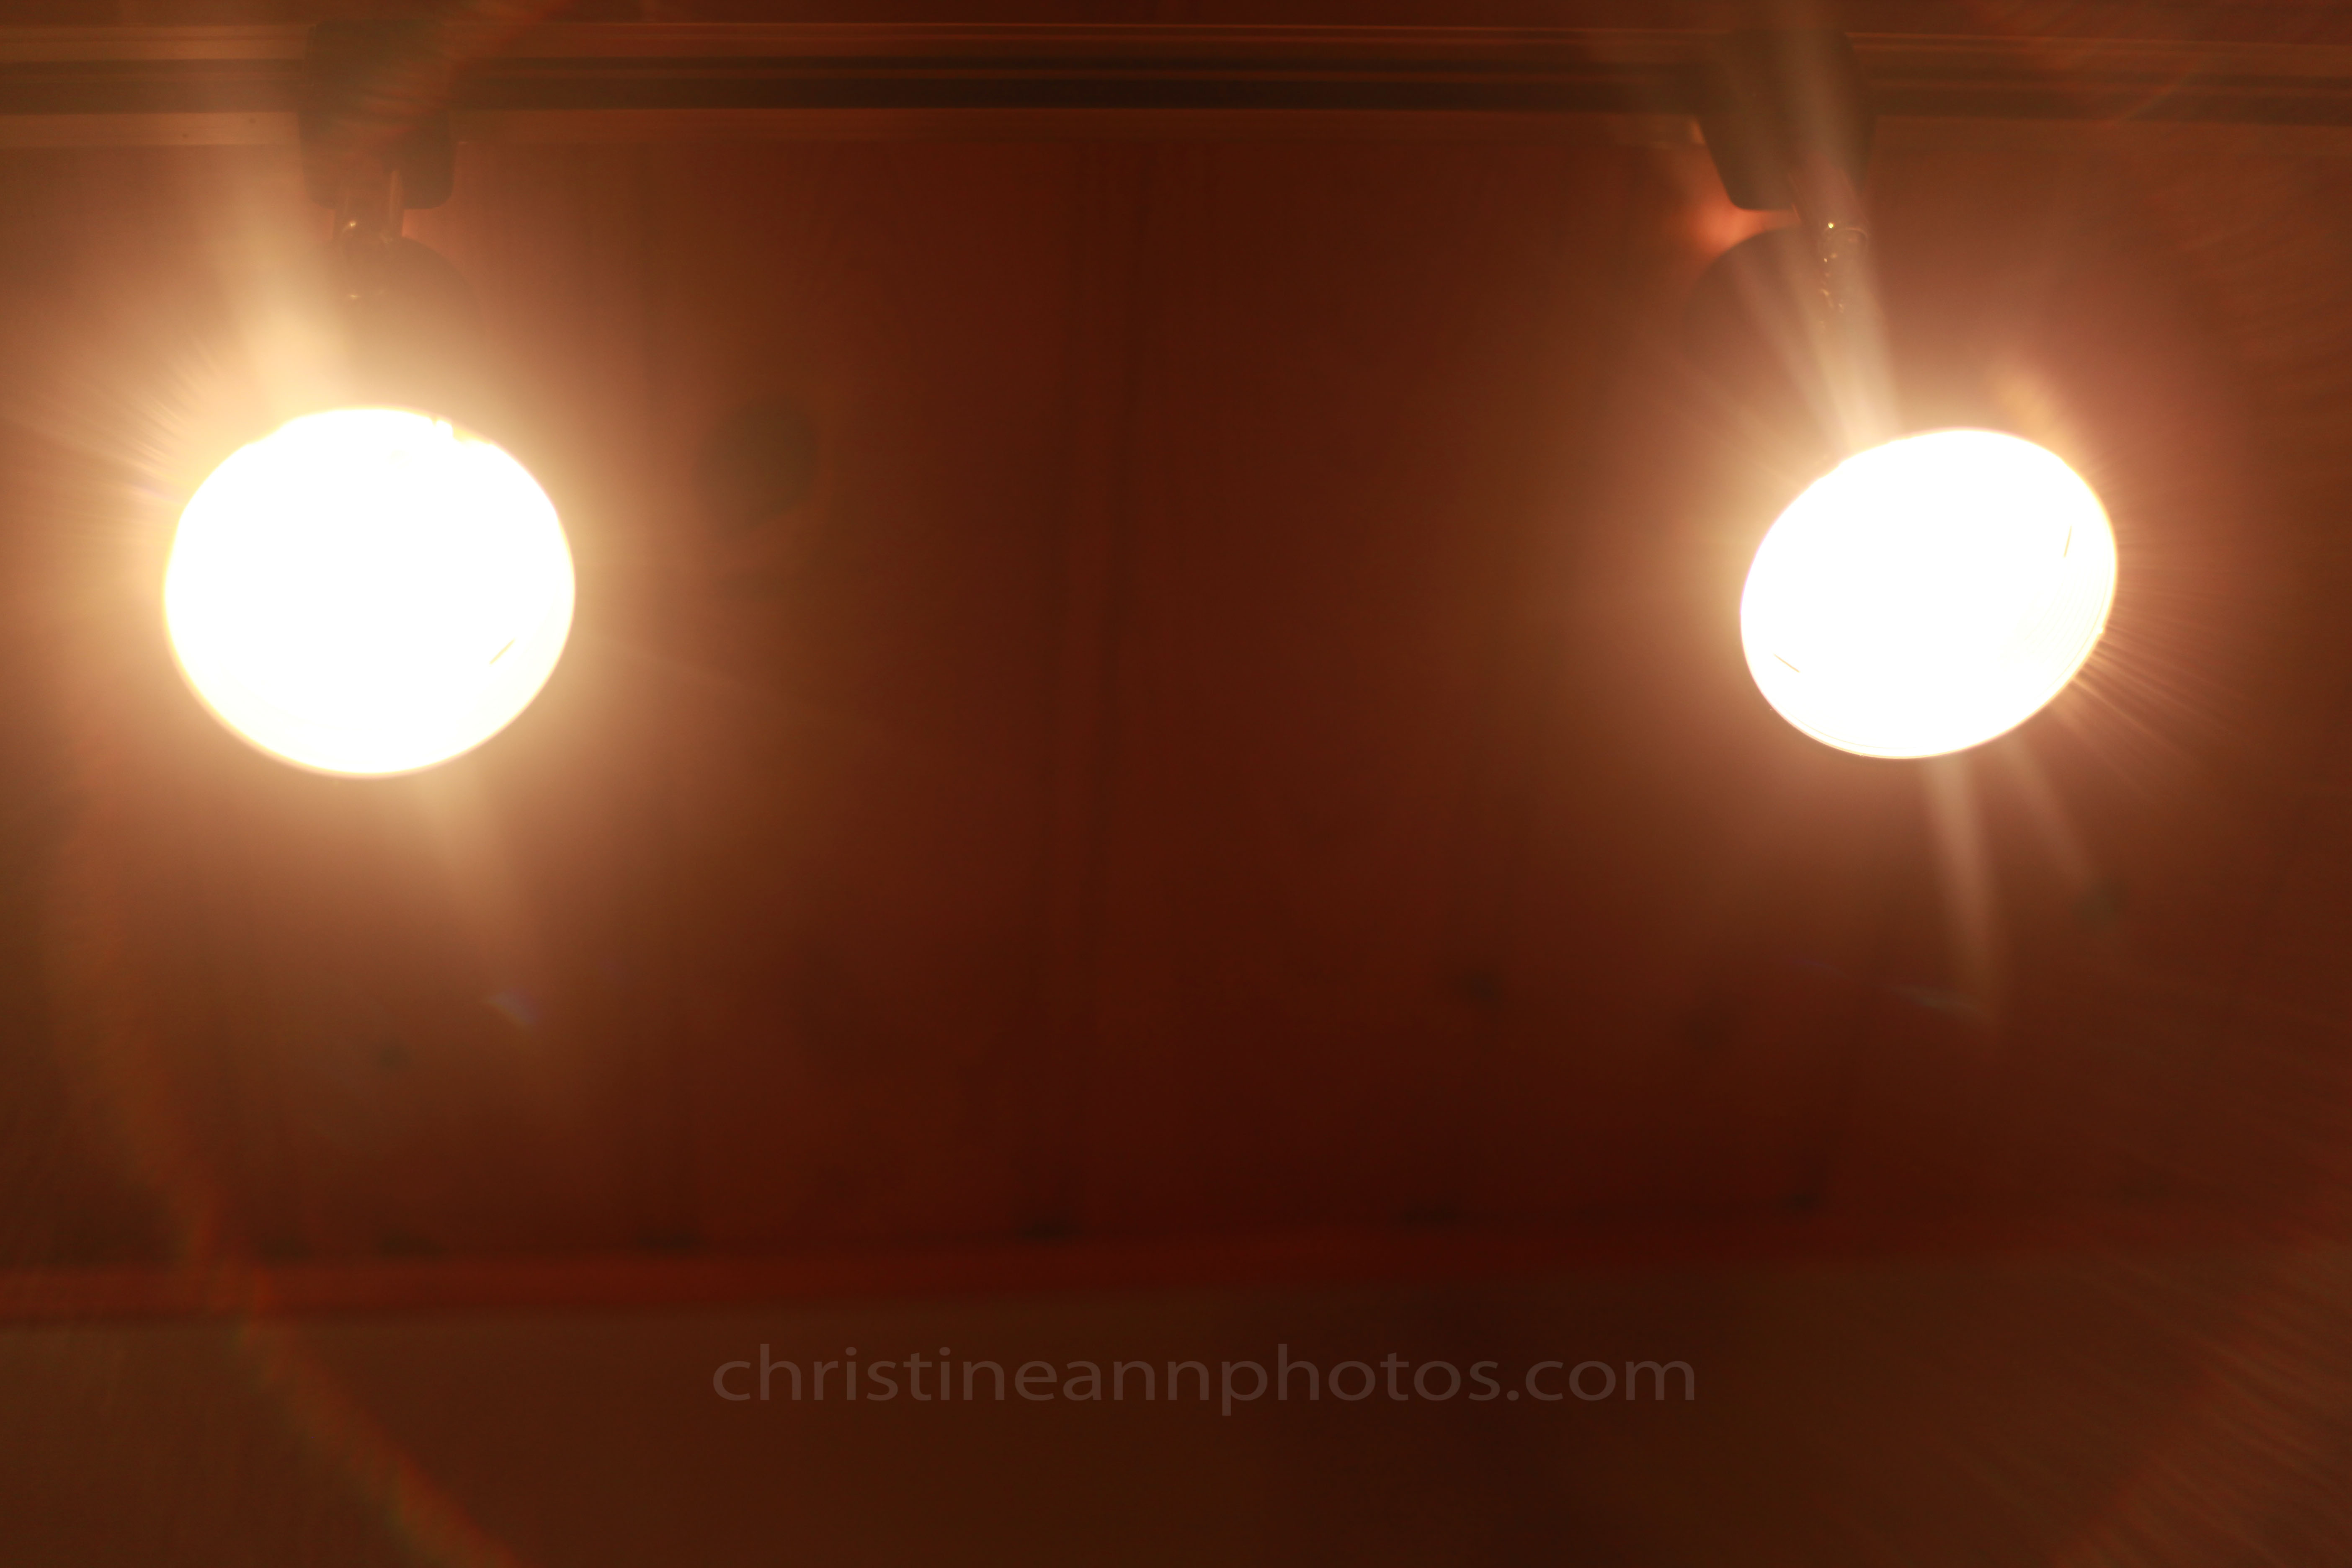
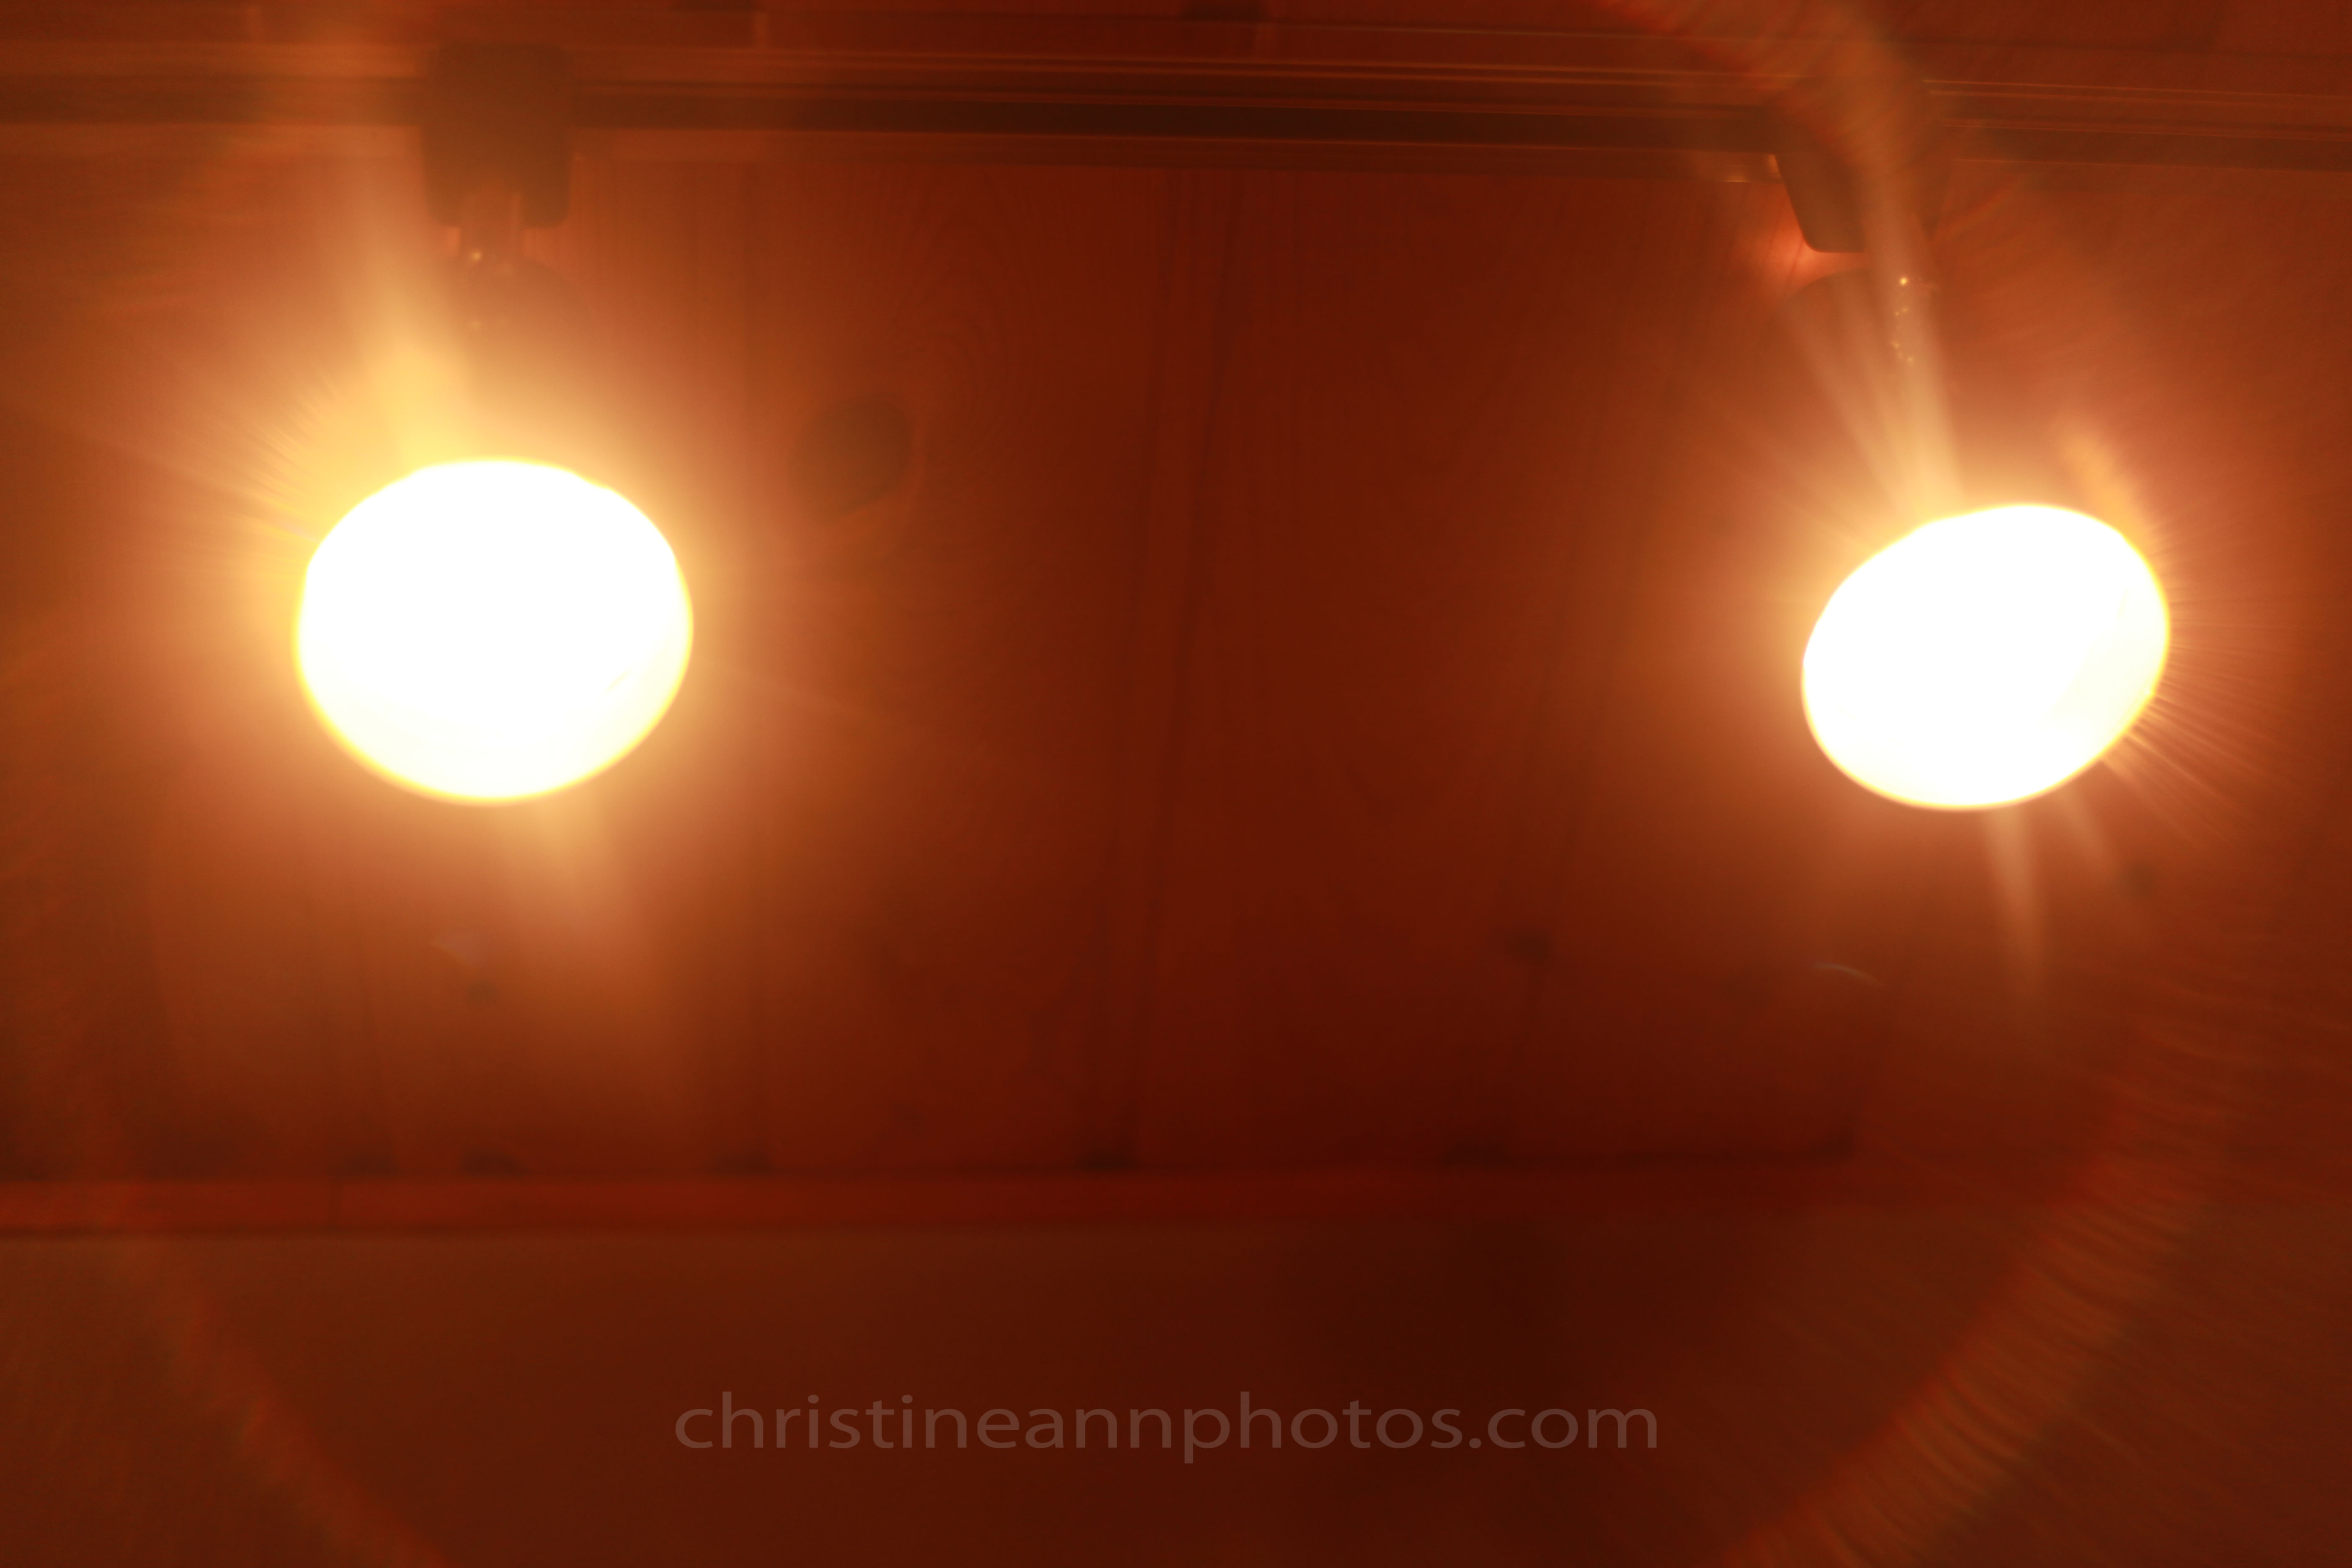
Tungsten:
^ Tungsten.
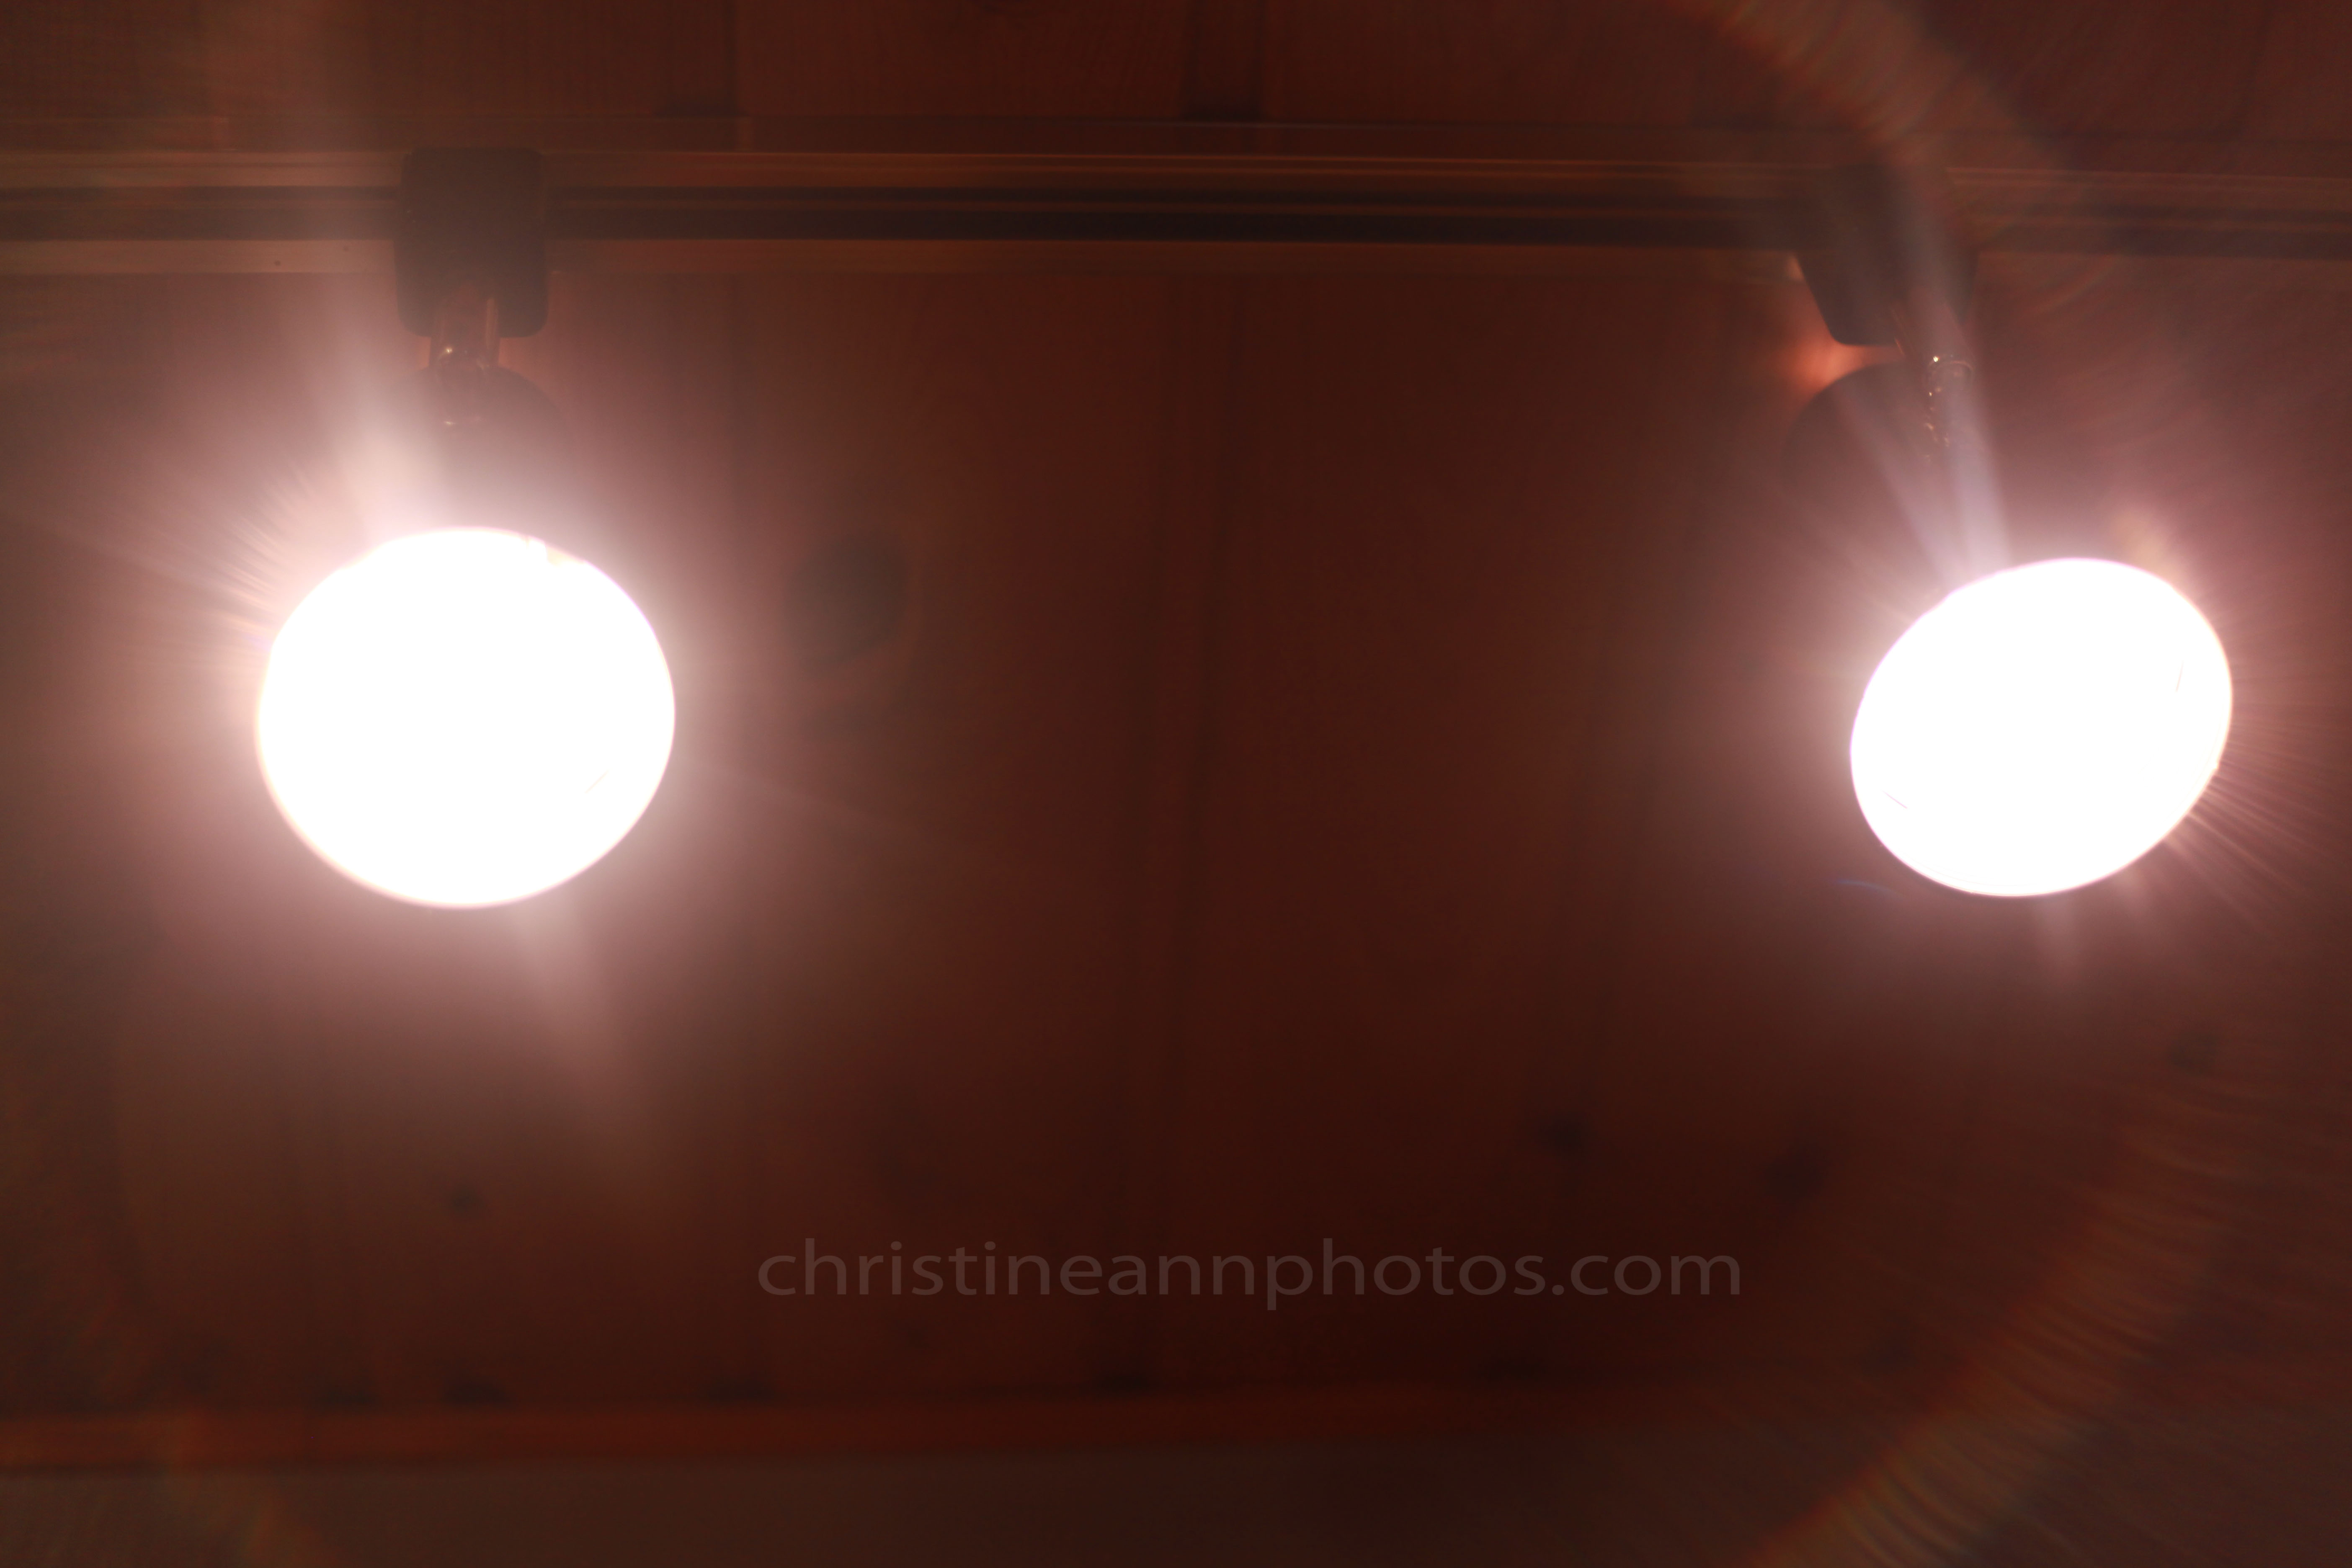
Fluorescent:
^ Fluorescent.
As you can see, the presets are pretty useful and accurate.. they are also very simple and make a big difference in the image.
If you select “color temp” you can manually enter what temperature you want the image to be taken at. The range on my camera is 2500-10000 and it is measured in Kelvin.

2500 Kelvin – very “cool”:

^ 2500 Kelvin.
3500 Kelvin:

^3500 Kelvin.
4500 Kelvin:
^4500 Kelvin.
9500 Kelvin:

^9500 Kelvin.
So as you can see there are many options when choosing how to set your white balance. I feel that auto white balance often does a pretty good job but I usually use a preset (daylight, shade, flash, tungsten etc) and tweak during editing.. but everyone needs to try out different options and find for themselves what works the best for them and their style.
Hope this helps everyone in understanding what white balance is and how to accommodate it in your images to reflect the look you want!
Here is an excellent chart to summarize everything and make it concrete:

–Christine Ann
Duluth MN Photographer
Facebook