For many years I put off working with a flash. The few times I did the photos looked kind of .. bad.. and unnatural and I just couldn’t get the results I wanted so I pretty much just avoided it. One day I was thinking about how other photographers get stunning photos with a flash and that there is a way to do it, and I wanted to figure out how.. and so began my journey into learning off camera flash.
A lot of others are in the same position I was in and don’t know where to start. For this reason I’d like to share my “start up” kit. This is valuable information to be sharing because it was no easy task to figure out exactly what I needed and what is compatible with what.
What do you need to do off camera flash?
1. A flash
2. A Stand
3. Triggers
4. A diffuser
This is it! This is the bear minimum to accomplish off camera flash (well for the bear minimum you can remove diffuser as you don’t “need” it but.. trust me, you really want it..).
1. A Flash – $259.00 – I started with a Canon Speedlite 430 EX II. I love this light and it is a great place to start. You can shoot in manual or ETTL, you can rotate the flash to aim it in any direction you want – behind you, up to the ceiling, against the wall, or straight on. This is great because it’s nice to have the option to bounce the flash vs shooting it straight on, but that’s a topic for another day :). This flash is a slave only so if you ever want to shoot with 2 flashes you will need to get the Speedlite 580 to control the 430 but if you only need one flash the 430 does the job.
A great (cheaper) alternative to the Canon Speedlites is the Yongnuo brand (around $70). I haven’t used these yet but I frequent many photography forums and a ton of people have great things to say about them! I may get a Yongnuo as a master flash to connect with my Speedlite.
2. Light Stand – $27.95 – that is the light stand I bought.. it’s a great stand :). It goes up to about 6′ high and as low as maybe around 2′. It comes with an umbrella attachment which is essential for the softbox I use but also good for using umbrellas which are nice to use when you want something light and portable. It also comes with an umbrella 🙂 although I rarely use it.
Another option for a light stand is buying a simple hot shoe stand – about $10 including shipping. this is a very simple way to move the flash around the room!
3. Triggers – $82.89 – These are the triggers I use. I have a Canon Mark II 5D and a Canon 430 EX II Speedlite. These triggers seem pretty universal but you’ll want to verify that they are compatible with your camera and light. They are wireless and are compatible with the Speedlite.. I have no complaints :)! It took me a lot of research to figure out which triggers to buy! I didn’t start with wireless triggers.. the first trigger I bought was a cord which connected to the flash from the camera and it works very well, but I am liking the freedom of wireless (although dislike how many batteries I’m going through nowadays). There are cheaper cords but I wanted something long enough to be able to move around away from the camera so I invested in a longer cord. I really like having a cord and wireless trigger in case the wireless trigger ever stops working I have a reliable backup. Or if I don’t want to set up the wireless triggers I can use it faster :).
4. A Diffuser – $169.90 – A diffuser is something the light shoots through to make it softer/more spread out and less harsh/direct. When you shoot straight on it can be too much light and very harsh so a diffuser really helps. I started out using the umbrella that came with my stand and upgraded to one that is a 50×50 softbox. There are tons of diffuser options though and different shapes and sizes. You can choose circular ones, octogons, squares, rectangles.. the shape you choose will affect your photography so maybe do some reasearch on this before you pick something. This diffuser I chose attaches to the light stand via the umbrella port. There are also translucent umbrellas, silver umbrellas, softboxes, and PMS or you can simply aim the flash towards a white wall and bounce it.
If you buy a 5-in-1 reflector (we’ll discuss that in a minute) it comes with a diffuser in it so one option would be to shoot the flash through the diffuser that comes with the reflector. I haven’t tried this, personally, but it seems like it would work well.
That’s all you really “need” to start doing off-camera flash! However if all your light is coming from one direction you will find some shadowing occurring at times.. for this reason it’s really nice to have 2 flashes or a flash and a large reflector. This is the setup I use.. (flash + reflector).
What you need to add a reflector to your off camera flash setup:
1. A Reflector – $14.80 – I use a 48″ circular reflector but there are many different sizes and shapes to choose from.
2. A Light Stand – $27.95 – I use the same stand for my reflector as I do my flash, I just added a boom onto it :).
3. A Boom – 29.95 – It’s essentially an “arm” that attaches to your stand and you can add a reflector to it. The arm is adjustable and accommodates my 48″ reflector as well as my smaller sized one (22″).
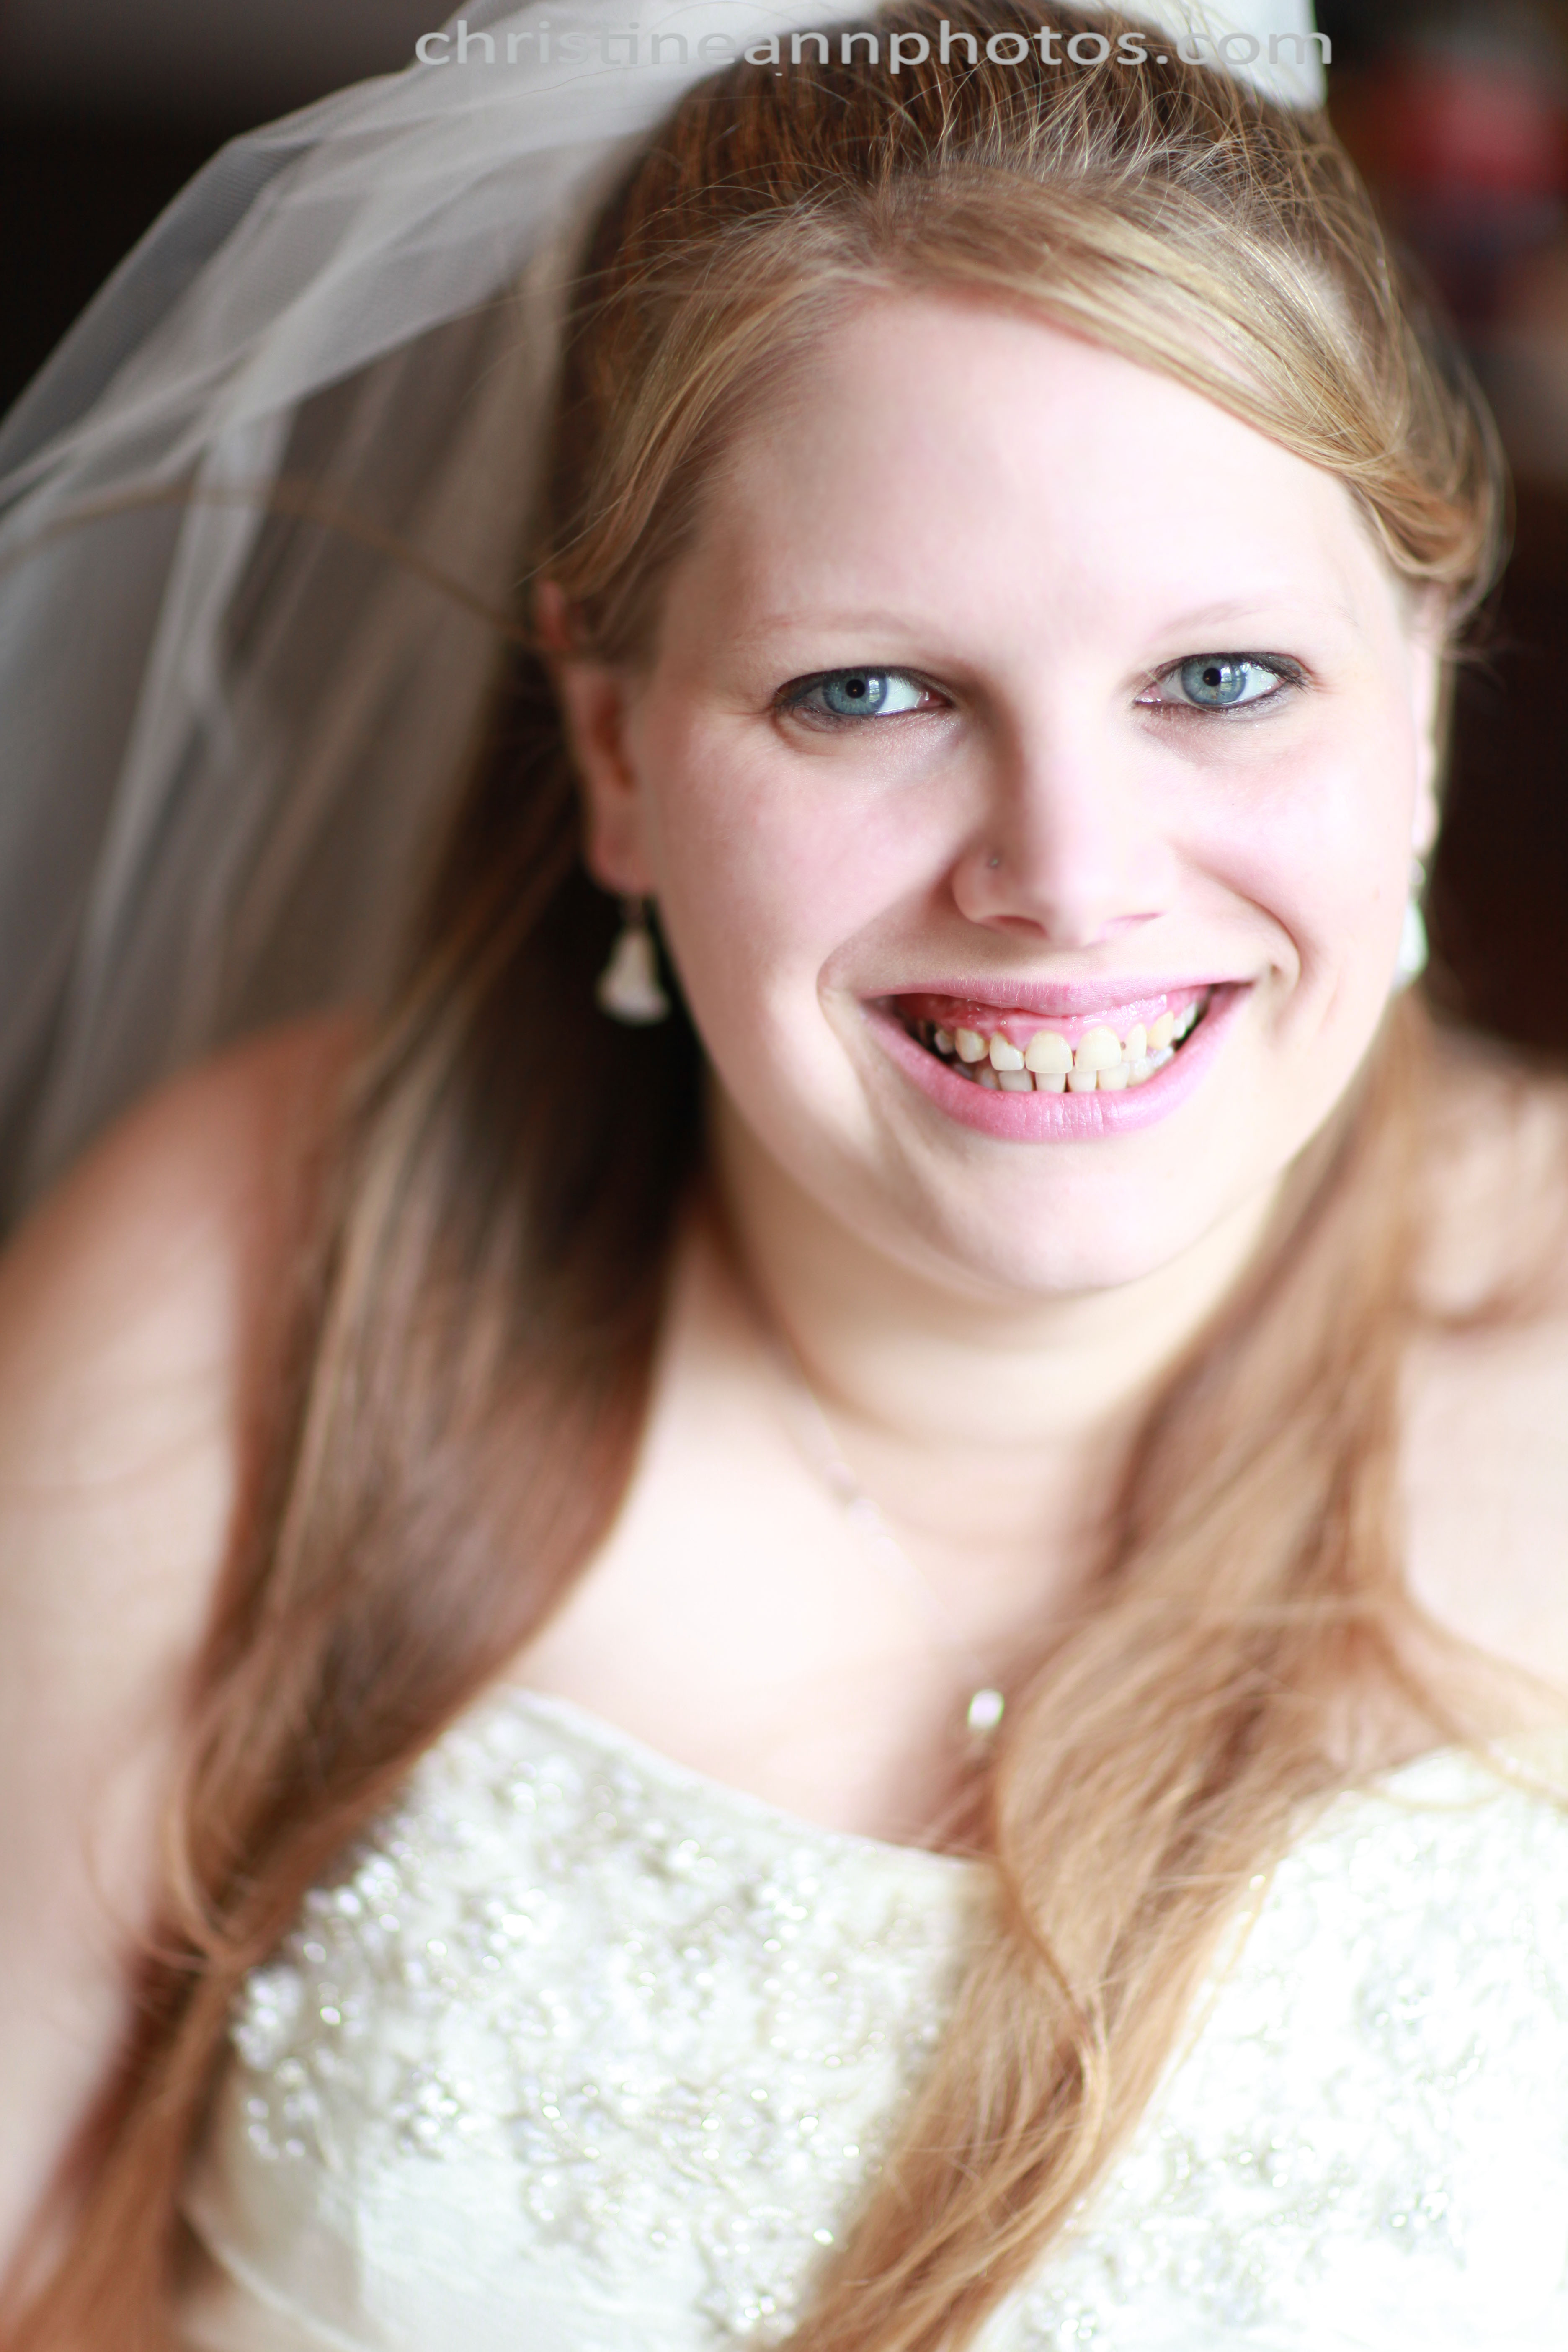
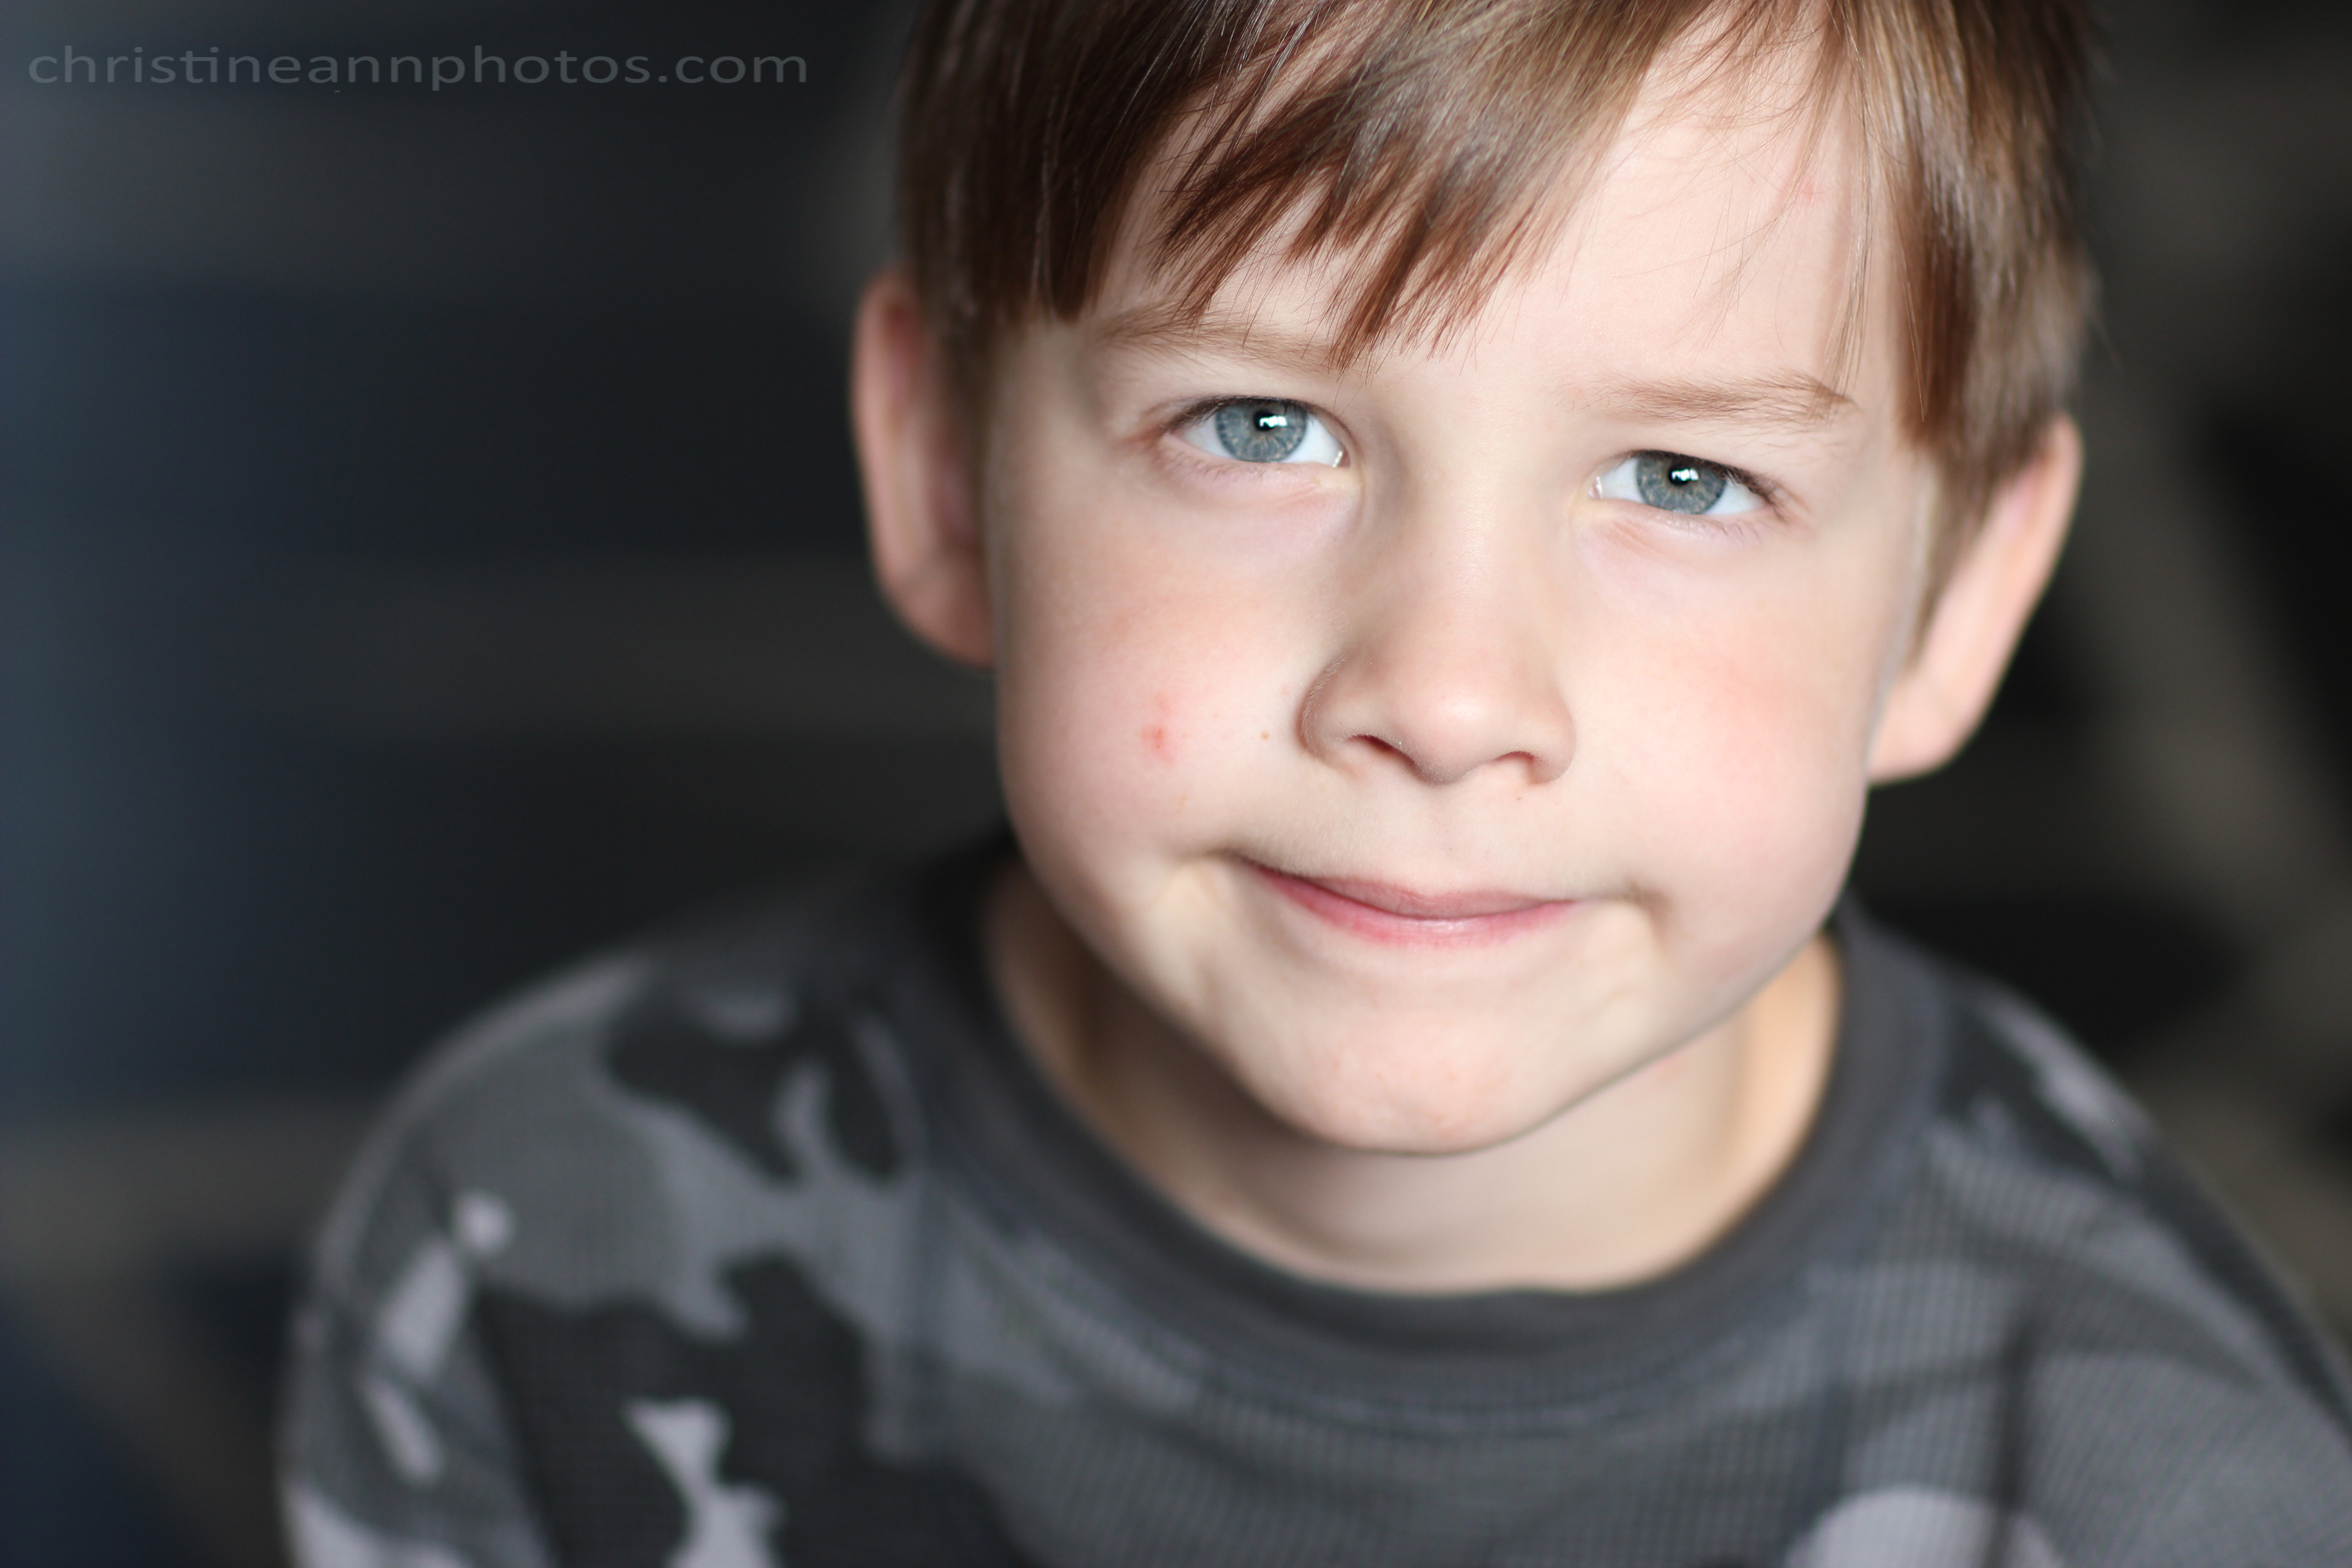
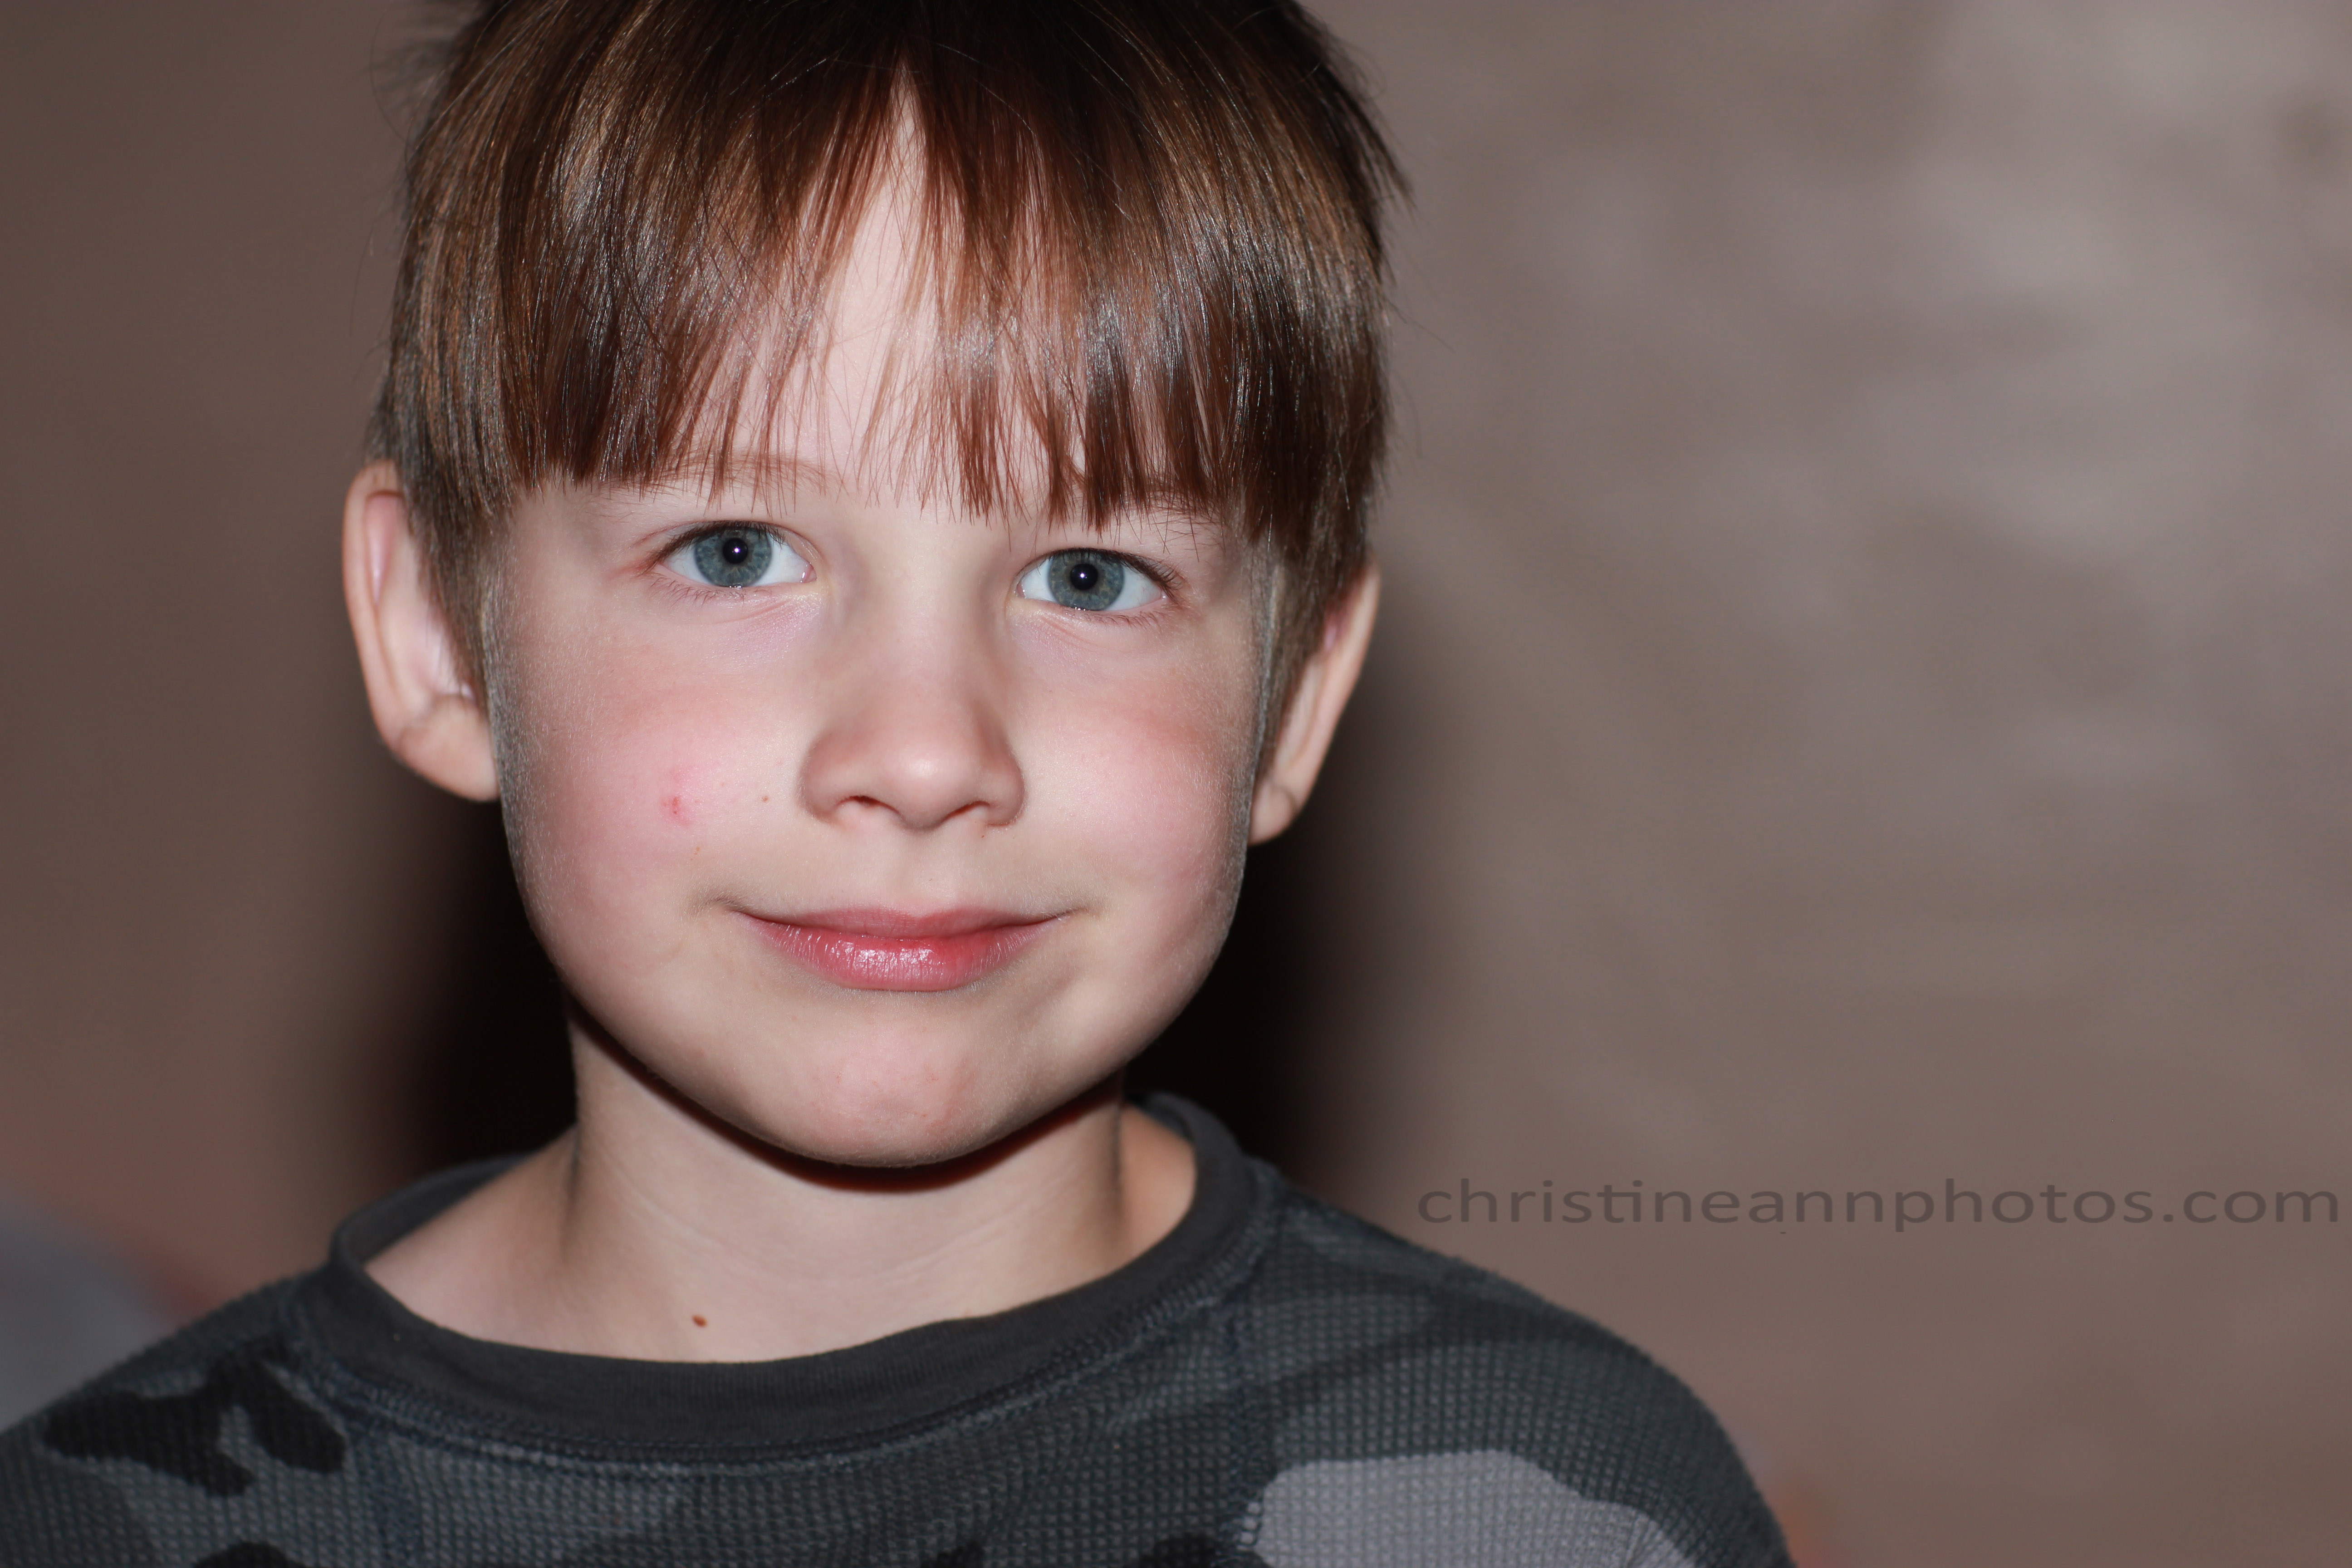
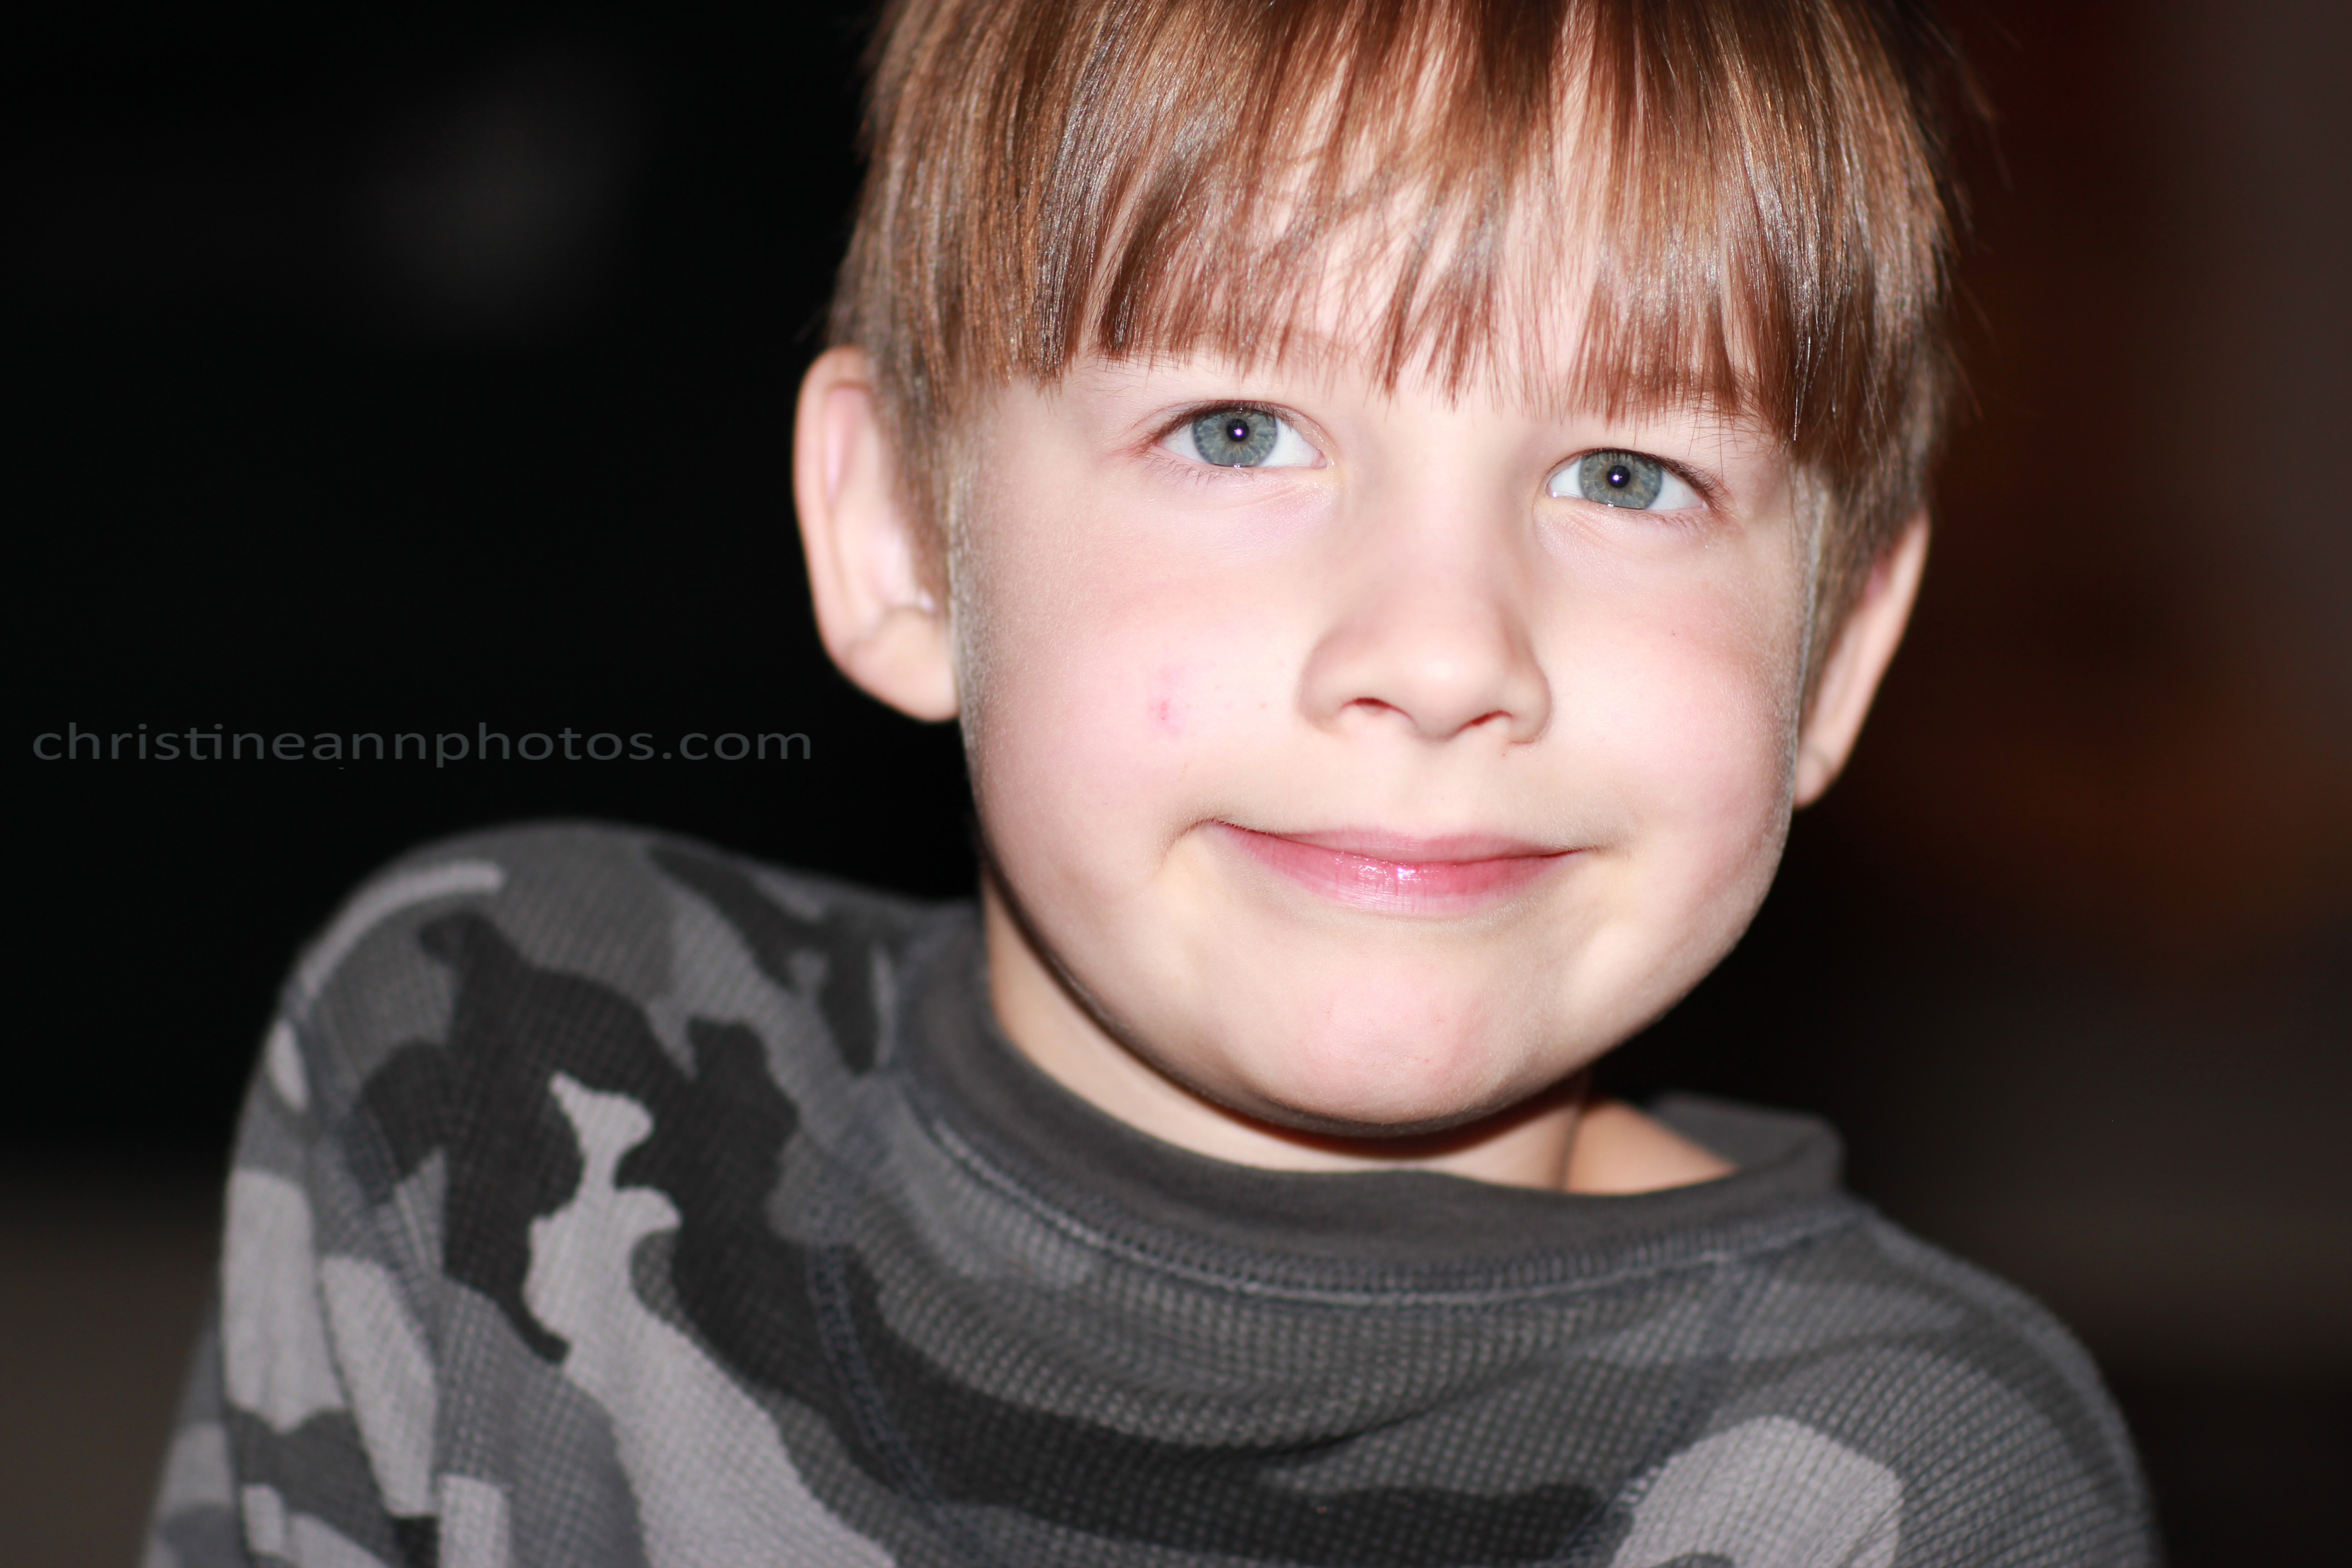
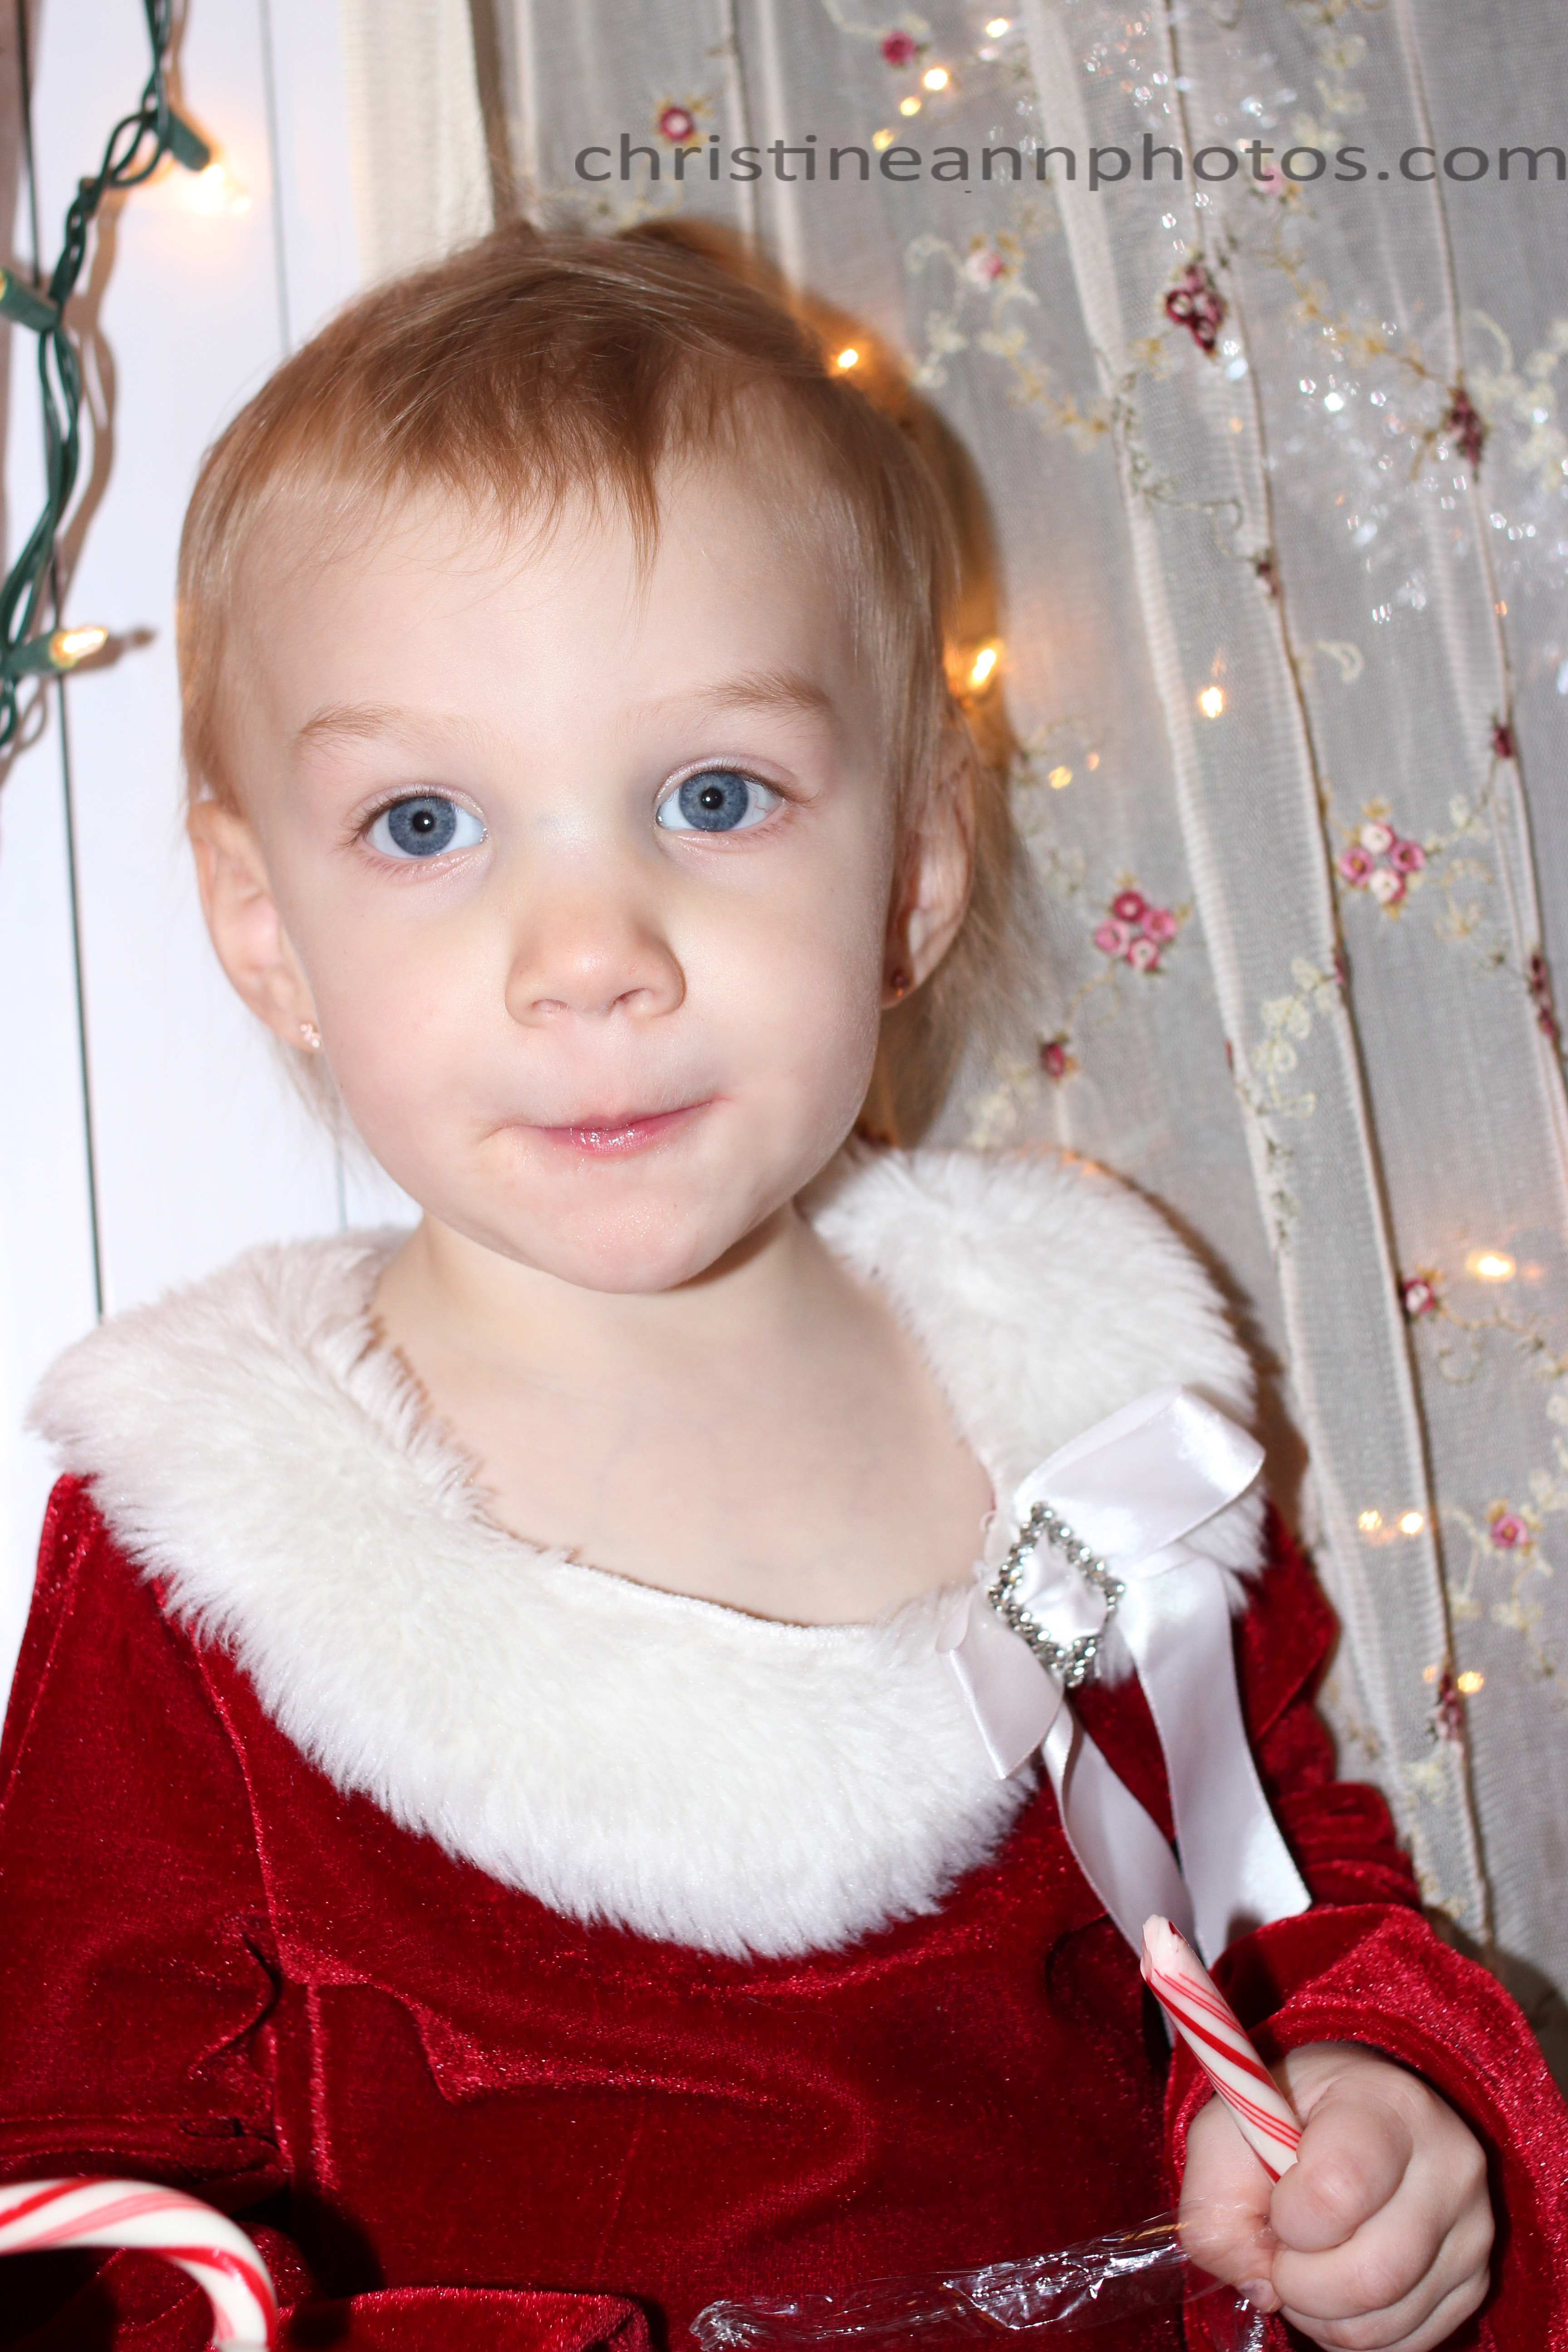
I was taking some practice shots tonight and these are taken mostly with 1 430 ex speedlite behind a 50×50 softbox off to my left side. There is a reflector off to the right and it did reflect some light but I didn’t have it aimed to directly reflect light, so while it made some fill, it didn’t make it to its maximum capacity.


^ this photo was just taken with a softbox and no reflector.. I am sitting in front of the diffuser (you can see my reflection in the eyes!).

So there it is! Everything I needed to really seriously get into off camera flash. This is a great place to start however as you “master” the art of one flash, you’ll want to start adding in more 🙂 and upgrading equipment.
Hope this helps someone [or lots of people..] out!
-Christine Ann