Which lens you decide to use on your camera has a big impact on how the photo turns out. A big contendor in the photography world for people who are very invested in photography is the 85mm 1.2L lens by Canon. This is the first professional level lens I invested in and I am very fond of it :).
The first thing you have to decide when picking a lens is if you want a prime lens (does not zoom in and out) or a zoom lens (has a range of how close or far you can get to the subject by rotating the lens to zoom in and out). THere are advantages and disadvantages to each (perhaps a future blog post topic 🙂 ) but one of the best and most noteworthy features of the 85mm 1.2 lens is that the aperture can reach .. *drumroll* .. f/1.2! The lowest number you usually see on a zoom lens is f/2.8 so this is quite a big difference on the prime, however you do lose the ability to zoom in and out. The f/1.2 is amazing for when you want to get as much light into the camera as possible and also if you want a very small depth of field (meaning only one thing will be sharply in focus and everything else will be blurred).
The f/1.2 is so sensitive that on my full frame sensor camera body (how far 1.2 takes you depends on a handful of factors including your camera body), if I focus on someone’s nose, their eye will be out of focus. It’s a very very narrow depth of field and very unforgiving for in focus images! There is a learning curve to harnessing this power. I would not recommend using any new equipment at a shoot that you haven’t practiced with in advance. YOu will probably get some out of focus images when you start out with this lens. I try not to go to 1.2 anymore, personally. f/2 or higher is usually ideal but if there is low light or if I want a certain look I will bump it down lower.
Anyway, I wanted to make a blog post showing image examples of photos taken on the 85mm f/1.2L lens so people could take a look and maybe it could help people make more informed purchasing decisions.
I do need to explain that I reduced the image size significantly to post to the web. Standard web size is 900×600.. the originals are around 3800×5700 so they don’t reflect the same quality as they do out of the camera but I hope it gives a good idea.. especially since the originals are better :). If you would like to see a full resolution version of anything just ask in the comments! I am happy to post!
Anyway, without further ado….

^f/3.5

^f/2.8

^f/1.8

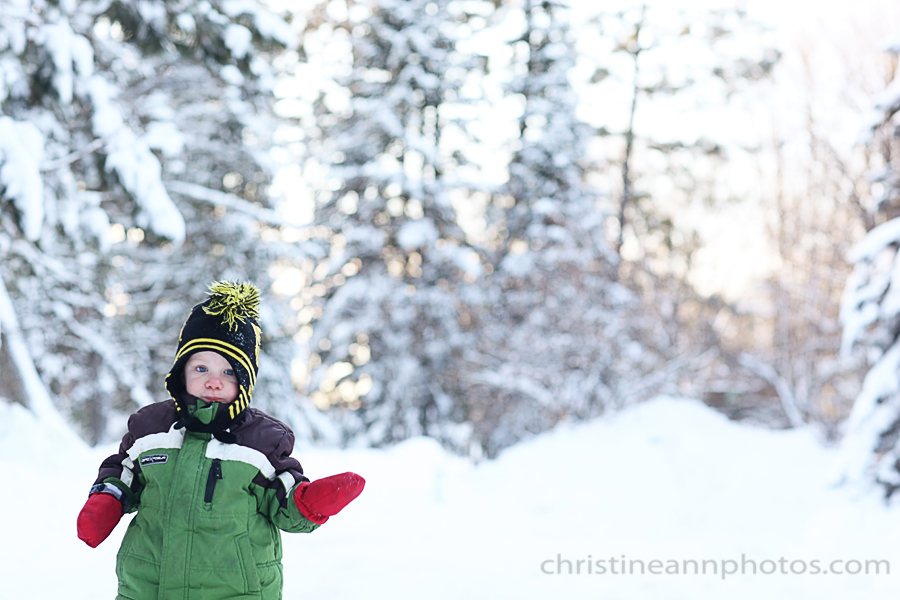
^f/1.2 – wide open!

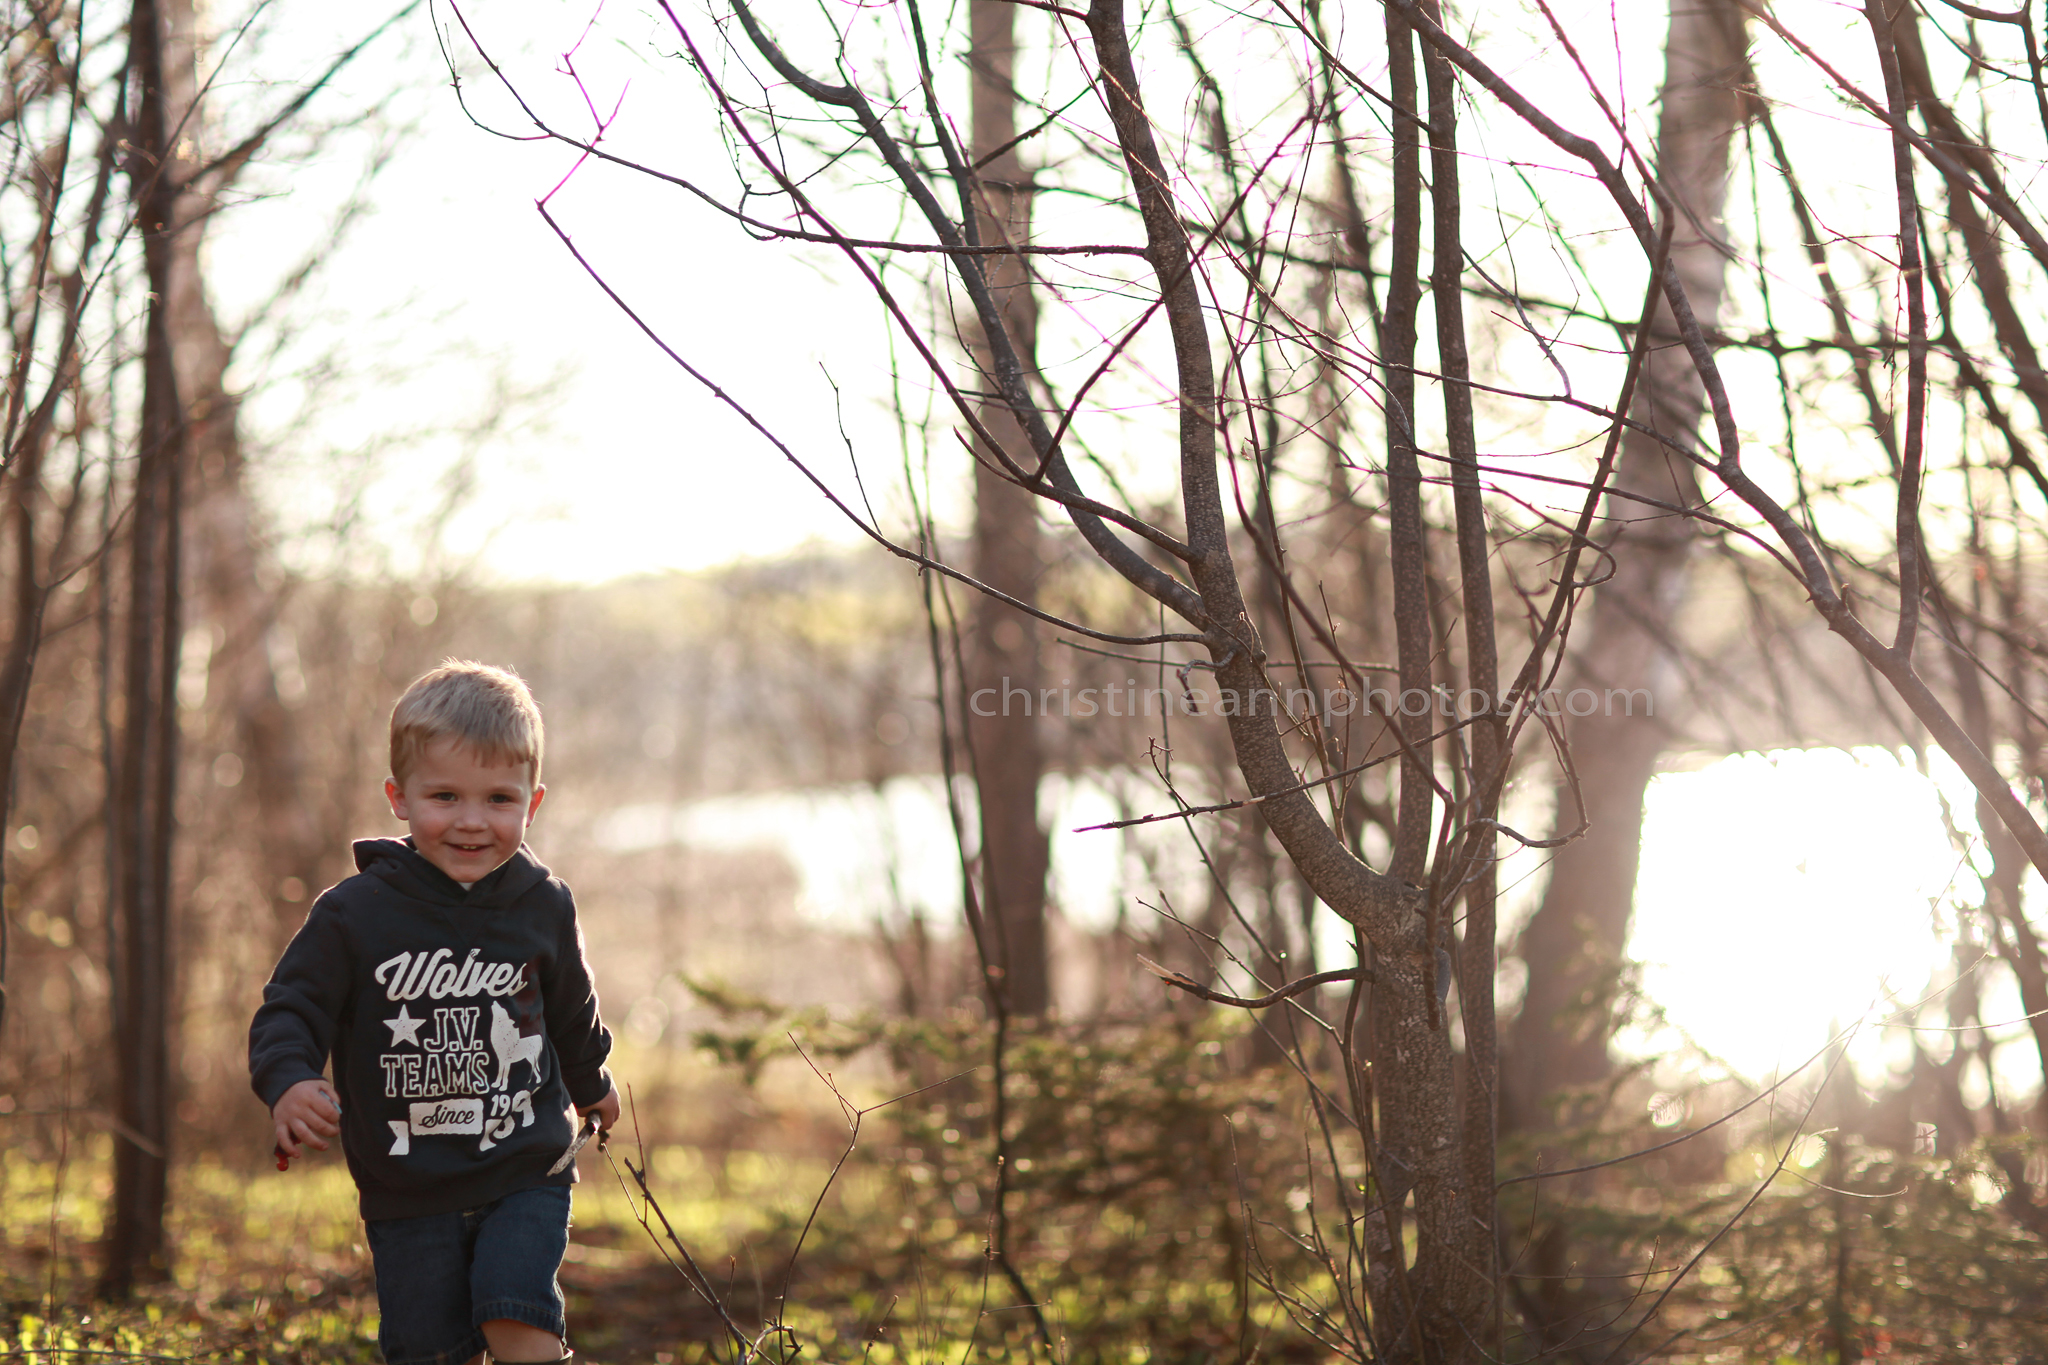
f/1.8

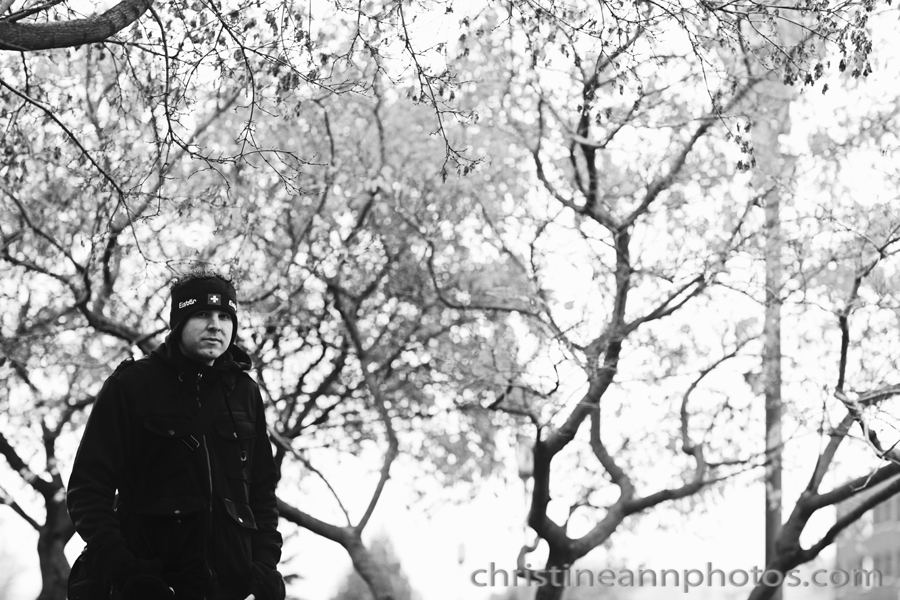
^f/1.4 – close to wide open :)! If you’re shooting this low you must nail the focus spot!

^f/2.5

f/1.4. I was able to take a photo with one fairly dim light on @ 1.4.. this low aperture also created a very nice bokeh effect on the Christmas tree.

^f/1.8 (This lens is great for Christmas lights!).


^f/2

^f/1.8

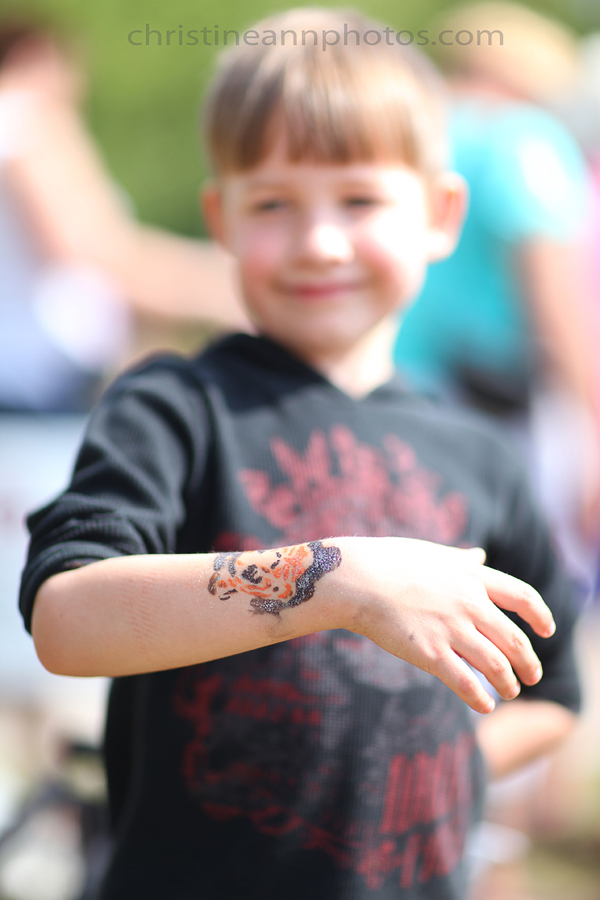
f/1.6. Notice how narrow the focus is.. the arm is in focus and his entire body is blurred.. there’s about a foot between what is in focus and what isn’t. If the aperture were higher (around f/4+) the arm and body would both be in focus.

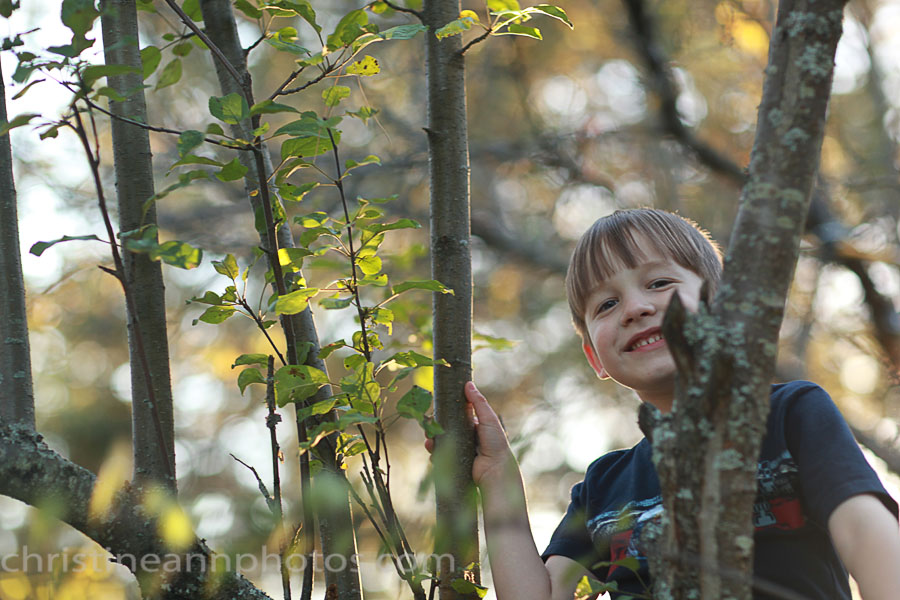
^f/1.8

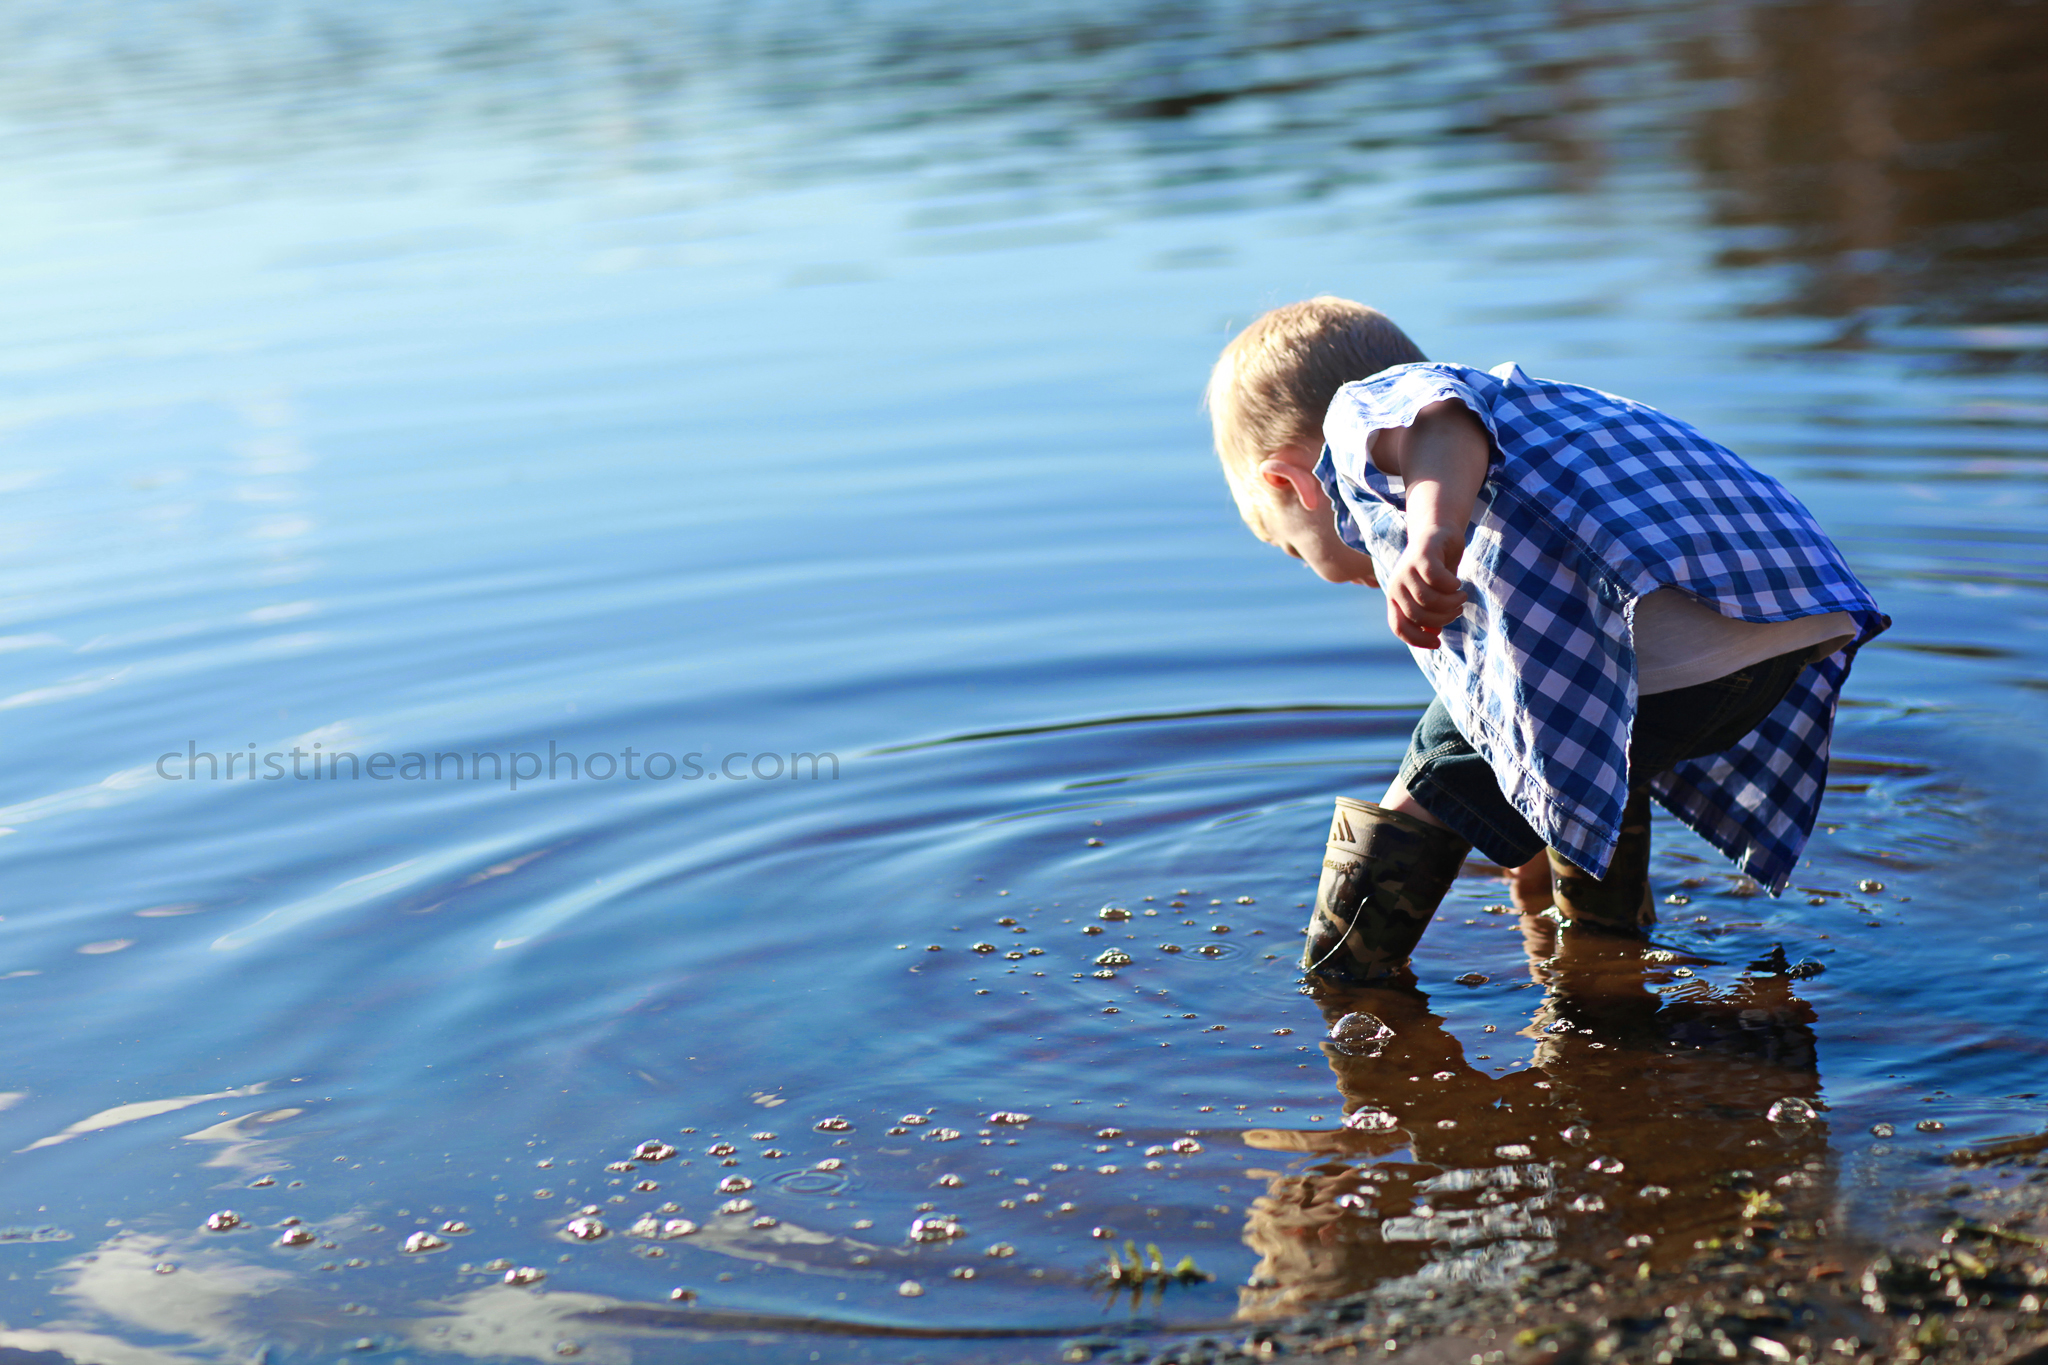
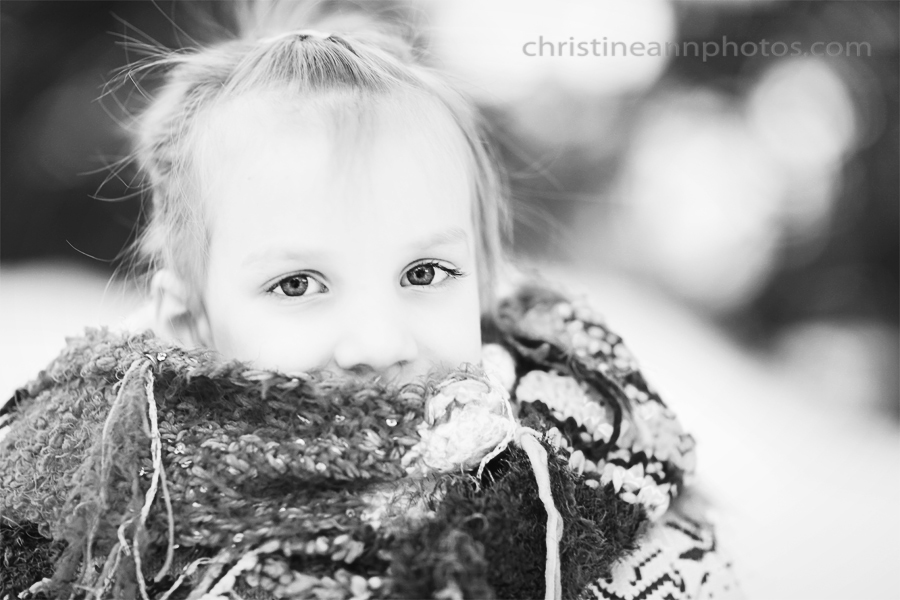
f/1.8. Loving how blurred the background is! Notice how even the front of the scarf is blurred.. 1.8 is not a very large depth of field.

f/1.8

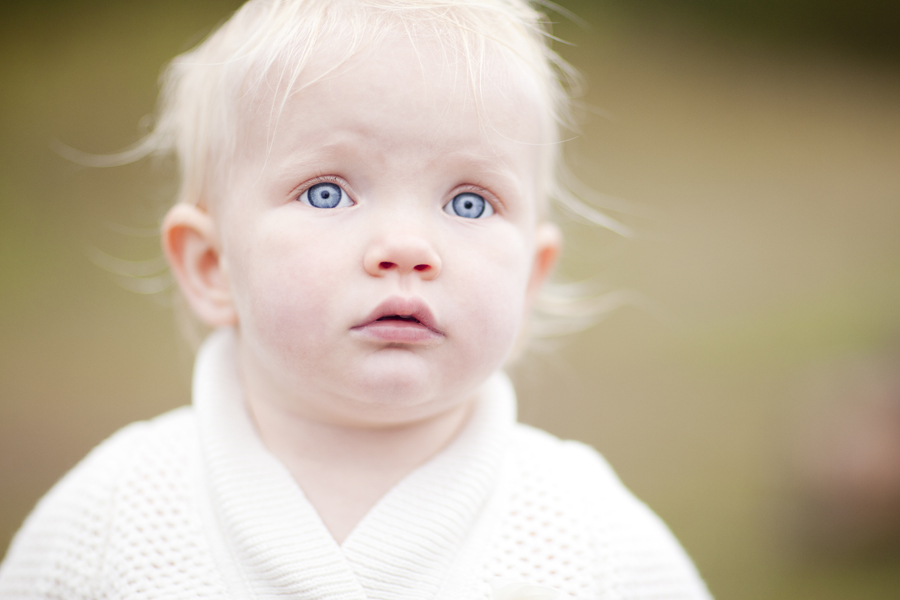
^Here’s one at f/1.2 – this is as low as it can go. I am going to do another blog post soon zooming in so you can see the eyes are in focus but even the nose is out of focus. It still looks okay zoomed out but if you zoom in you’ll see how sensitive the focus is.

^f/2.8

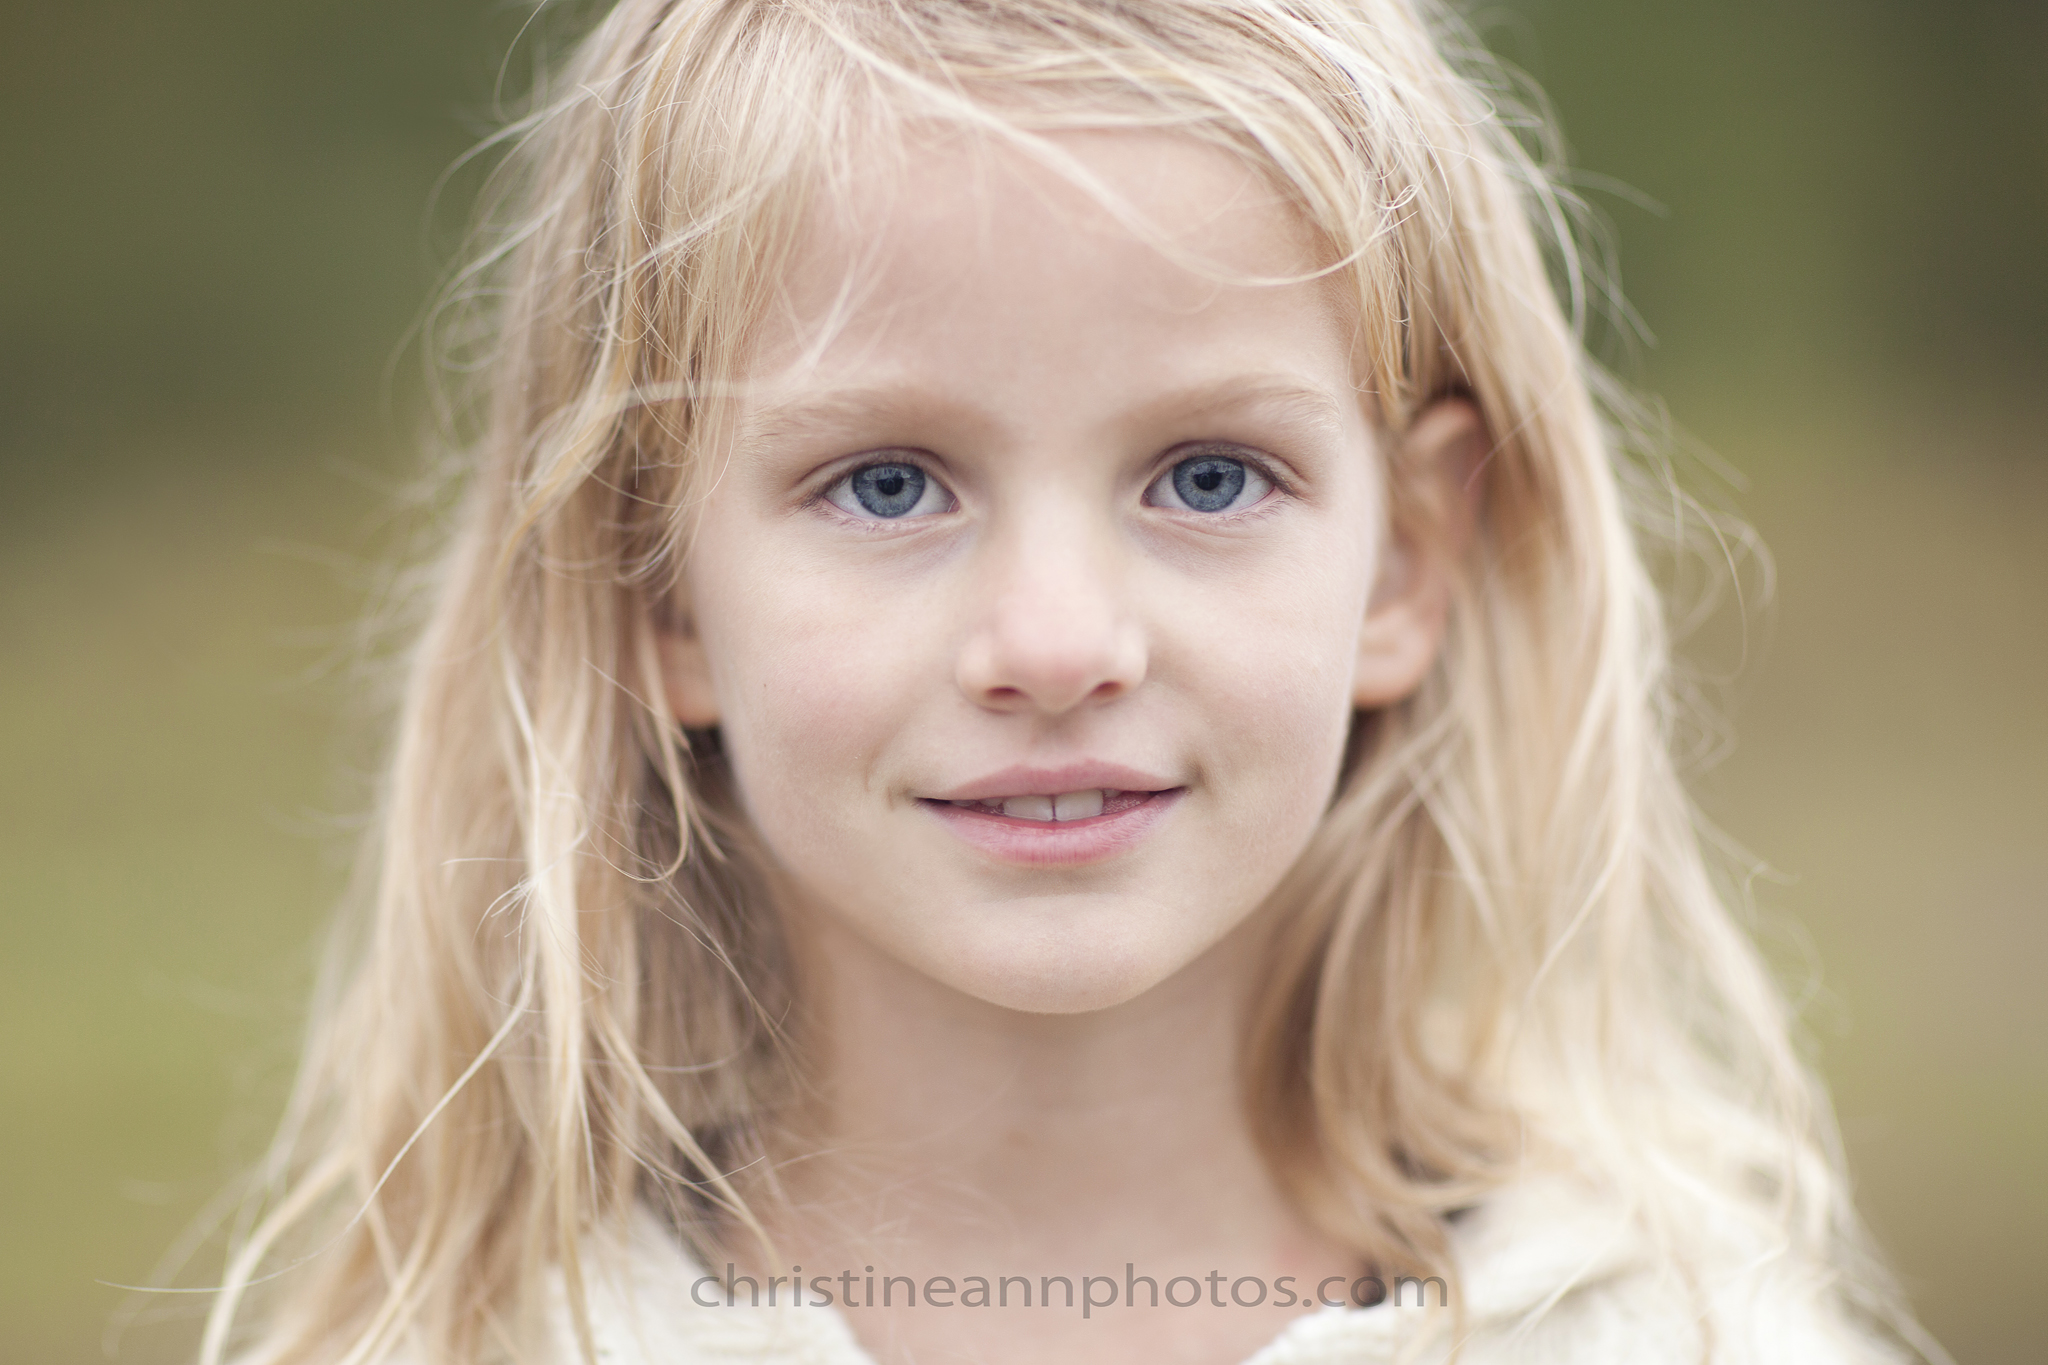
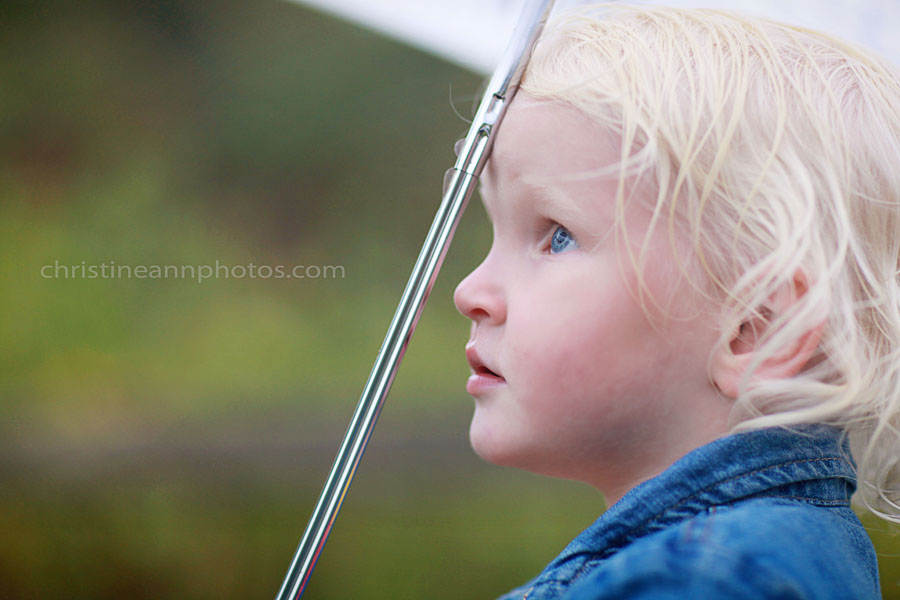
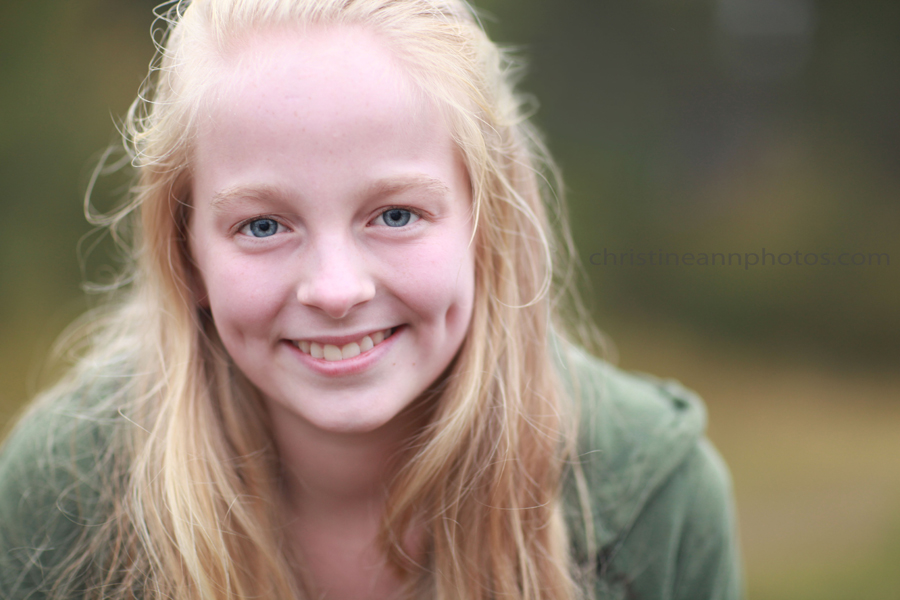
^Wide open at f/1.2. To do this shot over I would have used a higher aperture since her hair is blurred out but I still love this photo :).

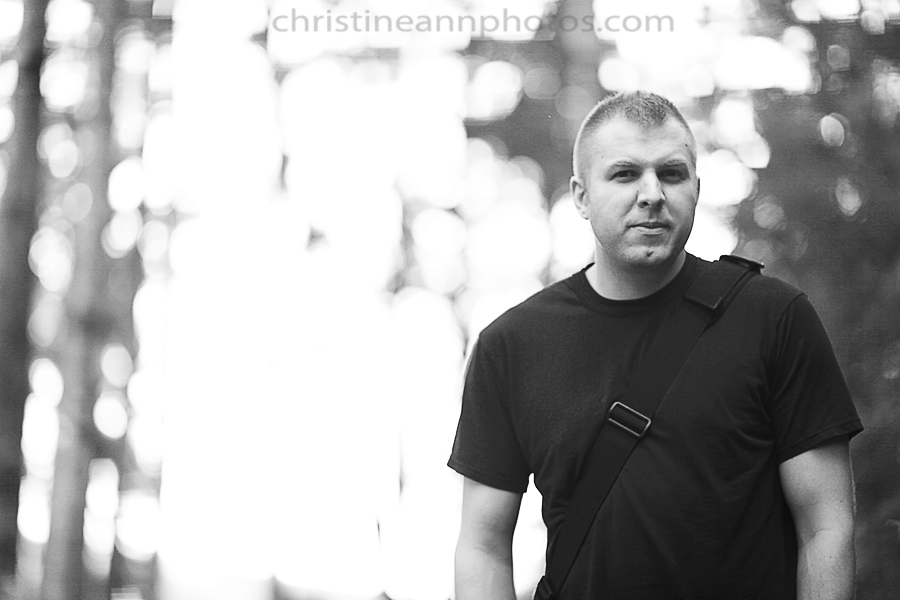
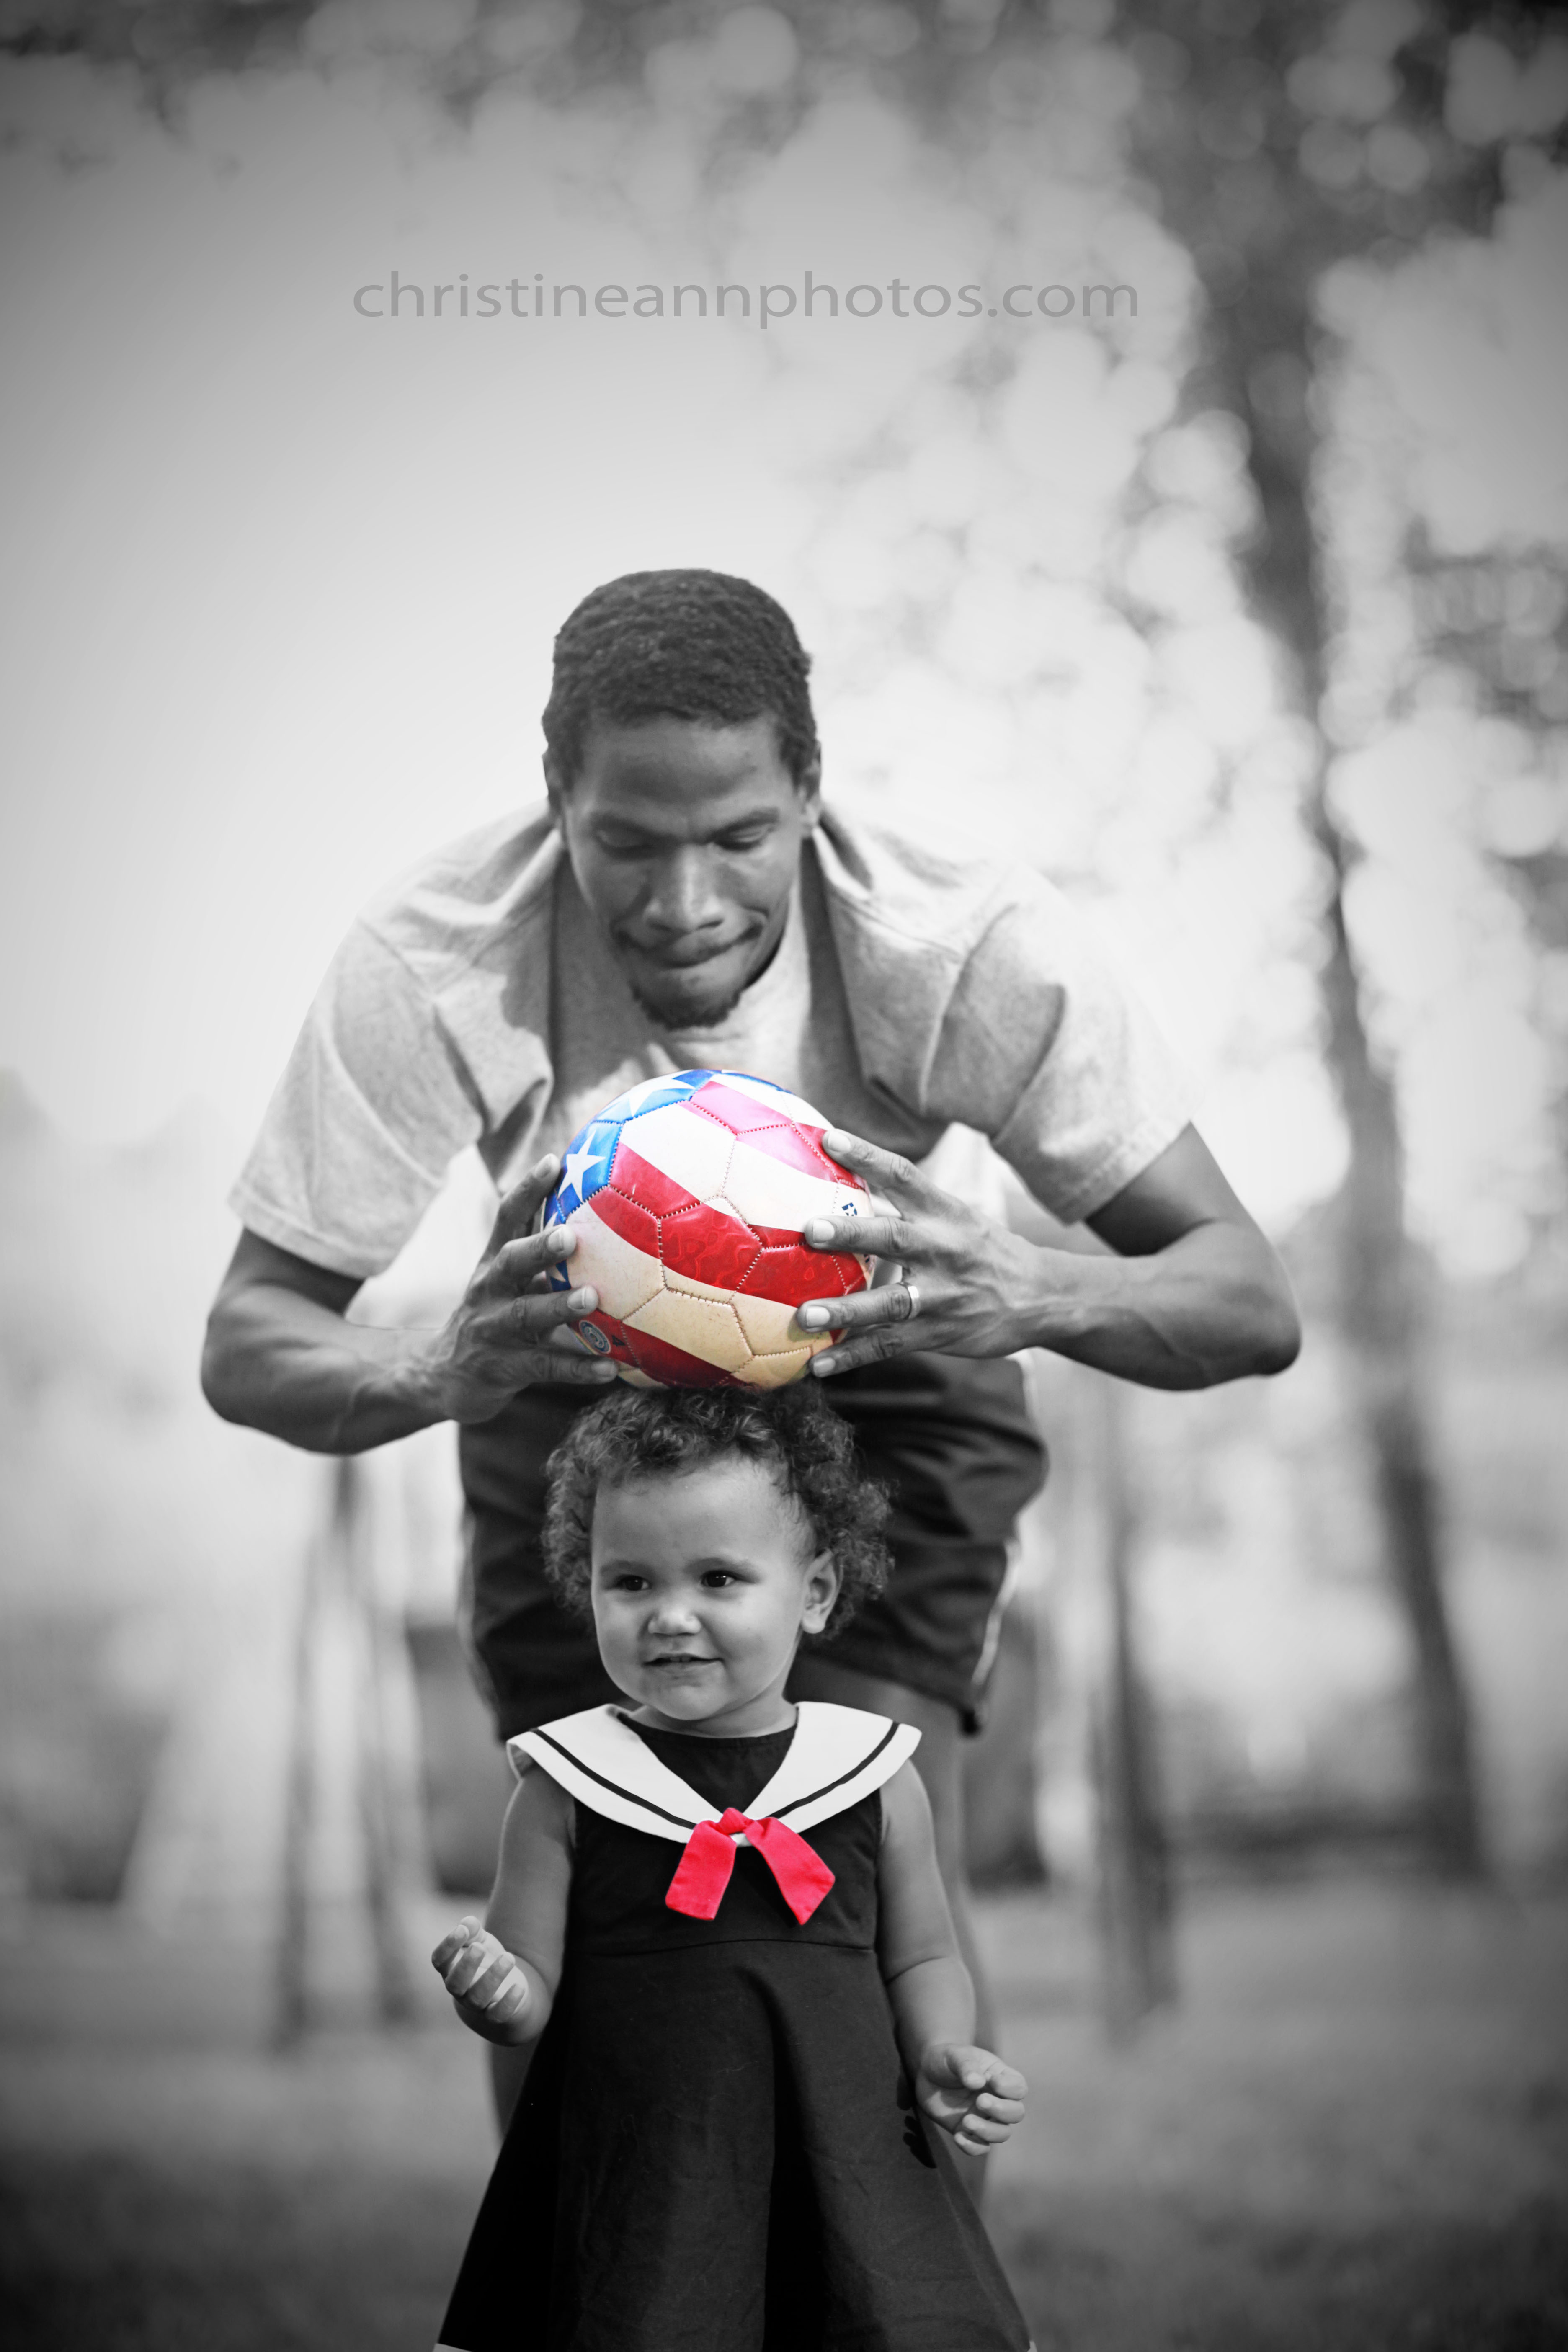
^Another photo taken at f/1.2. I’m trying to include a lot at 1.2 since a lot of people are curious about what photos like at that aperture.

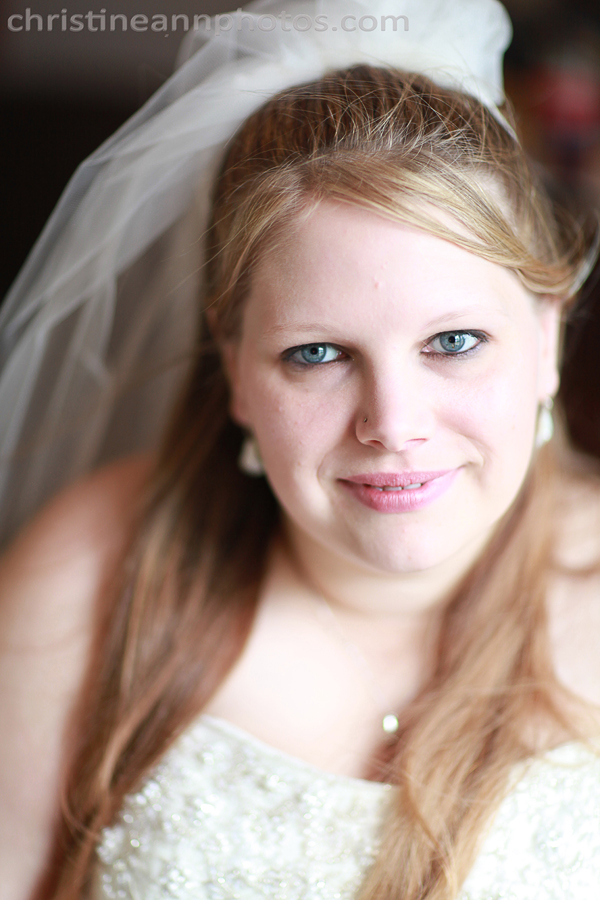
f/1.8 portrait

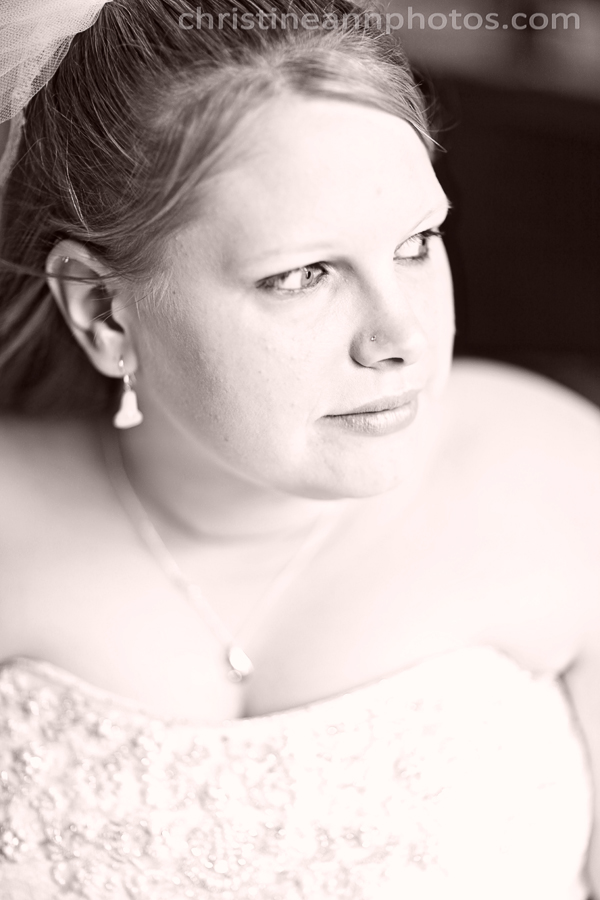
^f/1.4

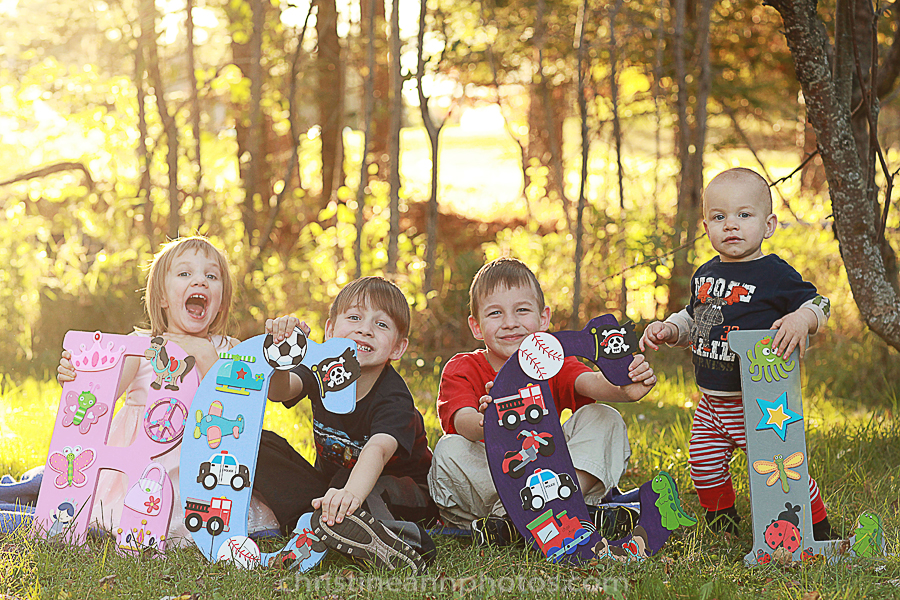
^Here’s a shot taken at a higher aperture of f/4. As youc an see.. still plenty of lovely bokeh :).

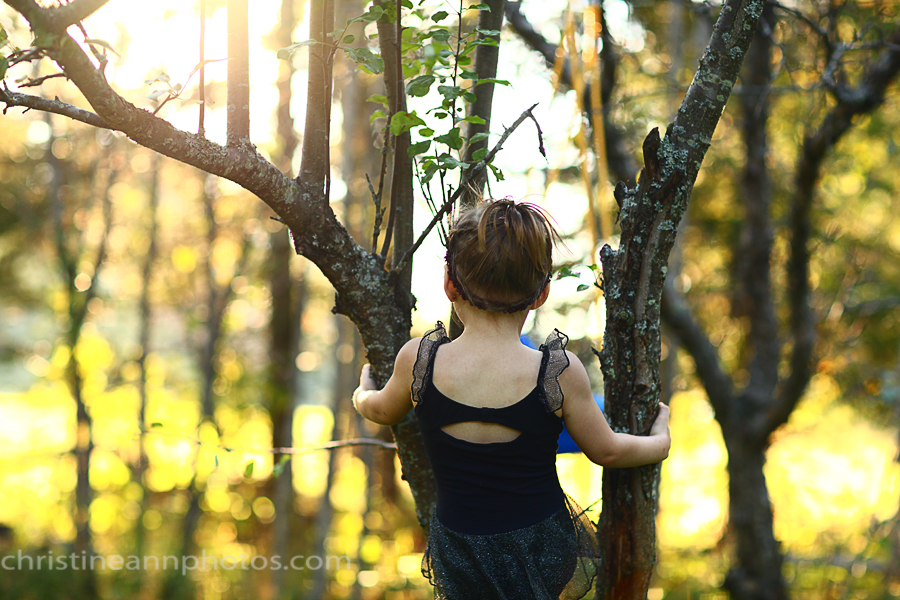
^f/2.2

^f/2.2

f/2

^f/2.2

^This is a full res version of an image taken at f/1.2 – click on it to see full detail.
To see zoomed in versions of the photos to see how the depth of field looks up close at f/1.2 check out this article.
If you have any questions please don’t hesitate to ask!
-Christine Ann
Duluth MN Senior and Family Photographer Website
Duluth Photographer Blog
Duluth Senior and Family Photographer Facebook Account