Clipping Mask Using Squijoo.

It seems there are some technical (possibly legal) technicalities with Squijoo at the moment, but many photographers have their templates saved and want to be able to use them.  I’m nervous about the site disappearing forever (it’s down right now) so I wanted to write a quick article about how to insert photos into the templates using the clipping mask!  You can read their article on it here, however right now all their images are down.

First, you  open the template, then using the move tool, drag and place the image directly over the picture mask layer.

PC Users: press Control+G (Photoshop CS and earlier) or Control+Alt+G (Photoshop CS2 and newer)

Mac Users: press Command+G (Photoshop CS and earlier) or Command+Option+G (Photoshop CS2 and newer).

The image will automatically clip and work perfectly in the template!

*Very important: Make sure that your photo is directly ONE layer on top of the layer named “picture mask”. The best way to do this is to first select the “picture mask” layer in your template >> then go to your photo and drag it into the template*.

-Christine
Duluth MN Portrait Photographer

How To Add Color To A Black & White Image With A Layer Mask/Photoshop Layers Explained

A Beginner’s Tutorial On How To Use Photoshop Layers, Layer Masks, And Bring Back Color To A Black And White Image (All-In-One!) With Image/Screenshot Examples
*Note:  This article might look long/hard but it’s because it’s written assuming you know nothing about how to use Photoshop so it’s just very thorough.. this is VERY easy and fast to do!

Many years ago my husband got Photoshop for me.  I was super excited.. I opened it up and was so overwhelmed I didn’t open it up again for another year!!!!  WHen I did open it up a year later, it was because I had seen an image on Facebook and someone noted on it “Edited with auto color in Photoshop”.  “Auto edit????  I can do that!”.  And I excitedly opened it back up.  Once it was re-opened I started playing around with it more and learning new things about it.  I was still very confused about how you could add color to a black and white image and my husband explained it like this: Imagine you have 2 photographs.. a color photograph, and a black and white version of the exact same photograph.  Imagine you put the black and white photograph on top of the color photograph and then take an eraser and erase away parts of the black and white image to reveal the color beneath it.  ta-da!  Like magic, I now understood the concept of Photoshop layering! The very first thing I learned how to do with layers was add a pop of color to a black and white image.  You can do it as I stated above (layer a bw image on top of a color image and use the eraser tool to erase away the bw image to reveal color) but the issue with doing it that way is.. what if you make a mistake?  What if you erase away too much?  You cannot go back to add the black and white back.  For that reason I want to teach everyone how to use a layer mask.  With a layer mask (VERY easy to do!!!!) you can remove parts of the top layer AND bring them back again!  And you can use it for endless different projects beyond a selective coloring/color pop image! I’m a very visual learner so that’s how I like to explain things as well.

Learn How To Do Color Pop

^STEP ONE:  Open The Image
We’ll start with what your image looks like when you open it in Photoshop:

Learn How To Do Selective Coloring

^STEP 2:  Duplicate Layer
This is the step where you layer 2 images on top of one another.. do do this by going to the layers palette, right click on your layer, and select “duplicate layer”.  You can also simply go to your menu on top of the screen and click “Layer>New>Layer From Background”.

Learn How To Do Layers

^STEP 3:  Turn The Top Layer Black And White
Make sure your top layer is highlighted in the layers palette and then turn your image black and white :).  You now have a black and white image on top, and a color image on bottom.

Learn How To Do Layer Mask

^STEP 4:  Add A Layer Mask
This is where you add the layer mask I was mentioning earlier.. this mask will allow you to remove parts of the black and white image as well as bring back parts of the black and white image.

Photoshop Color Pop

^STEP 5:  Select A Black Paintbrush
Your layers palette should now look like this.. the white box next to your bw image is the layer mask.  You will use the black paintbrush to remove the black and white image, and the white paintbrush to bring back the black and white image.

How to add color to black and white photos in photoshop

^STEP 6:  Verify Your Layer Mask Is Selected
If you have anything other than the layer mask selected, this will not work and the paintbrush will work normally (adding a white or black streak on the image).

Selective Color with Image Examples

^STEP 7:  Paint Anywhere You’d Like To Add Color Take your paintbrush and paint anywhere you’d like to add color!  It’s that easy!  If you run over the lines, it’s okay.. you can turn it back to black and white which we address in the next step.

Screenshots to show how to use Photoshop to do selective coloring

STEP 8:  Select The White Paintbrush To Bring Back The Black And White Image
Change the color of your paintbrush to white and paint over anywhere you did not want to bring the color back.  It helps to scroll in very close to the image, use a brush that isn’t 100% soft, and make the edges as clean as possible.  It looks very sloppy when the color runs outside the lines.

screenshots to show how to do color pop in photoshop

^The image after cleaning it up with the white paintbrush (again verify that your layer mask is clicked on!).

adding color to black and white images

^STEP 9:  (Optional Step):  Reduce The Opacity/Strength Of The Colors
I always feel that bringing back the full strength of color in an image is just too intense/harsh.  For this reason I like to make it sort of a blend of half black and white/half color.. this tones down the coloring a lot and makes it look much more gentle and blends better.  (This is just my opinion and what you like may be different!  I compare a full strength color pop image to a partial strength color pop image here if you’d like to compare for yourself).

Using Opacity To Decrease Colors

^This is the image with the coloring reduced by 50%.. it blends much better.

I’d like to make a quite note that the above images are not ones that I would choose to do.. They are only edited this way for the purposes of this article.  If I brought back color to anything I would choose the boots but for the purposes of this article I wanted to choose something that was easy to see and overall I just prefer this photo in color :).

I really hope this helps you all learn some more about how to use layers in Photoshop and how to add color to a black and white image!

-Christine Ann

Duluth MN Photographer

Photo Comparisons of the 50mm 1.8 and the 85mm 1.2 Lens

Awhile back I did a comparison of lenses.  When I did the comparison I honestly had no idea what the results would be but I really wanted to know how much the lens matter.  When I did my test I concluded that a better lens on a crop sensor body makes a big impact, but a cheaper lens on a full frame sensor doesn’t have a lot of difference between it and a nicer lens.  Like.. my crop sensor + nice lens photos were similar to my full frame sensor + nice lens photos.
Then one night I was taking some photos and I started on my 50 then switched to the 85.  When I went to cull the photos, I could noticably tell when I switched lenses so now I am coming to realize that the lens does make a noticeable difference.  Although, that said, I still fell confident and comfortable using my 50mm.. so I don’t think my photos are doomed or anything if I use it ;).
Anyway I just thought I would show the photo comparison from 50mm to 85mm so you can see what I mean!

So this is where I noticed the quality difference.. on the top is the 50mm and on the bottom is the 85mm.  These are SOOC.. I do think I could edit the one on the top to  look a little more 3D and give it more pow but SOOC you can tell that the 85 has the advantage.

85mm 1.2 vs 50mm 1.8 image comparison
_____

Now these next photos (below) are both from the 50 MM.  It’s the same photo.  The photo on the top is SOOC and the photo on the bottom is edited.  The photo on the very bottom (third one down) is from the 85mm however, it has an advantage/difference because it was shot at f/2.2 and these were shot at f/3.2.  So while it does have more bokeh, you need to take that into account :).

85mm 1.2 vs 50mm 1.8 image comparison
{The above photos are from the 50mm, taken at f/3.2 with unedited and edited examples and below is a similar angle from the 85mm taken at f/2.2}.
85mm 1.2 vs 50mm 1.8 image comparison
^85mm SOOC.

So there you have it.  My conclusions?  The 85mm 1.2 is better.. (I should dang well hope so for the massive price difference) ;).  BUT the 50mm is still pretty amazing and doesn’t embarrass side-by-side comparisons.  If the lens were horrible or significantly inferior, it would be much more obvious.. like in the blog post I link to earlier in the page.. when you compare the kit lens to even the 50mm, it doesn’t stand a chance.  The kit lens is hands-down awful and it is very obvious when you compare the photos (noteL  if you are shooting with the kit lens – the lens that came with your camera – quickly invest in the 50mm 1.8!).  Even though I have an L lens at my disposal I don’t hesitate to use my 50mm when necessary.  I do think the difference between lenses is a lot less noticeable on a full frame sensor, though, and that is important to note.  On a crop sensor the difference between lenses is much  more obvious (these were all taken on a full frame sensor).  So, to reiterate, if you are on a crop sensor, investing in a nicer lens will have more impact for you!  However, you can and should be able to get great photos off your 50mm on a crop sensor too.  I get much better photos off my T2i (crop sensor camera) + 50mm lens now than I did 2 years ago.. the equipment is the same but I just know a lot more now and can use them better.

At the end of the day you can have the best or worst equipment but if you know how to use them (or don’t know how to use them) the equipment won’t do much for you.  I remember the day I got my full frame sensor camera and while I did notice a change in quality, I was disappointed that my photos weren’t instantly and magically like the esteemed photographers whom I so admire.  That takes a lot of time and lot of practice to get to.. there are 5 million things that go into a great photo and equipment is a mere fraction of the equation.  (That was a disappointing realization, haha, but I am proud that when I produce great photos it’s because of my knowledge and not my camera and makes me admire talented photographers that much more 🙂 ).

Anyway, I did most of these “sleeping toddler” photos on the 50mm.  If you’d like to see the full blog post click here.  All of them except the last 2 are from the 50mm.  You should be able to get great photos on your 50 and if you aren’t, it isn’t the lens, my friends.  A nice lens is always nice to have and I strongly believe in giving your photos every edge possible, especially  if you are a professional who charges people for them.  So my advice is work towards getting a nice lens but in the mean time, it isn’t essential to have one.  Keep learning, growing, practicing, and doing what you can with what you have.. you’ll keep improving and gain knowledge so that when you do get the equipment you want, you will be able to make the most of it.  I’ve had my L lens for almost 2 years and I’m just recently starting to get where I’ve wanted to be since I started on my photography journey!

Welp I am stepping off the soapbox now!  haha.  I hope this blog post helps people to decide if they want to invest in a more expensive lens or not!

-Christine Ann
Duluth Family Photographer

What Equipment You Need For Off Camera Flash Photography [With Links]

For many years I put off working with a flash.  The few times I did the photos looked kind of .. bad.. and unnatural and I just couldn’t get the results I wanted so I pretty much just avoided it.  One day  I was thinking about how other photographers get stunning photos with a flash and that there is a way to do it, and I wanted to figure out how.. and so began my journey into learning off camera flash.

A lot of others are in the same position I was in and don’t know where to start.  For this reason I’d like to share my “start up” kit.  This is valuable information to be sharing because it was no easy task to figure out exactly what I needed and what is compatible with what.

What do you need to do off camera flash?

1.  A flash
2.  A Stand
3.  Triggers
4.  A diffuser

This is it!  This is the bear minimum to accomplish off camera flash (well for the bear minimum you can remove diffuser as you don’t “need” it but.. trust me, you really want it..).

1.  A Flash – $259.00 – I started with a Canon Speedlite 430 EX II.  I love this light and it is a great place to start.  You can shoot in manual or ETTL, you can rotate the flash to aim it in any direction you want – behind you, up to the ceiling, against the wall, or straight on.  This is great because  it’s nice to  have the option to bounce the flash vs shooting it straight on, but that’s a topic for another day :).  This flash is a slave only so if you ever want to shoot with 2 flashes you will need to get the Speedlite 580 to control the 430 but if you only need one flash the 430 does the job.
A great (cheaper) alternative to the Canon Speedlites is the Yongnuo brand (around $70).  I haven’t used these yet but I frequent many photography forums and a ton of people have great things to say about them!  I may get a Yongnuo as  a master flash to connect with my Speedlite.

2.  Light Stand – $27.95 – that is the light stand I bought.. it’s a great stand :).  It goes up to about 6′ high and as low as maybe around 2′.  It comes with an umbrella attachment which is essential for the softbox I use but also good for using umbrellas which are nice to use when you want something light and portable.  It also comes with an umbrella 🙂 although I rarely use it.
Another option for a light stand is buying a simple hot shoe stand – about $10 including shipping.  this is a very simple way to move the flash around the room!

3.  Triggers – $82.89 – These are the triggers I use.  I have a Canon Mark II 5D and a Canon 430 EX II Speedlite.  These triggers seem pretty universal but you’ll want to verify that they are compatible with your camera and light.  They are wireless and are compatible with the Speedlite.. I have no complaints :)!  It took me a lot of research to figure out which triggers to buy!  I didn’t start with wireless triggers.. the first trigger I bought was a cord which connected to the flash from the camera and it works very well, but I am liking the freedom of wireless (although dislike how many batteries I’m going through nowadays).  There are cheaper cords but I wanted something long enough to be able to move around away from the camera so I invested in a longer cord.  I really like having a cord and wireless trigger in case the wireless trigger ever stops working I have a reliable backup.  Or if I don’t want to set up the wireless triggers I can use it faster :).

4.  A Diffuser – $169.90 – A diffuser is something the light shoots through to make it softer/more spread out and less harsh/direct.  When you shoot straight on it can be too much light and very harsh so a diffuser really  helps.  I started out using the umbrella that came with my stand and upgraded to one that is a 50×50 softbox.  There are tons of diffuser options though and different shapes and sizes.  You can choose circular ones, octogons, squares, rectangles.. the shape you choose will affect your photography so maybe do some reasearch on this before you pick something.  This diffuser I chose attaches to the light stand via the umbrella port.  There are also translucent umbrellas, silver umbrellas, softboxes, and PMS or you can simply aim the flash towards a white wall and bounce it.
If you buy a 5-in-1 reflector (we’ll discuss that in a minute) it comes with a diffuser in it so one option would be to shoot the flash through the diffuser that comes with the reflector.  I haven’t tried this, personally, but it seems like it would work well.

That’s all you really “need” to start doing off-camera flash!  However if all your light is coming from one direction you will find some shadowing occurring at times.. for this reason it’s really nice to have 2 flashes or a flash and a large reflector.  This is the setup I use.. (flash + reflector).

What you need to add a reflector to your off camera flash setup:

1.  A Reflector – $14.80 – I use a 48″ circular reflector but there are many different sizes and shapes to choose from.

2.  A Light Stand – $27.95 –  I use the same stand for my reflector as I do my flash, I just added a boom onto it :).

3.  A Boom – 29.95 – It’s essentially an “arm” that attaches to your stand and you can add a reflector to it.  The arm is adjustable and accommodates my 48″ reflector as well as my smaller sized one (22″).

I was taking some practice shots tonight and these are taken mostly with 1 430 ex speedlite behind a 50×50 softbox off to my left side.  There is a reflector off to the right and it did reflect some light but I didn’t have it aimed to directly reflect light, so while it made some fill, it didn’t make it to its maximum capacity.

what equipment you need to do off camera flash photography

off camera flash lighting equipment list with links

list of lighting equipment for off camera flash
learn about off camera flash equipment with reflectors
off-camera-flash-with-diffuser
^
  this photo was just taken with a softbox and no reflector.. I am sitting in front of the diffuser (you can see my reflection in the eyes!).

Duluth MN Headshot Photograph

So there it is!  Everything I needed to really seriously get into off camera flash.  This is a great place to start however as you “master” the art of one flash, you’ll want to start adding in more 🙂 and upgrading equipment.

Hope this helps someone [or lots of people..] out!

-Christine Ann

Duluth MN Photographer Website
Facebook

Photos From 85mm 1.2L Lens.

Which lens you decide to use on your camera has a big impact on how the photo turns out. A big contendor in the photography world for people who are very invested in photography is the 85mm 1.2L lens by Canon. This is the first professional level lens I invested in and I am very fond of it :).
The first thing you have to decide when picking a lens is if you want a prime lens (does not zoom in and out) or a zoom lens (has a range of how close or far you can get to the subject by rotating the lens to zoom in and out). THere are advantages and disadvantages to each (perhaps a future blog post topic 🙂 ) but one of the best and most noteworthy features of the 85mm 1.2 lens is that the aperture can reach .. *drumroll* .. f/1.2! The lowest number you usually see on a zoom lens is f/2.8 so this is quite a big difference on the prime, however you do lose the ability to zoom in and out. The f/1.2 is amazing for when you want to get as much light into the camera as possible and also if you want a very small depth of field (meaning only one thing will be sharply in focus and everything else will be blurred).
The f/1.2 is so sensitive that on my full frame sensor camera body (how far 1.2 takes you depends on a handful of factors including your camera body), if I focus on someone’s nose, their eye will be out of focus. It’s a very very narrow depth of field and very unforgiving for in focus images! There is a learning curve to harnessing this power. I would not recommend using any new equipment at a shoot that you haven’t practiced with in advance. YOu will probably get some out of focus images when you start out with this lens. I try not to go to 1.2 anymore, personally. f/2 or higher is usually ideal but if there is low light or if I want a certain look I will bump it down lower.

Anyway, I wanted to make a blog post showing image examples of photos taken on the 85mm f/1.2L lens so people could take a look and maybe it could help people make more informed purchasing decisions.

I do need to explain that I reduced the image size significantly to post to the web. Standard web size is 900×600.. the originals are around 3800×5700 so they don’t reflect the same quality as they do out of the camera but I hope it gives a good idea.. especially since the originals are better :). If you would like to see a full resolution version of anything just ask in the comments! I am happy to post!

Anyway, without further ado….

family photography kids photos duluth mn in winter with snow and snowey trees
^f/3.5

senior photography duluth mn in fall with trees leaves branches winter gear minnesota
^f/2.8

Duluth MN family photography
^f/1.8

duluth mn bride wedding photography senior photos
^f/1.2 – wide open!

duluth-family-photographer-hermantown
f/1.8

blue eye toddler duluth mn children family seniors
^f/1.4 – close to wide open :)! If you’re shooting this low you must nail the focus spot!

portrait on 85mm canon lens of preschooler posing with hands on face
^f/2.5

duluth mn christmas tree and lights photography with bokeh at low aperture
f/1.4. I was able to take a photo with one fairly dim light on @ 1.4.. this low aperture also created a very nice bokeh effect on the Christmas tree.

depth of field christmas lights bokeh blur image samples 85mm lens comparison
^f/1.8 (This lens is great for Christmas lights!).

Duluth Minnesota family photography boy with rainboots playing in lake

summer duluth mn photography photographer family seniors wedding newborn
^f/2

family photography hermantown mn
^f/1.8

canon 85mm f/1.2 lens image samples
f/1.6. Notice how narrow the focus is.. the arm is in focus and his entire body is blurred.. there’s about a foot between what is in focus and what isn’t. If the aperture were higher (around f/4+) the arm and body would both be in focus.

rainbow lens flare children portraits duluth mn
^f/1.8

duluth mn winter photographs outdoors snow scarf
f/1.8. Loving how blurred the background is! Notice how even the front of the scarf is blurred.. 1.8 is not a very large depth of field.

duluth-minnesota-toddler-cake-smash-one-year-old-family-senior-photographer
f/1.8

1 year old cake smash balloons blue outfit tie duluth mn family photography
^Here’s one at f/1.2 – this is as low as it can go. I am going to do another blog post soon zooming in so you can see the eyes are in focus but even the nose is out of focus. It still looks okay zoomed out but if you zoom in you’ll see how sensitive the focus is.

Duluth MN family photographer kindergartener with hand on face pose portrait
^f/2.8

wedding photography hermantown mn
^Wide open at f/1.2. To do this shot over I would have used a higher aperture since her hair is blurred out but I still love this photo :).

bride portrait wedding photography duluth mn natural light photograph low aperture image sample
^Another photo taken at f/1.2. I’m trying to include a lot at 1.2 since a lot of people are curious about what photos like at that aperture.

senior photography portraits duluth mn
f/1.8 portrait

duluth minnesota senior photographer photos hiking trail
^f/1.4

family and kids photography duluth minnesota hermantown
^Here’s a shot taken at a higher aperture of f/4. As youc an see.. still plenty of lovely bokeh :).

duluth mn hermantown minnesota family photographer senior photography
^f/2.2

85mm 1.2 L lens image examples comparison
^f/2.2

f/2 aperture photo with low f-stop image samples
f/2

Preschooler in forest with trees photography duluth mn
^f/2.2

minnesota bride duluth wedding photographer
^This is a full res version of an image taken at f/1.2 – click on it to see full detail.

To see zoomed in versions of the photos to see how the depth of field looks up close at f/1.2 check out this article.

If you have any questions please don’t hesitate to ask!

-Christine Ann
Duluth MN Senior and Family Photographer Website
Duluth Photographer Blog
Duluth Senior and Family Photographer Facebook Account

Why your photos are blurry (with image examples)

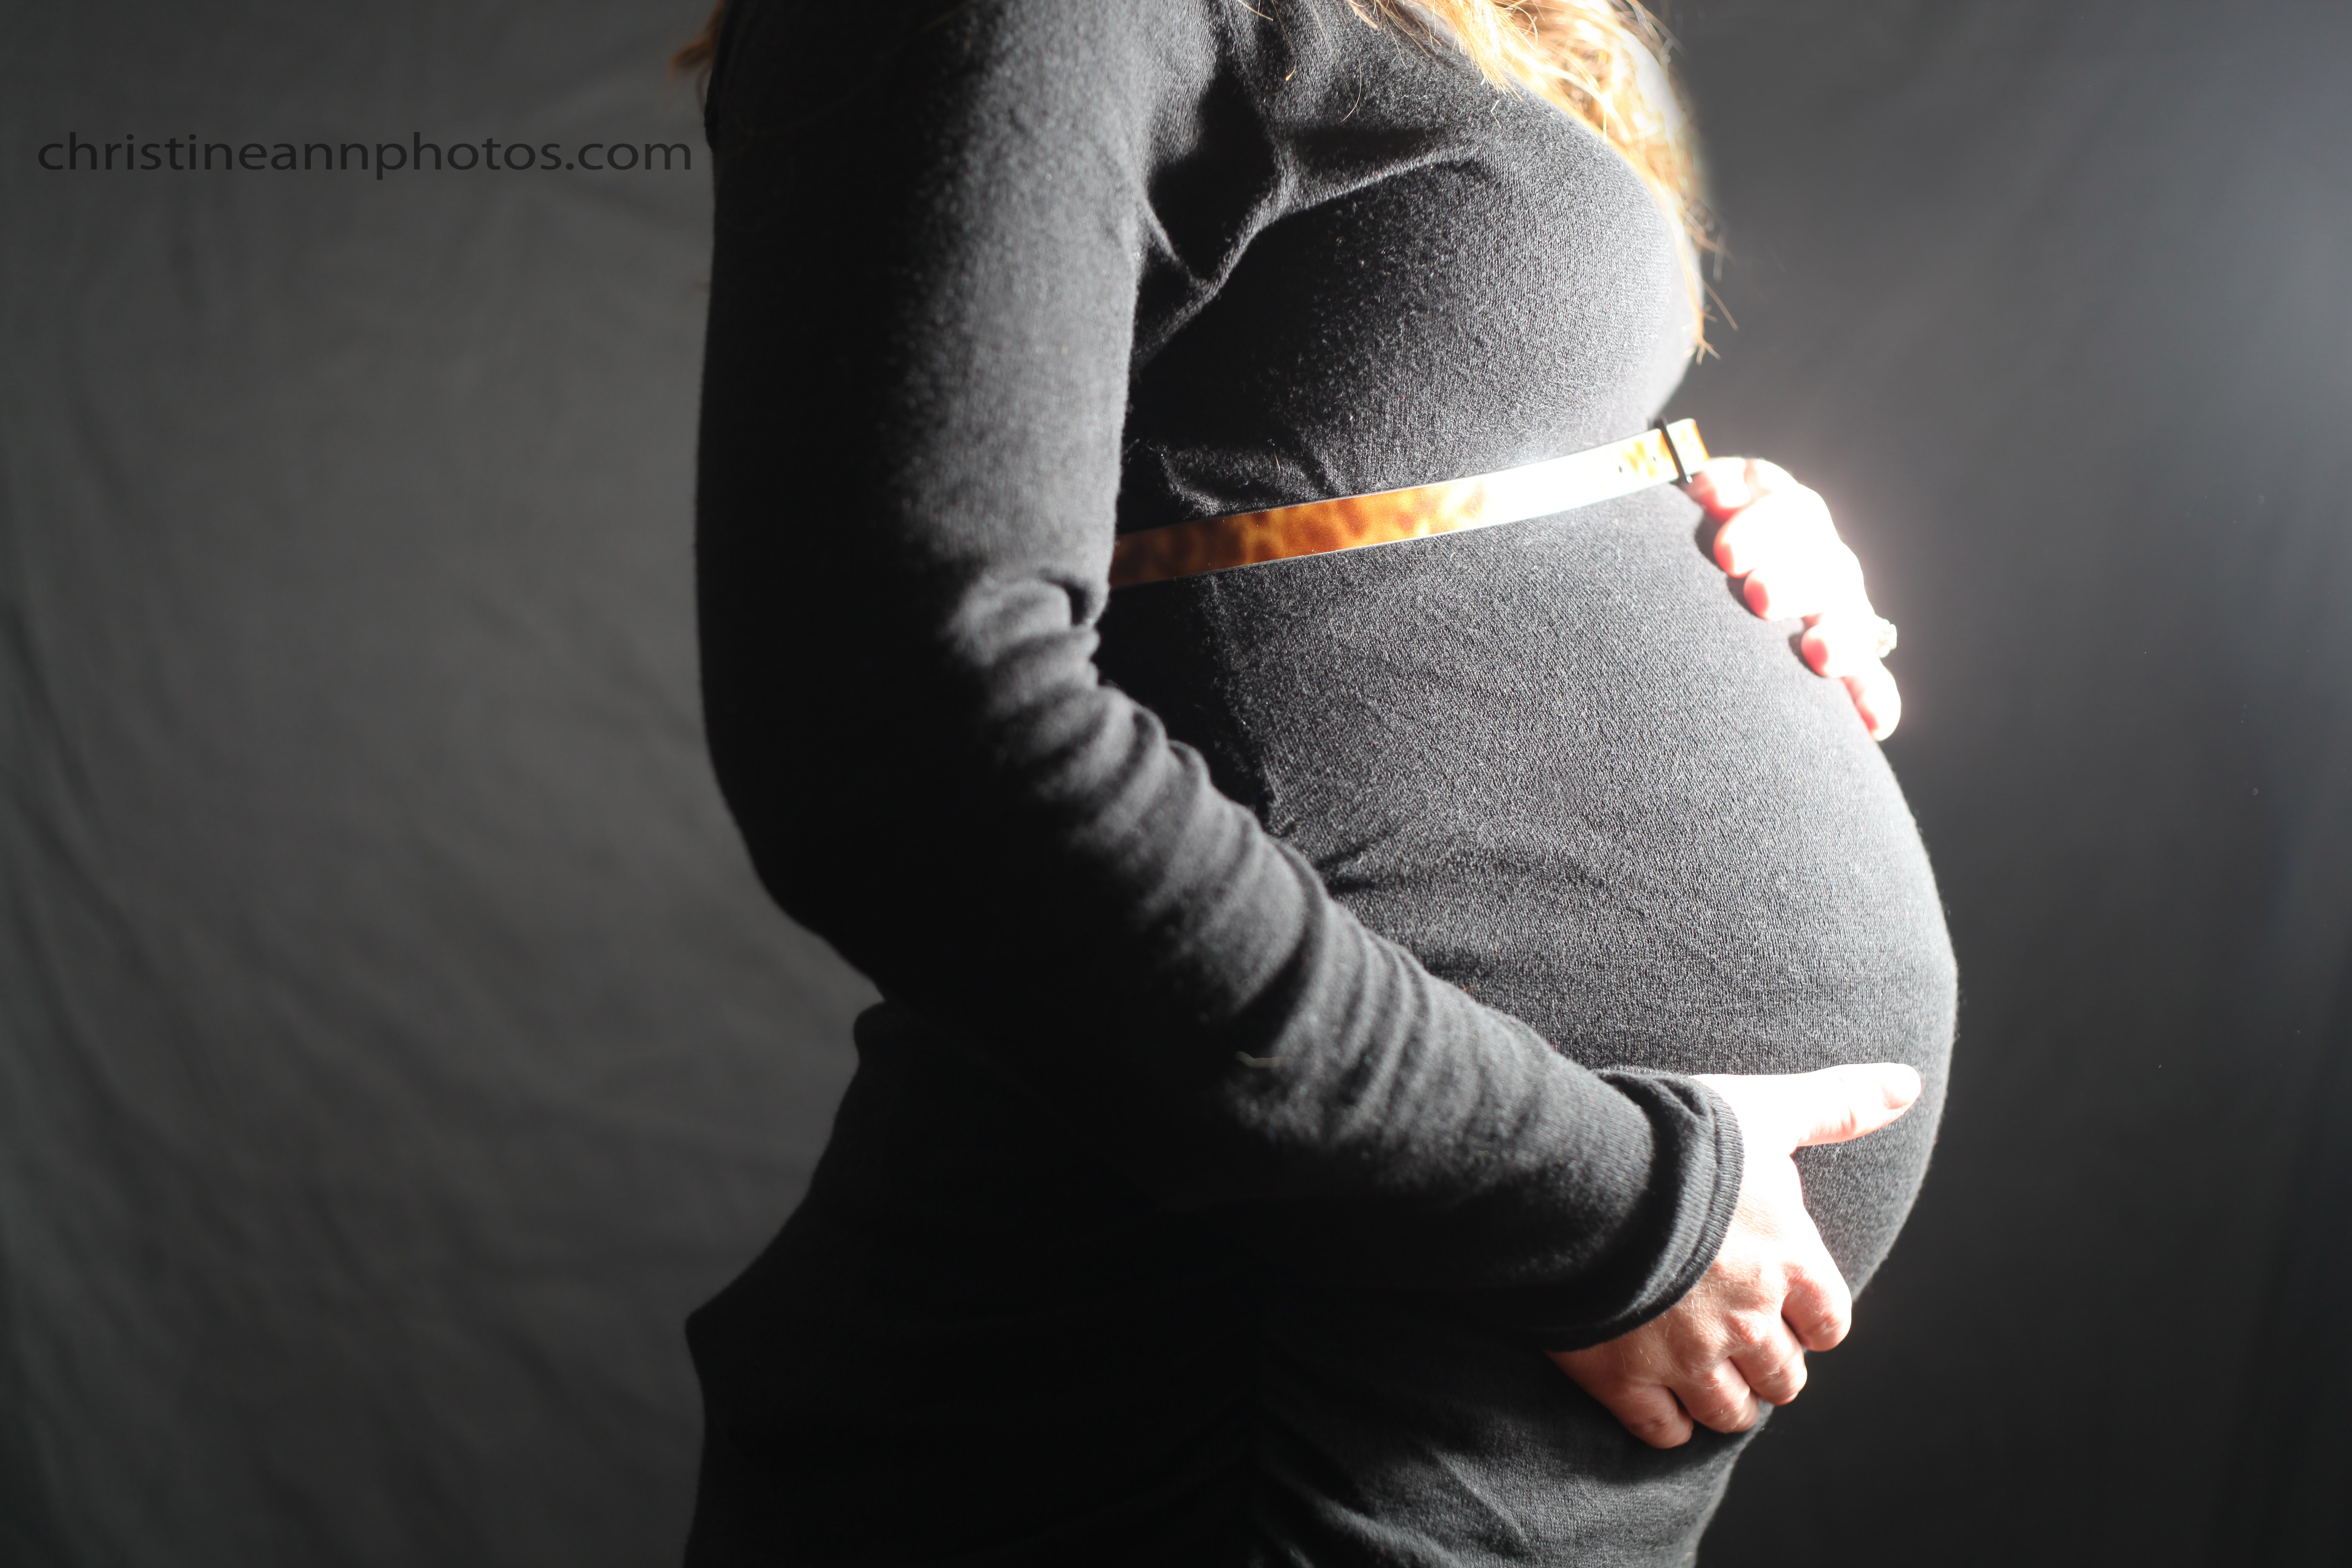
One long time mystery amongst people who take photos is “why are my photos blurry?”. The answer is much more simple than you probably realize but will take a moment to explain.

blurry photo due to slow shutter speed; article about why photos have motion blur
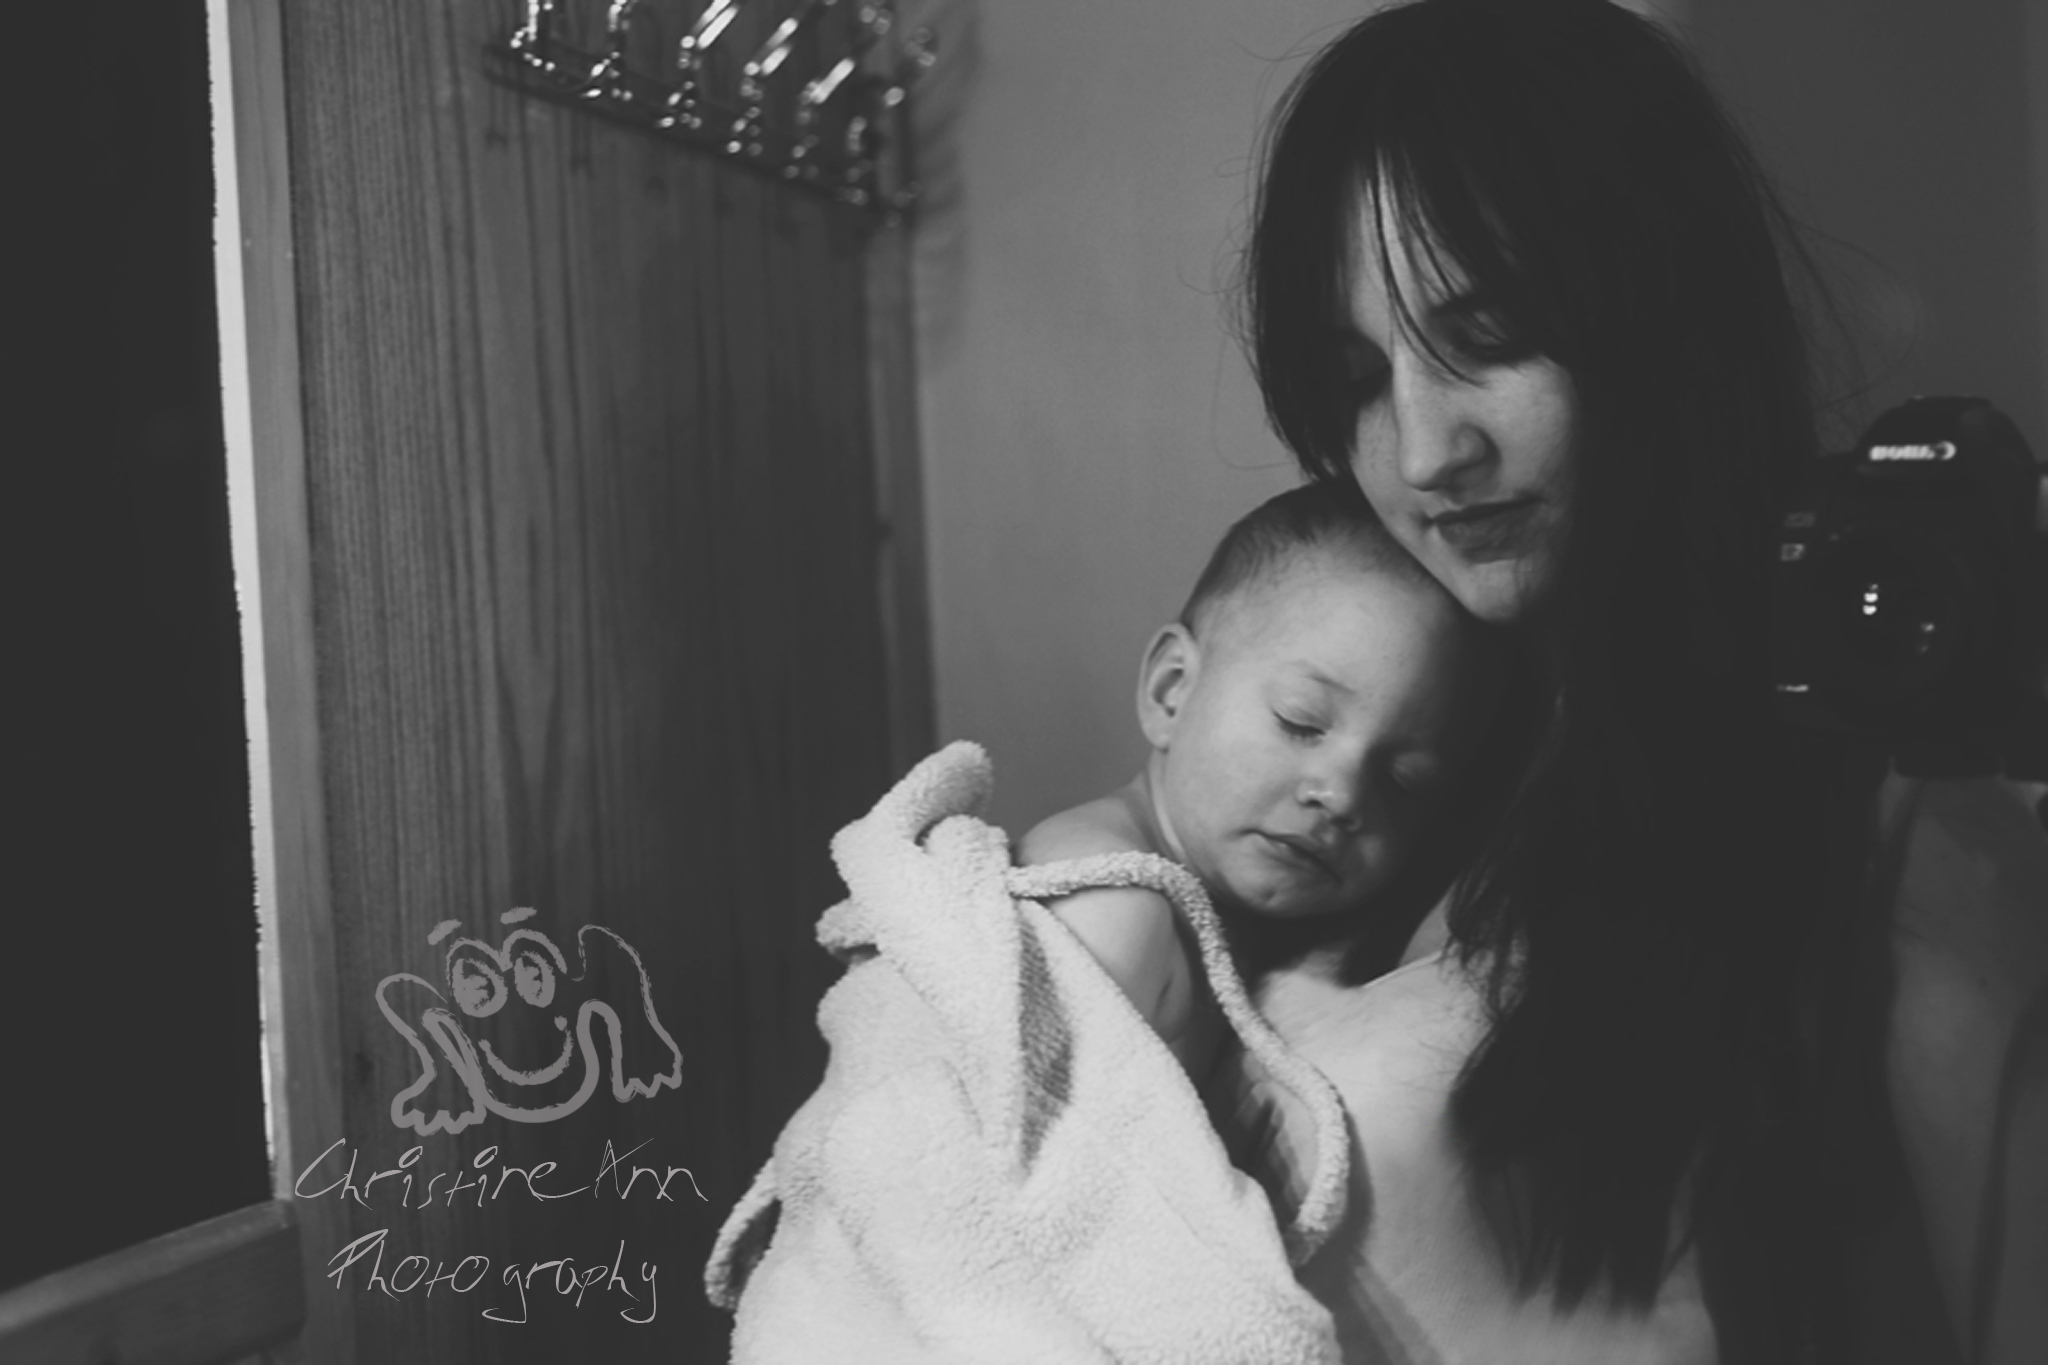
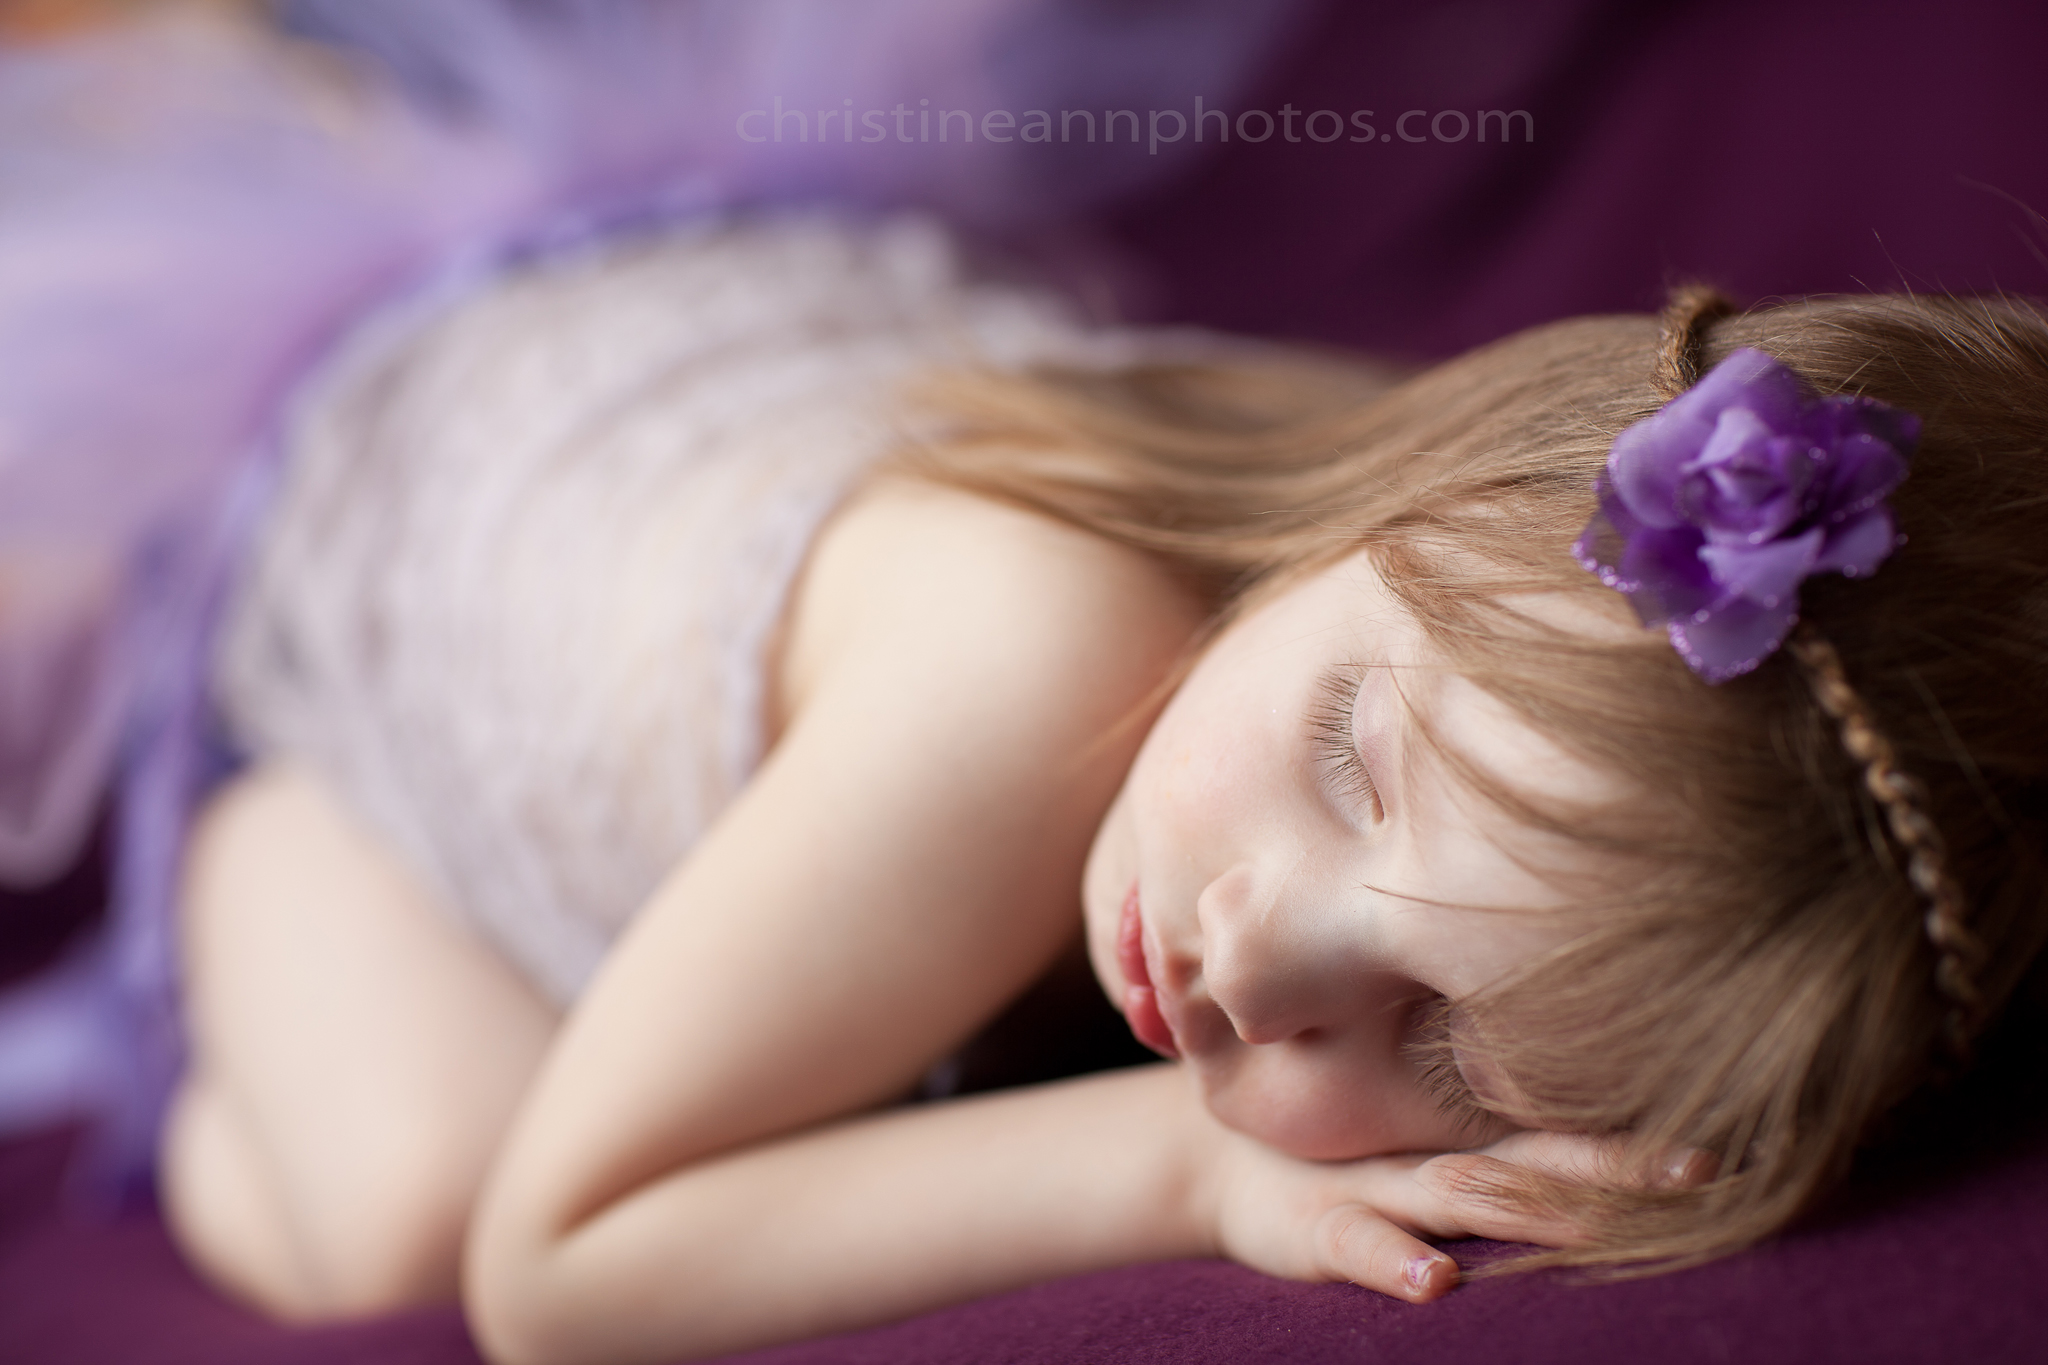
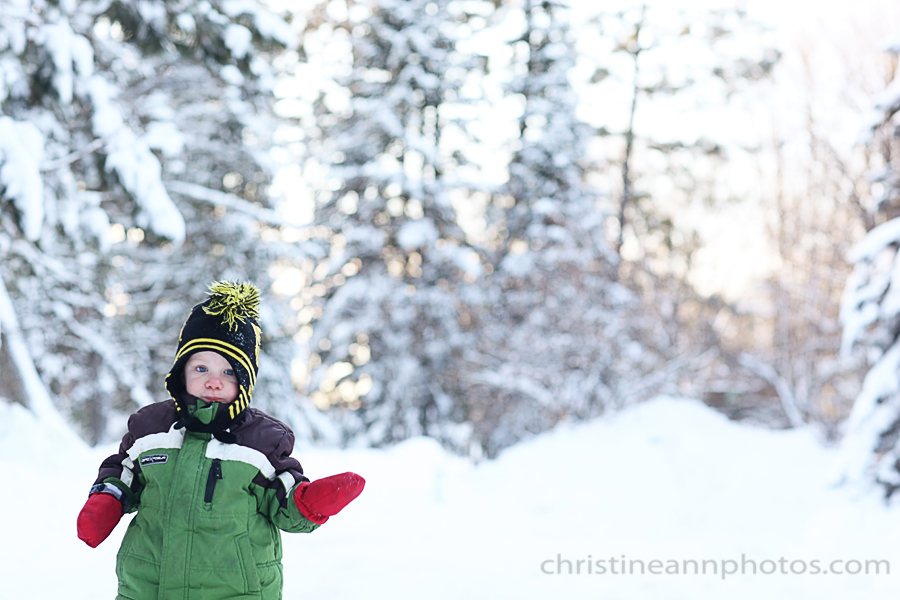
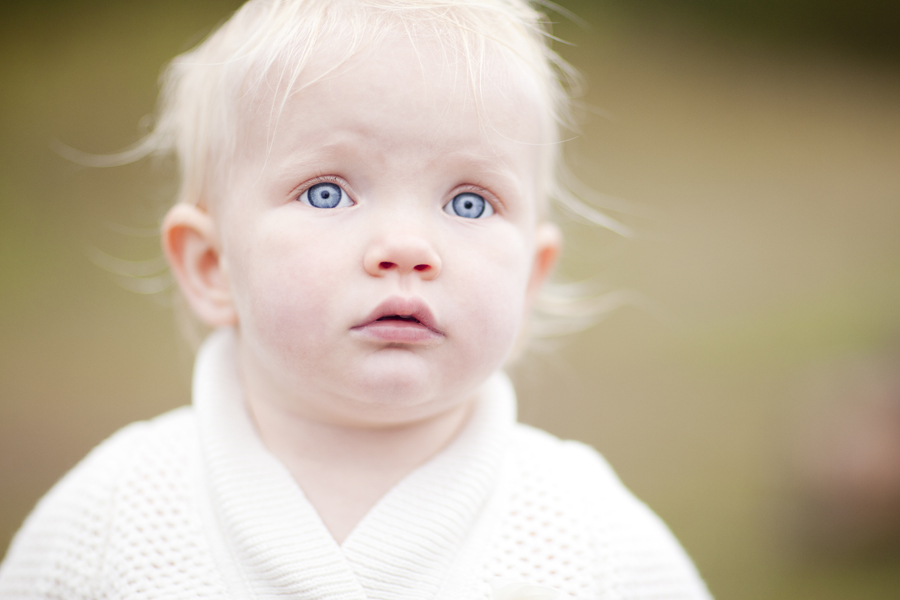
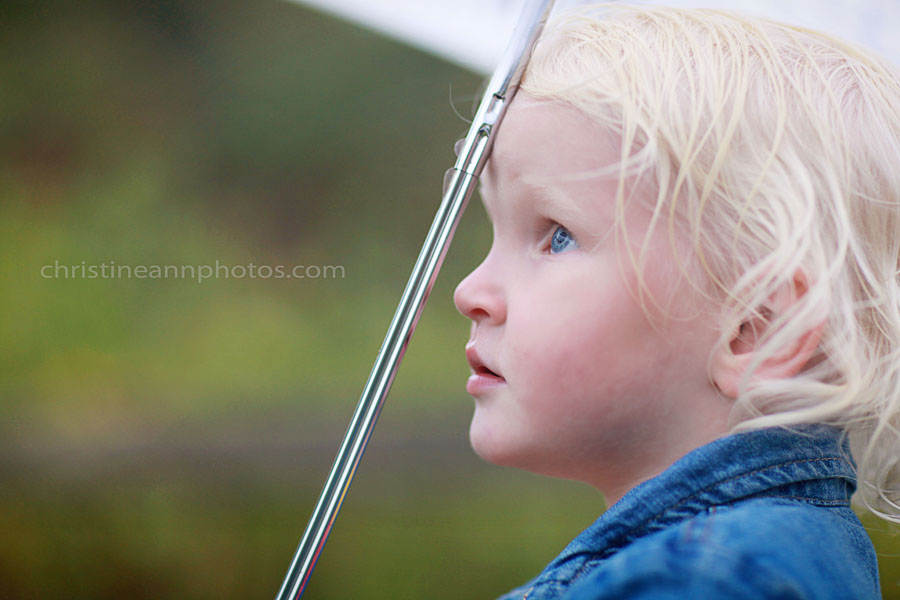
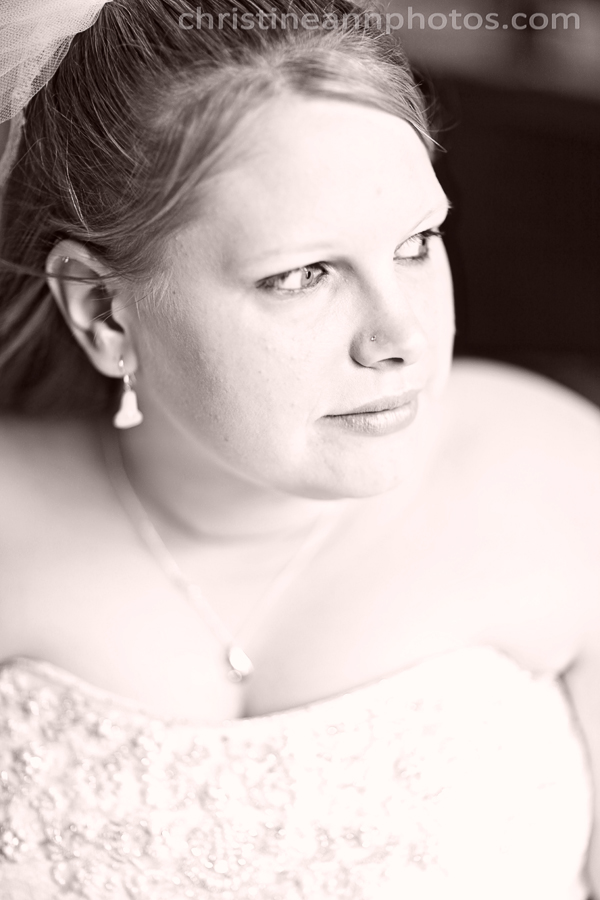
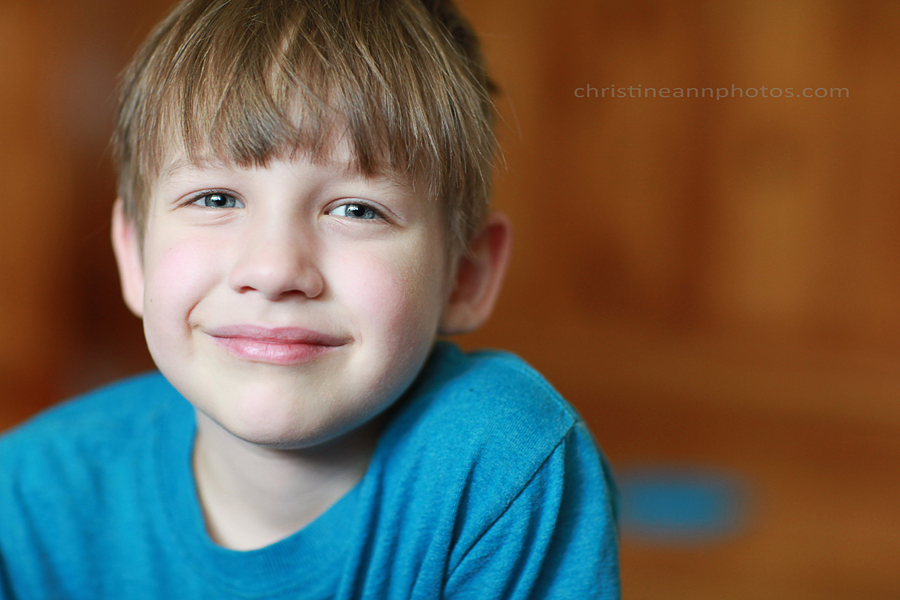
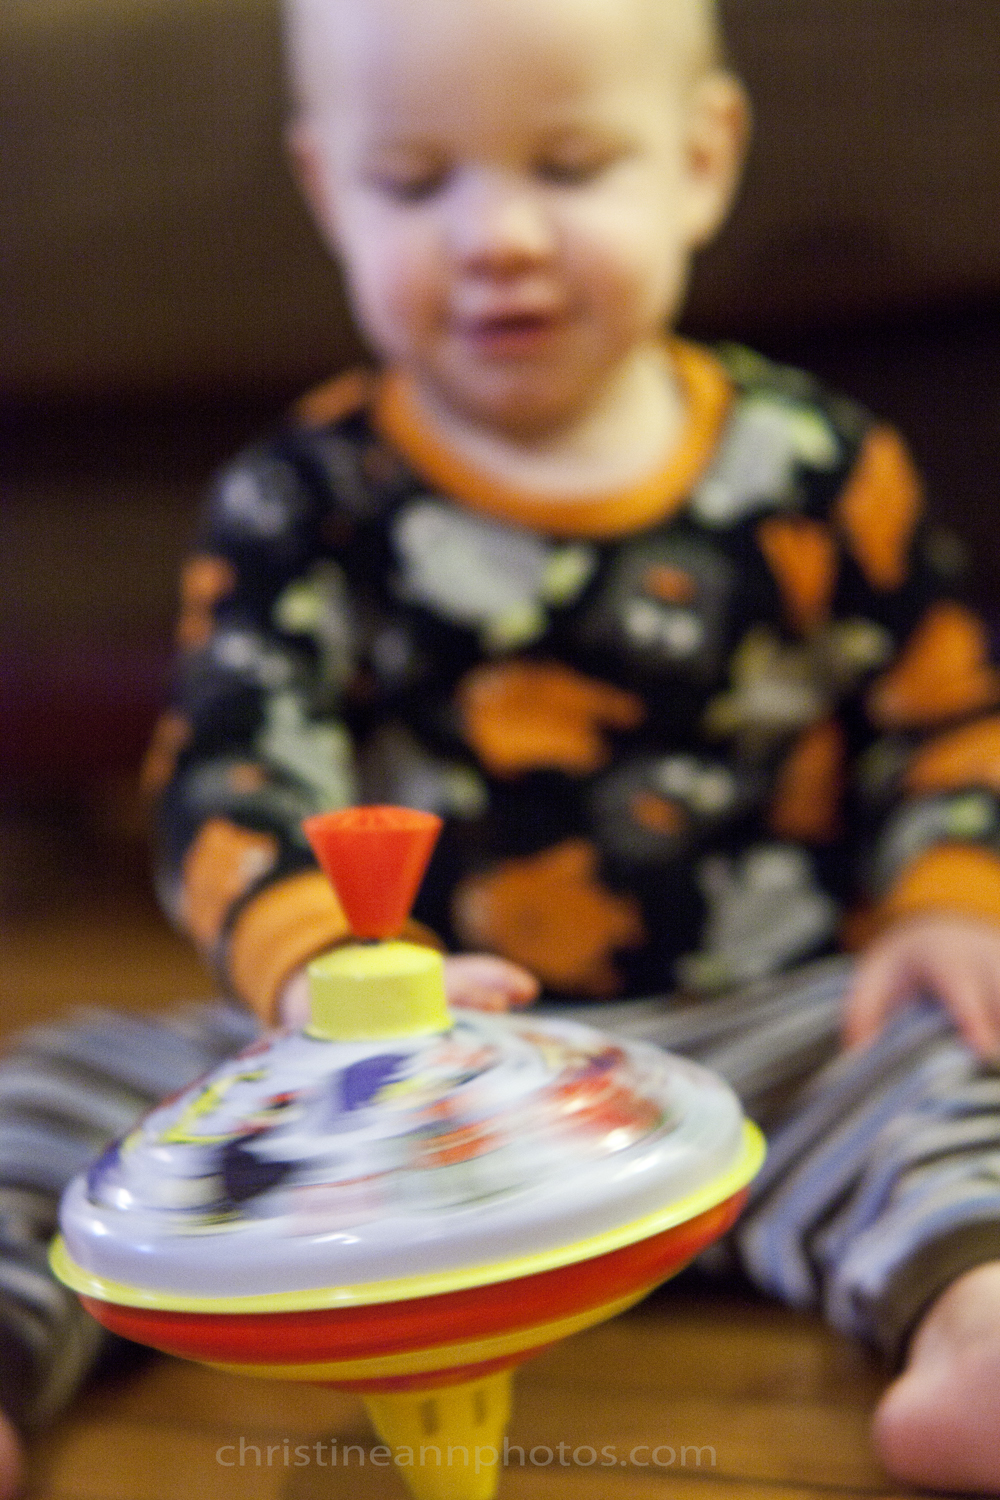
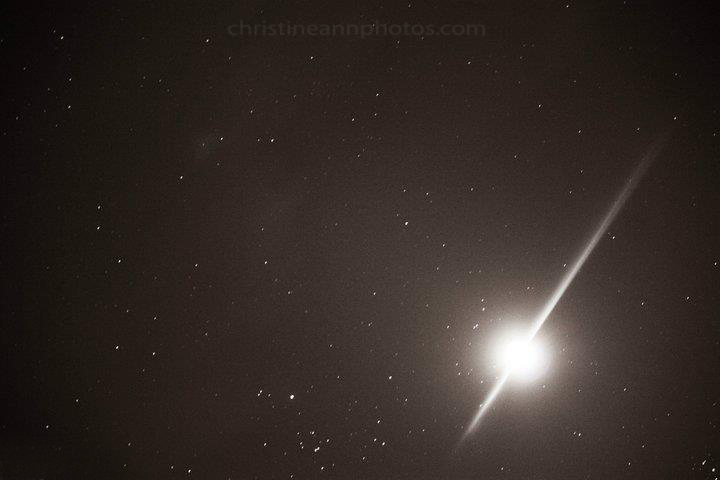
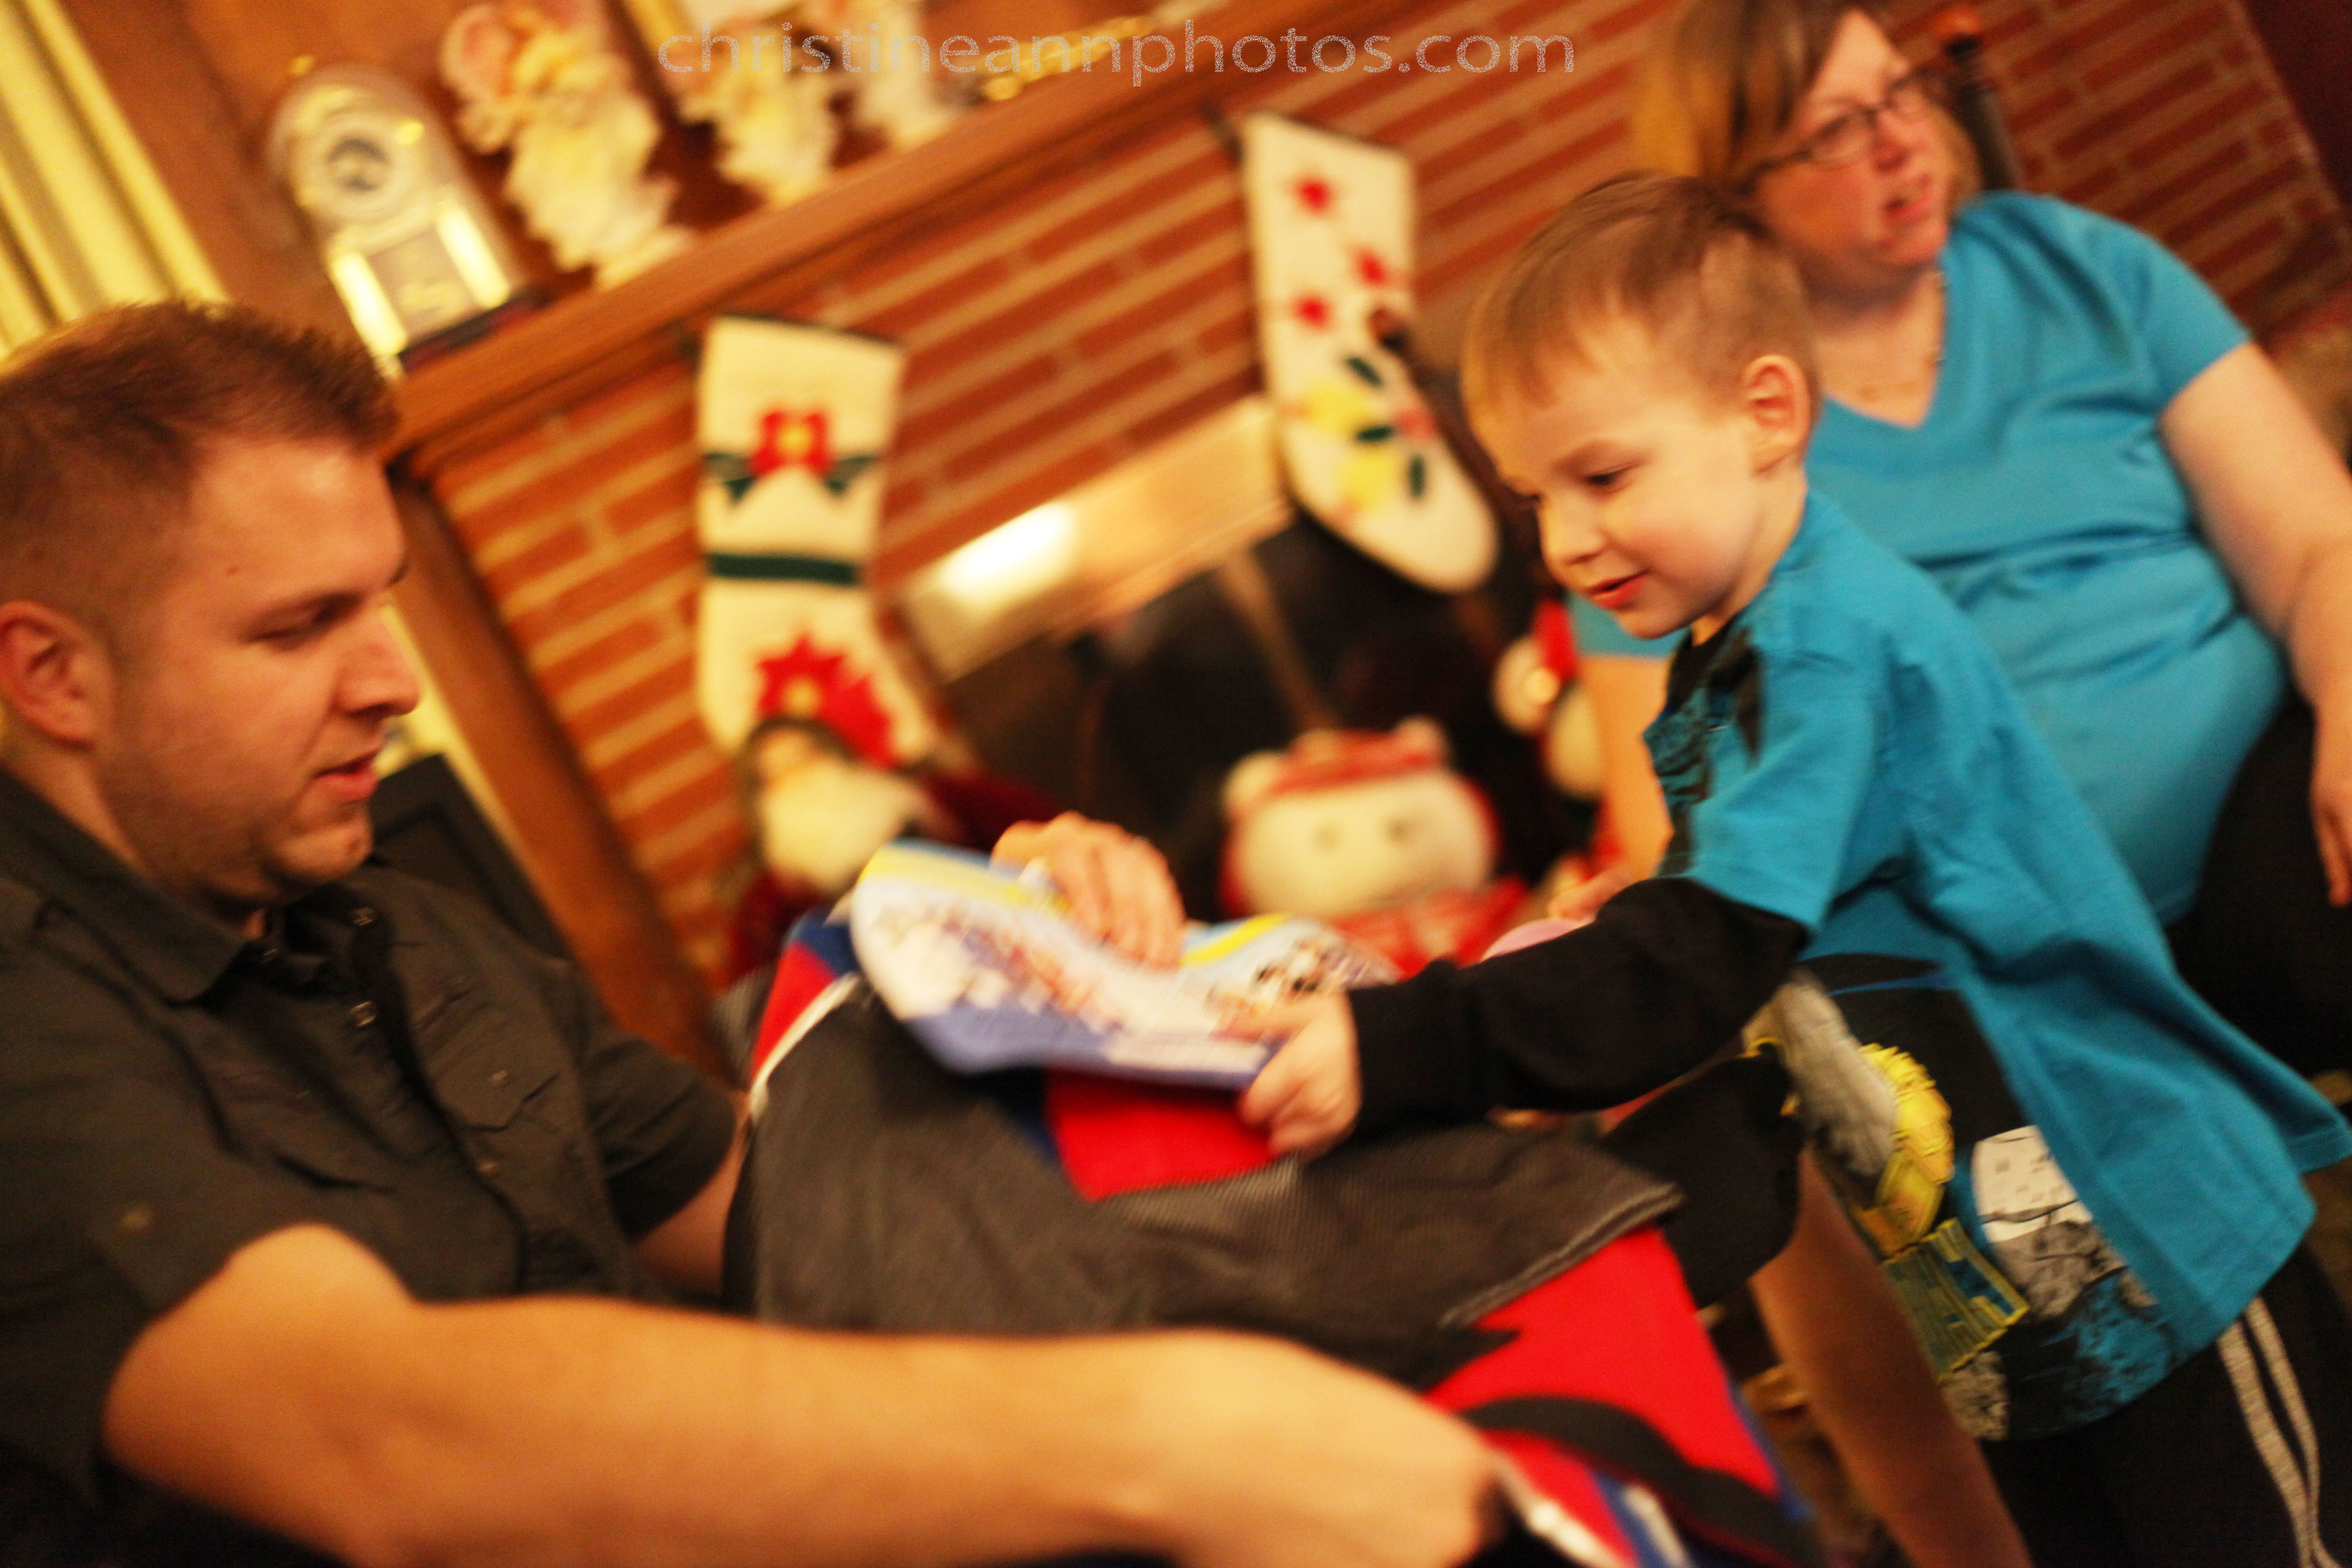
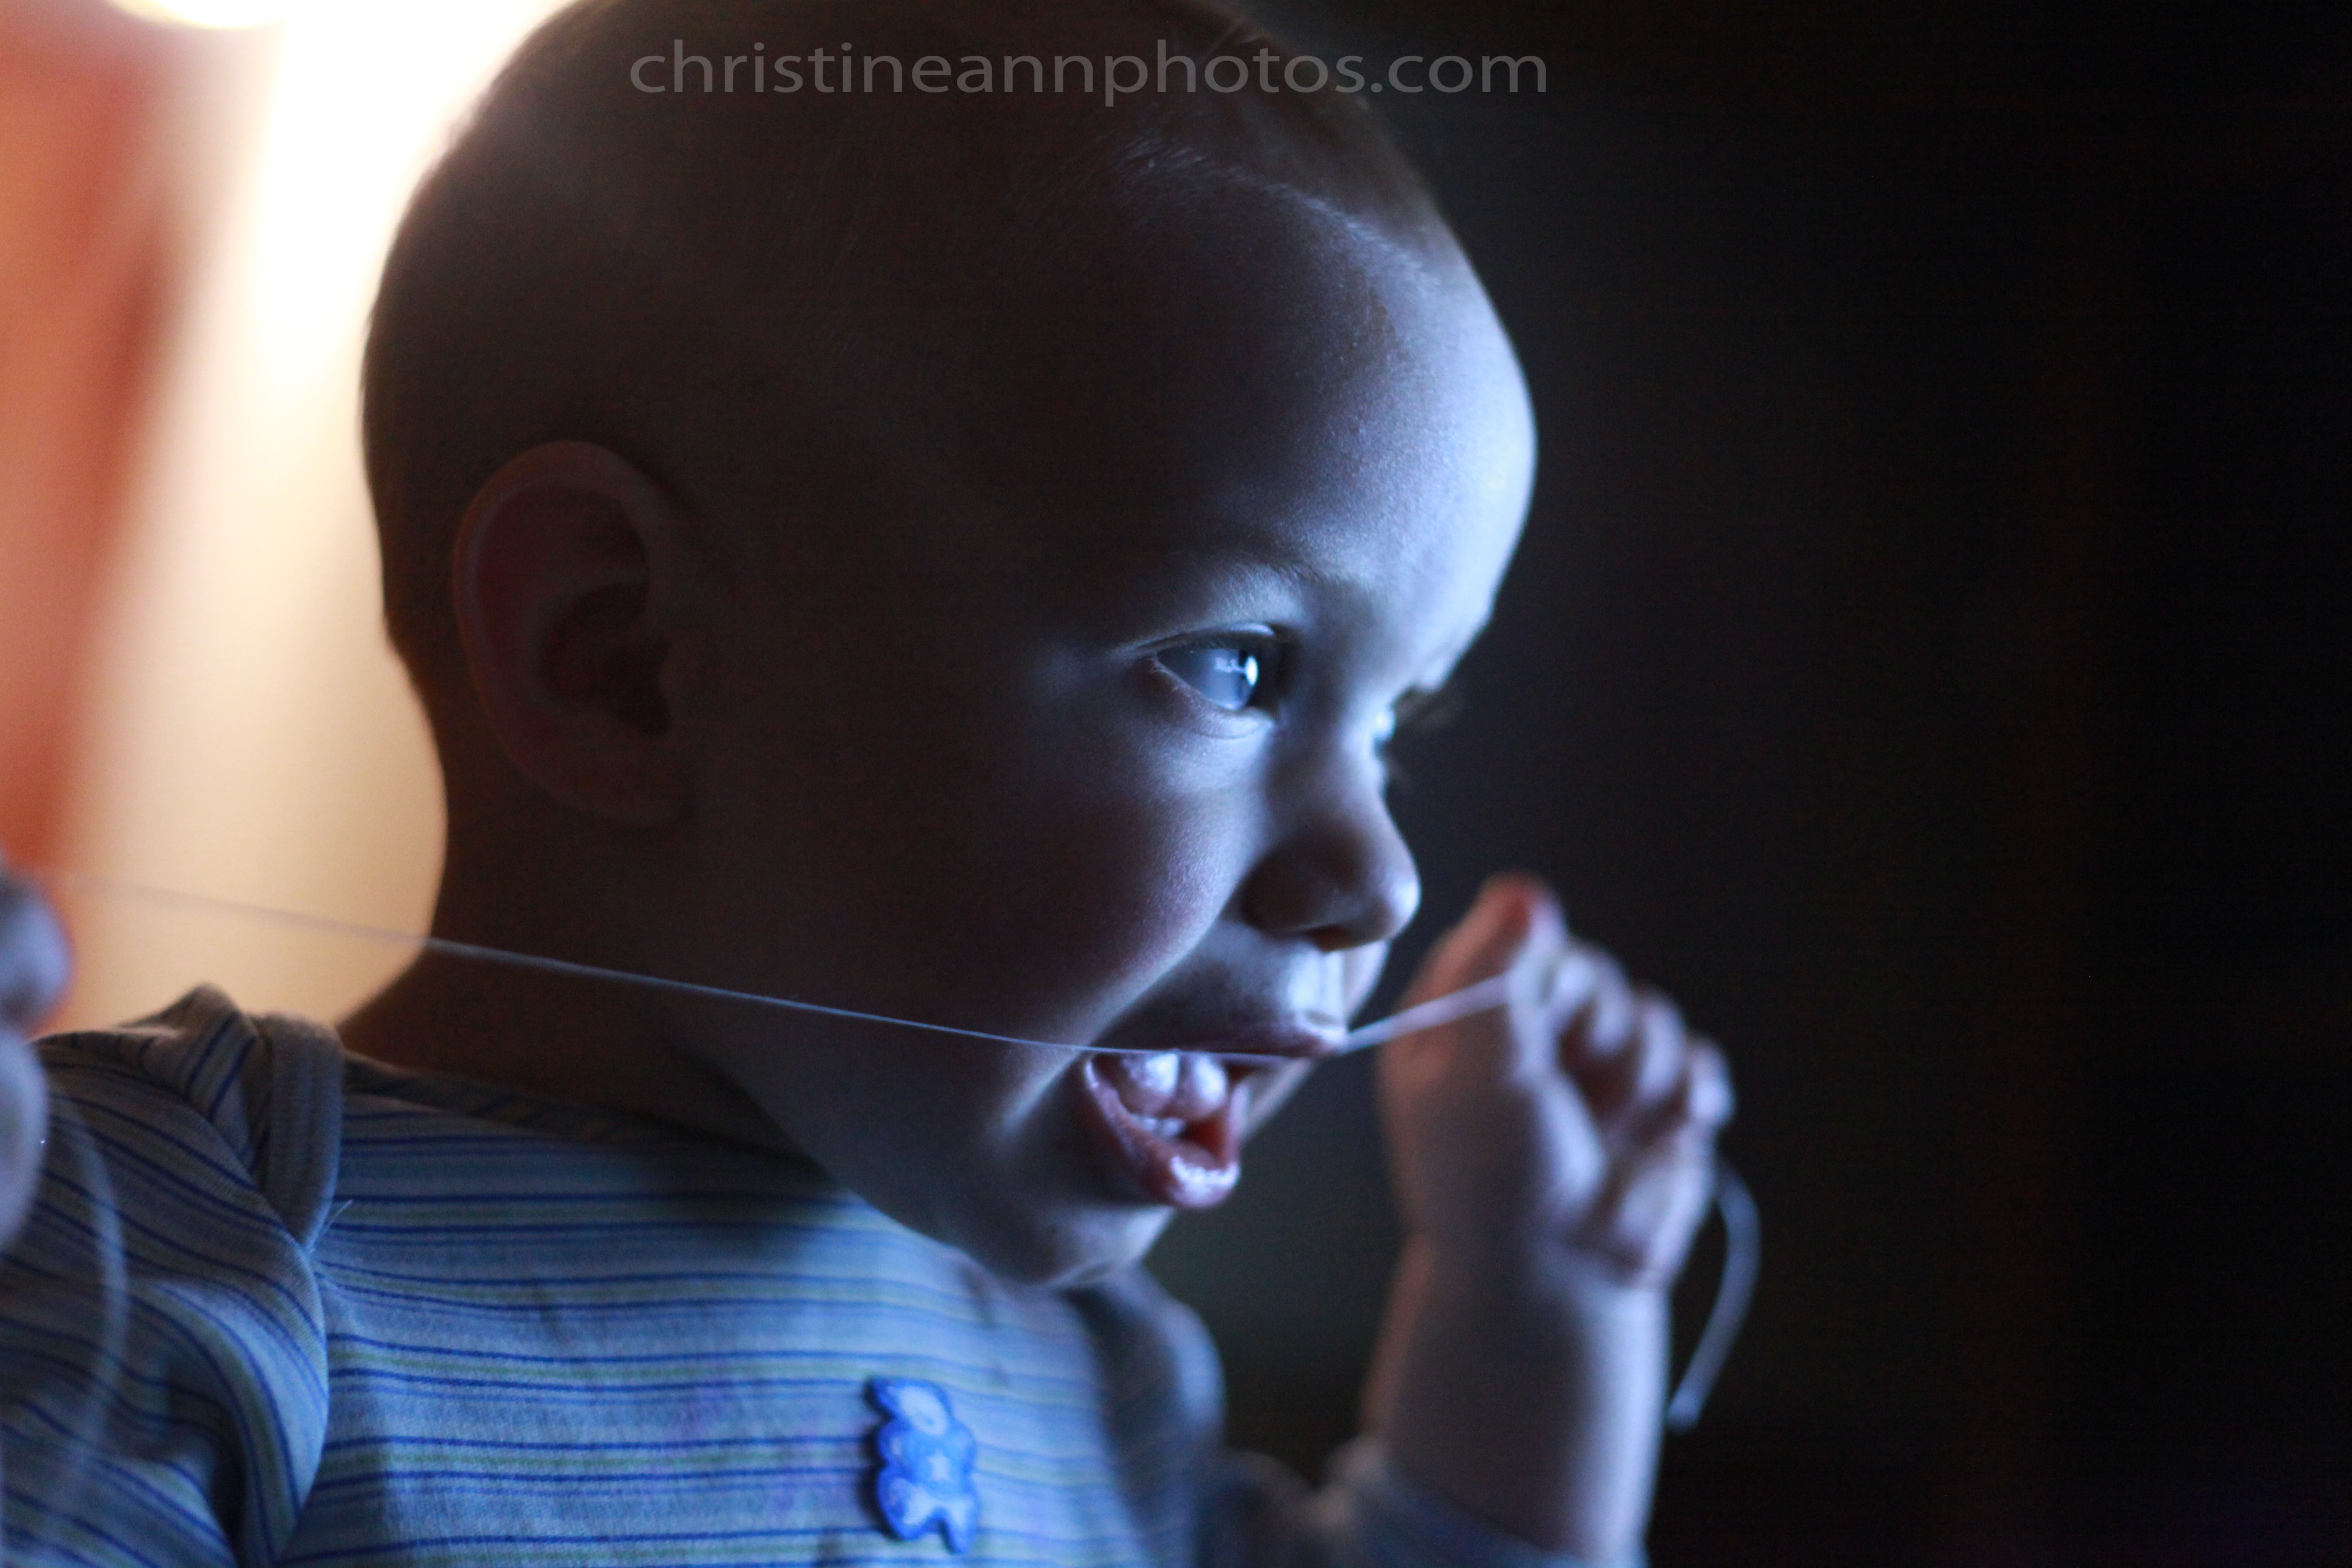
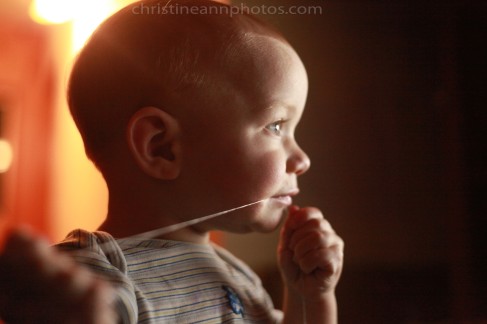
Photo from December 2010 😉 – camera settings this photo was taken at are listed later in this article.

There are 3 major components which determine how your photographs turn out.. one of those components is what your shutter speed is.
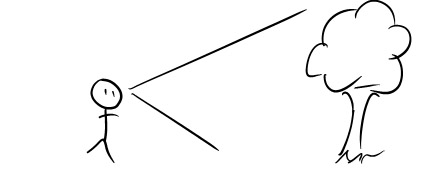
What is a shutter?
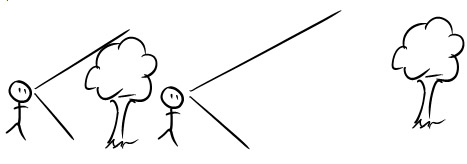
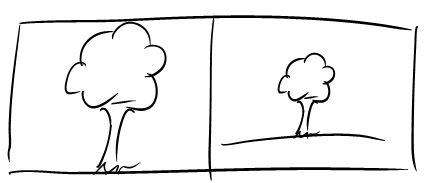
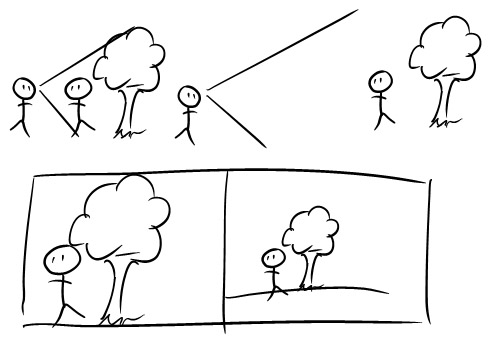
Picture a stage with curtains that open and close. This is, essentially, what a shutter is. It opens and closes (this is a video of a shutter opening and closing). The shutter is the sound you hear when you take photos – you can hear it open and close. Sometimes it opens and closes very fast and sometimes it opens and closes very slowly. When the “curtain” (shutter) is open, it captures ALL movement in the photo up until it closes. Hence, when it opens and closes fast it “freezes” the moment and does not capture any blur; when it opens and closes slowly, it captures a lot of movement.

The shutter is responsible for 2 things:

1. It contributes to how light or dark the photo is

2. It is the reason your photos turn out blurry or not blurry (*from motion blur – Photos being out of focus can make them blurry in an “out of focus” way which is not due to the shutter).

If you are getting motion blur in your photos there is one simple answer for it: Your shutter is staying open too long.

So, what causes the shutter to stay open for too long?
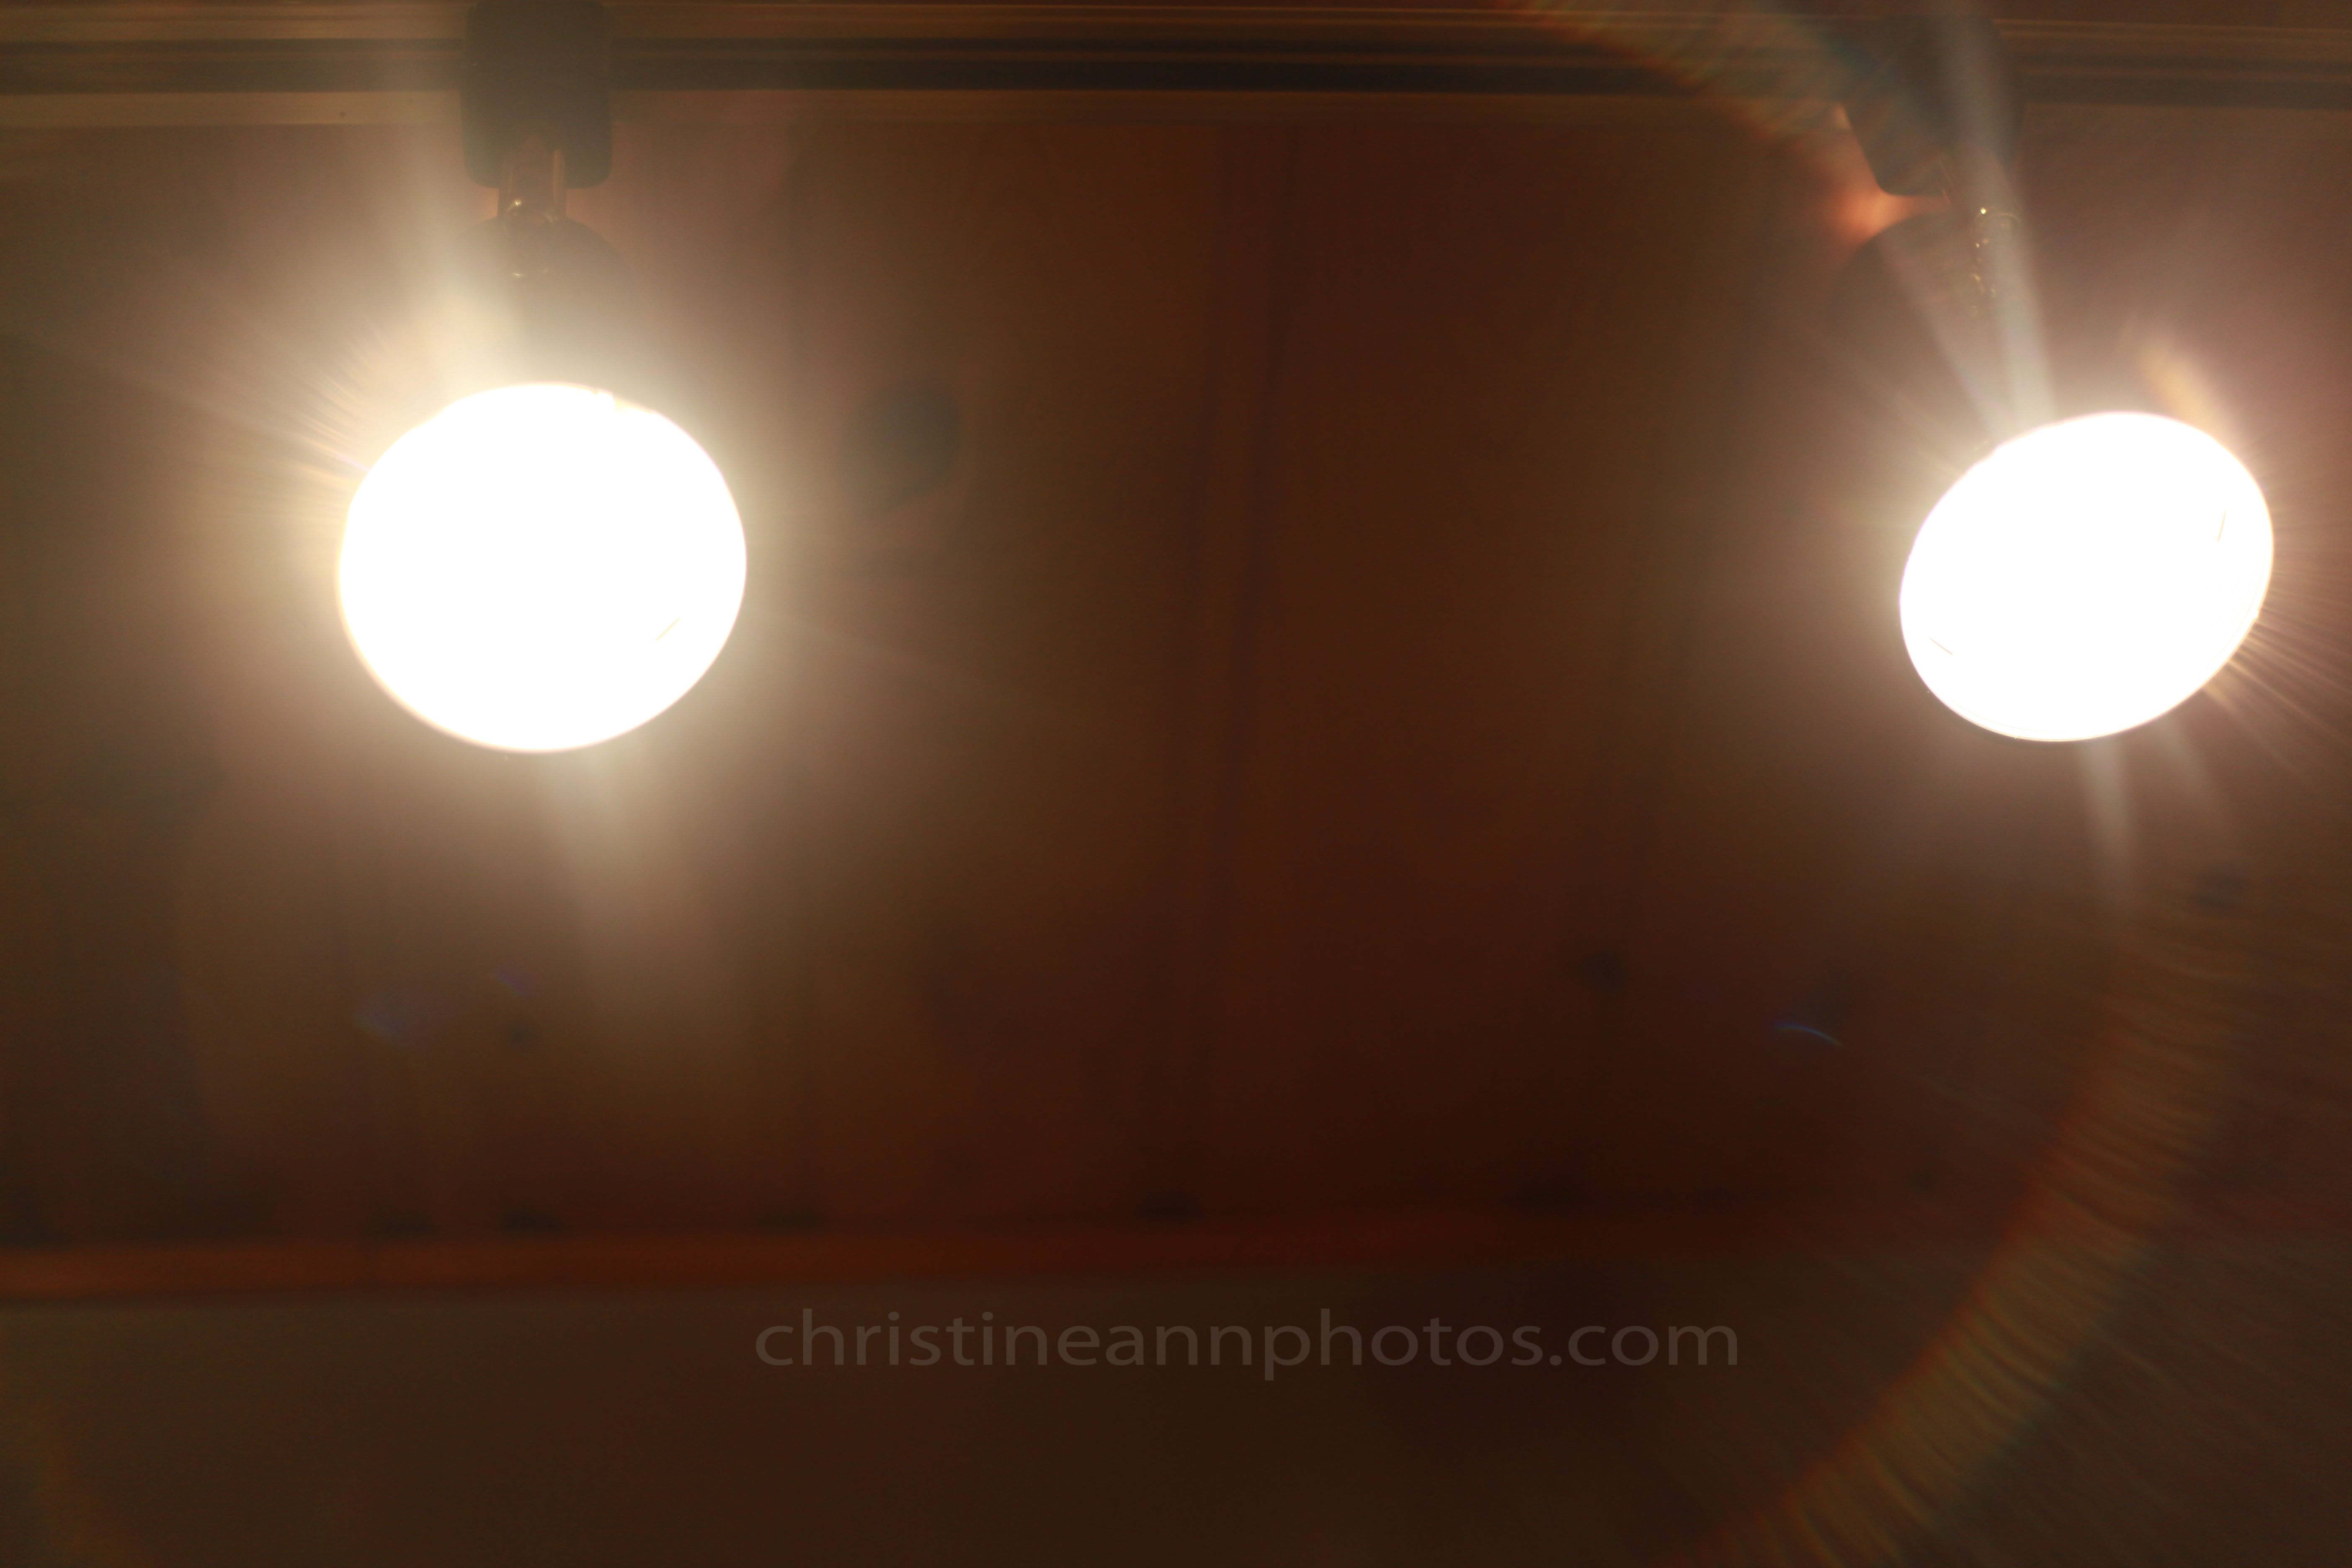
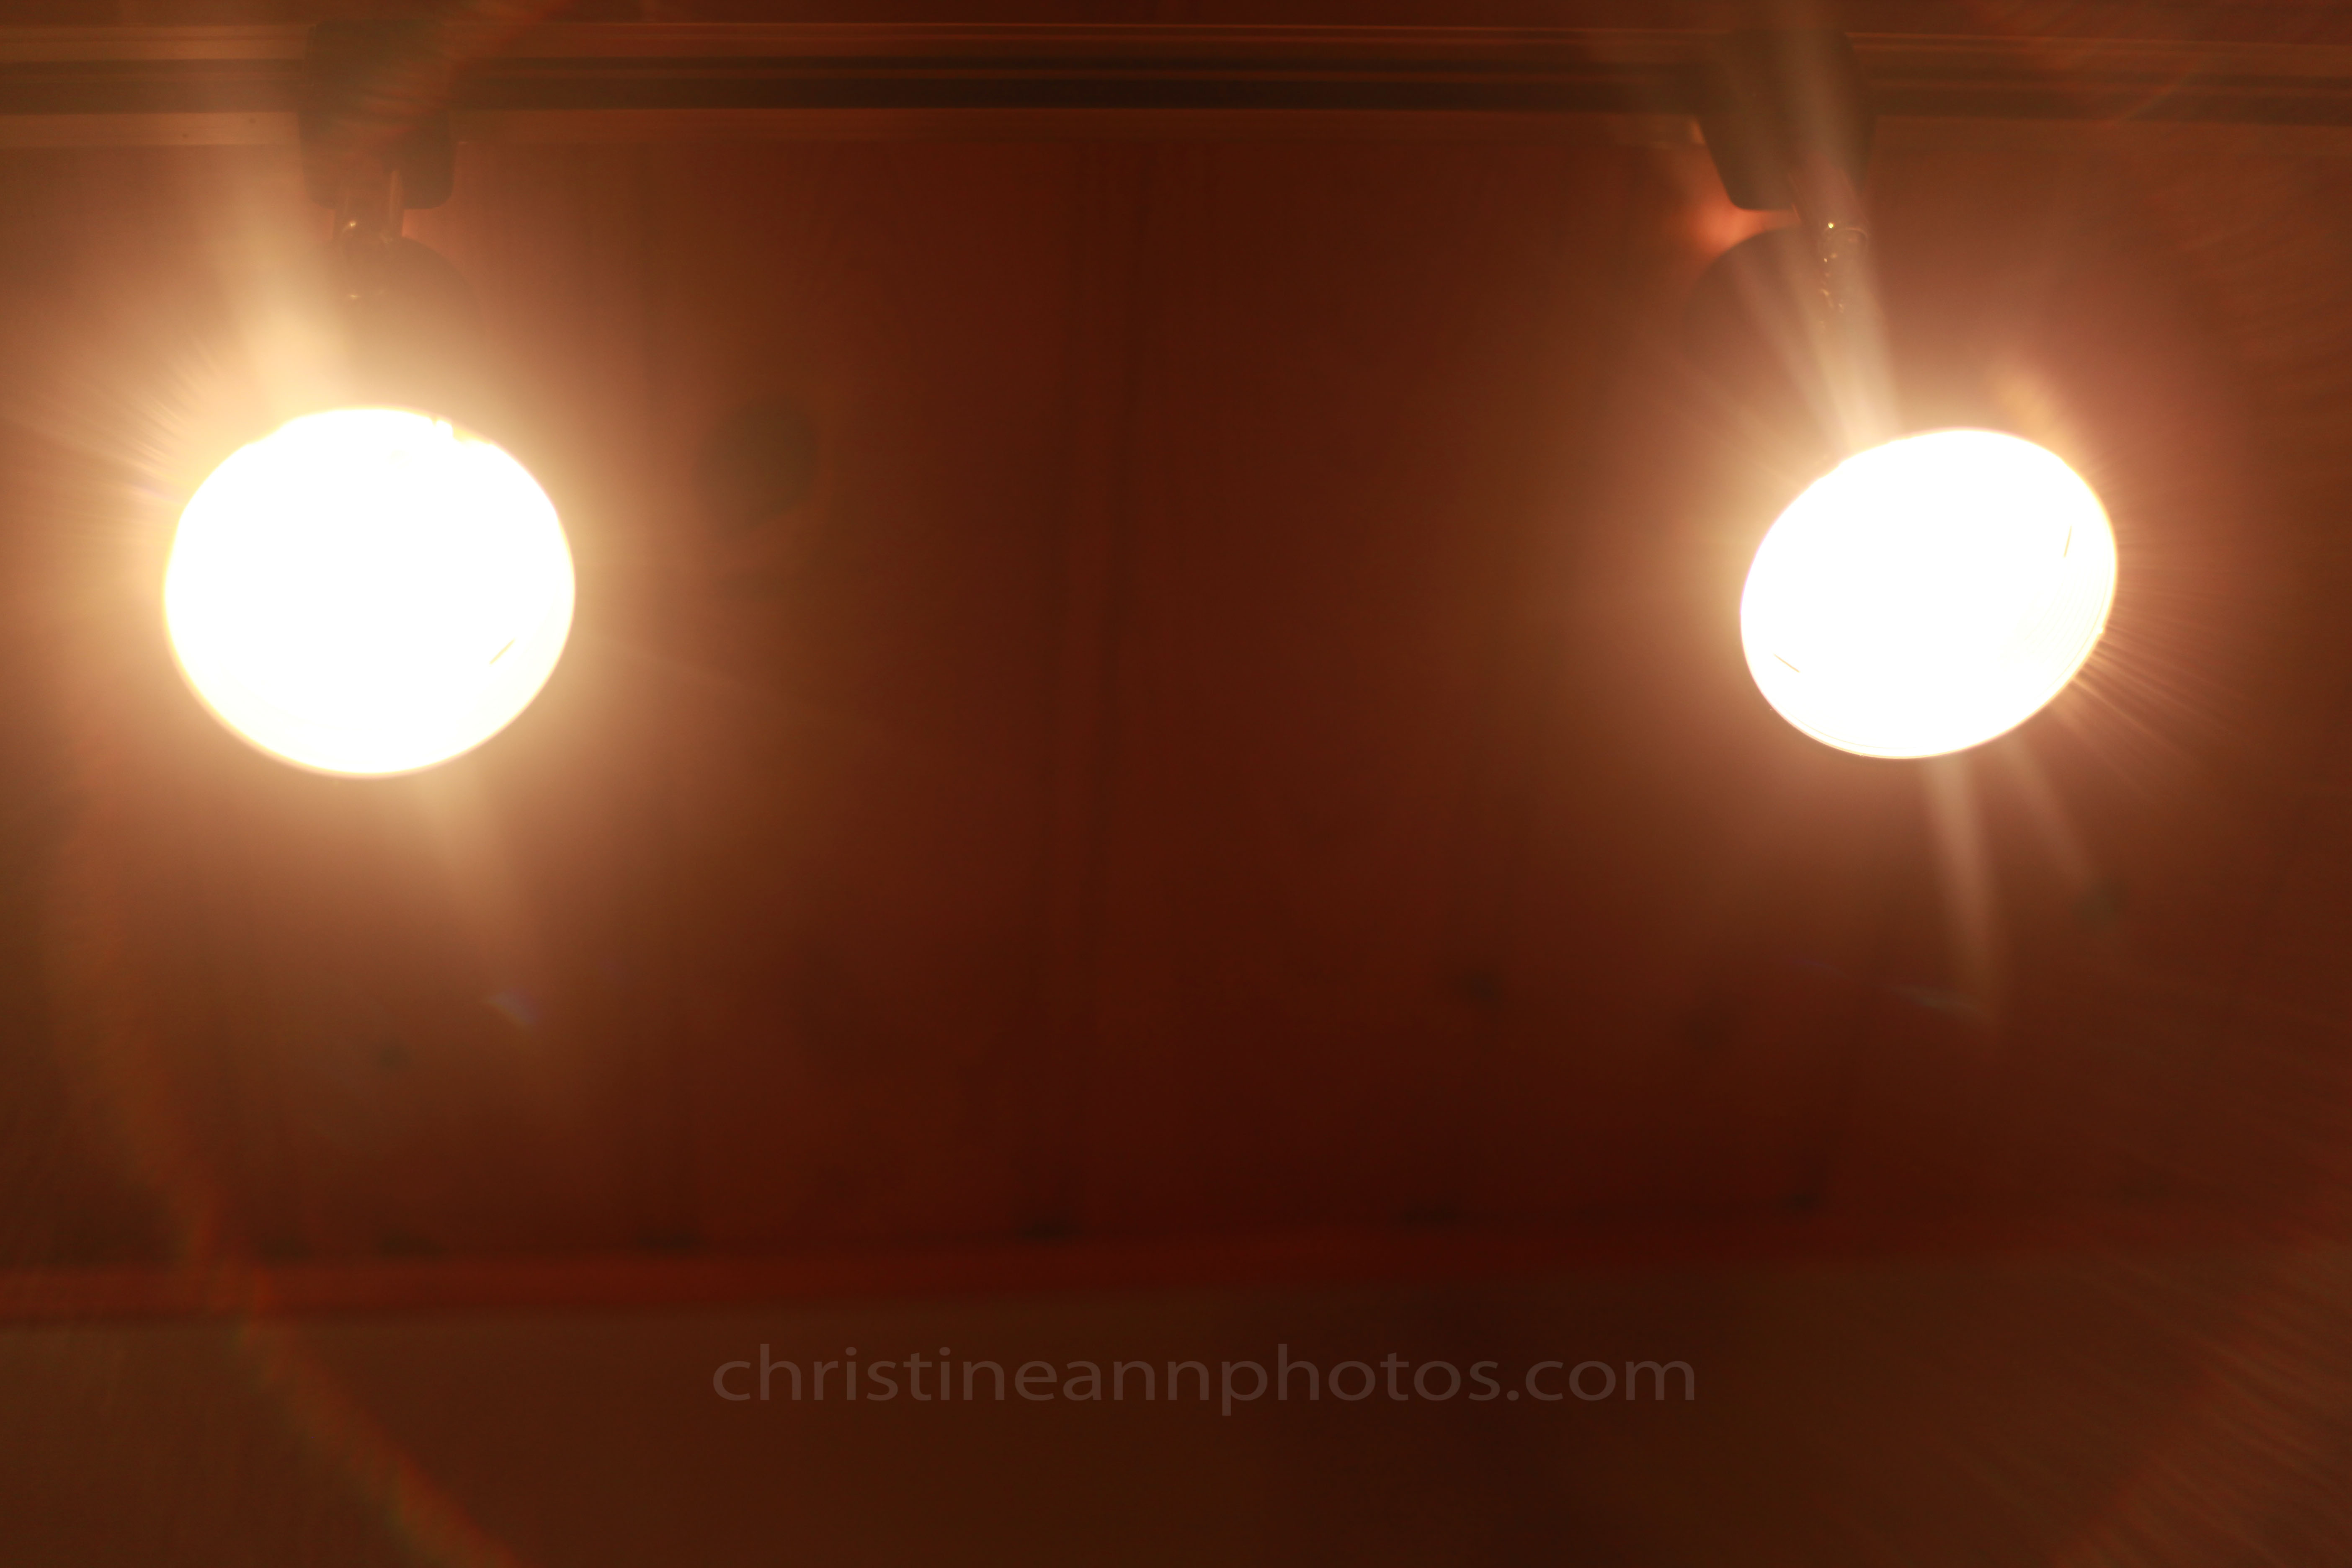
Low lighting.

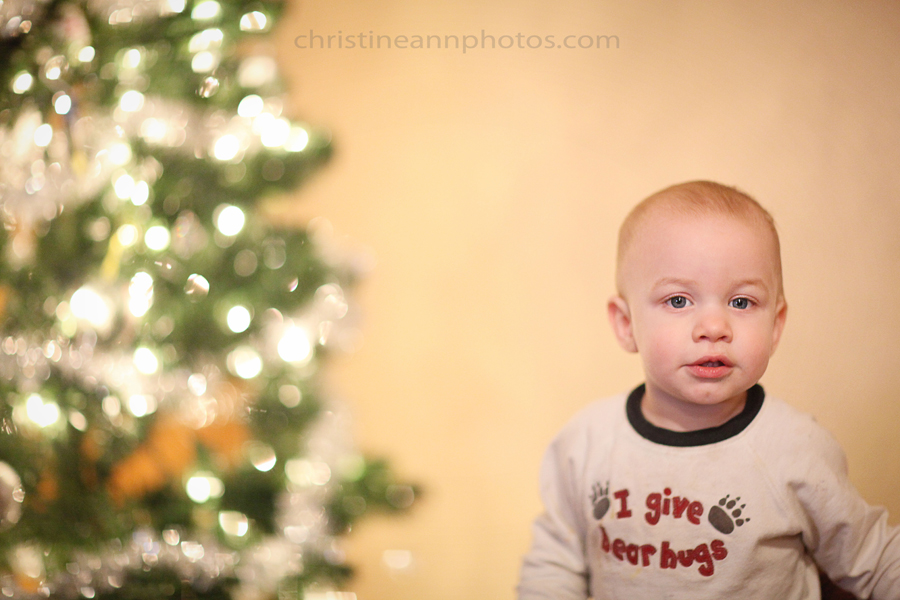
Now that I’ve said that you’ve probably realized that most of your blurred photos were taken indoors or at night.

Why does it stay open long in low lighting? Because the longer the shutter is open, the more light it lets in. Photos NEED light. If there isn’t much light, your camera needs to do things to make sure it gets enough light, otherwise you will be left with a black photo.

The photo at the top of the page was taken at the following settings: f/3.2 ISO 640 Shutter speed 1/8 (aka too slow!!!!).. that means it was open for 1/8th of a second which sounds fast but it isn’t fast enough for kids who move around. I usually try to stay around at least 1/100, and ideally a little higher, when photographing kids (what speed you set changes based on your lens and what you are photographing; things that are sitting still can be photographed at a lower shutter speed but you still have to shoot fast enough to avoid camera shake from your hands unless you are using a tripod).

How to Avoid Motion Blur in Your Photography

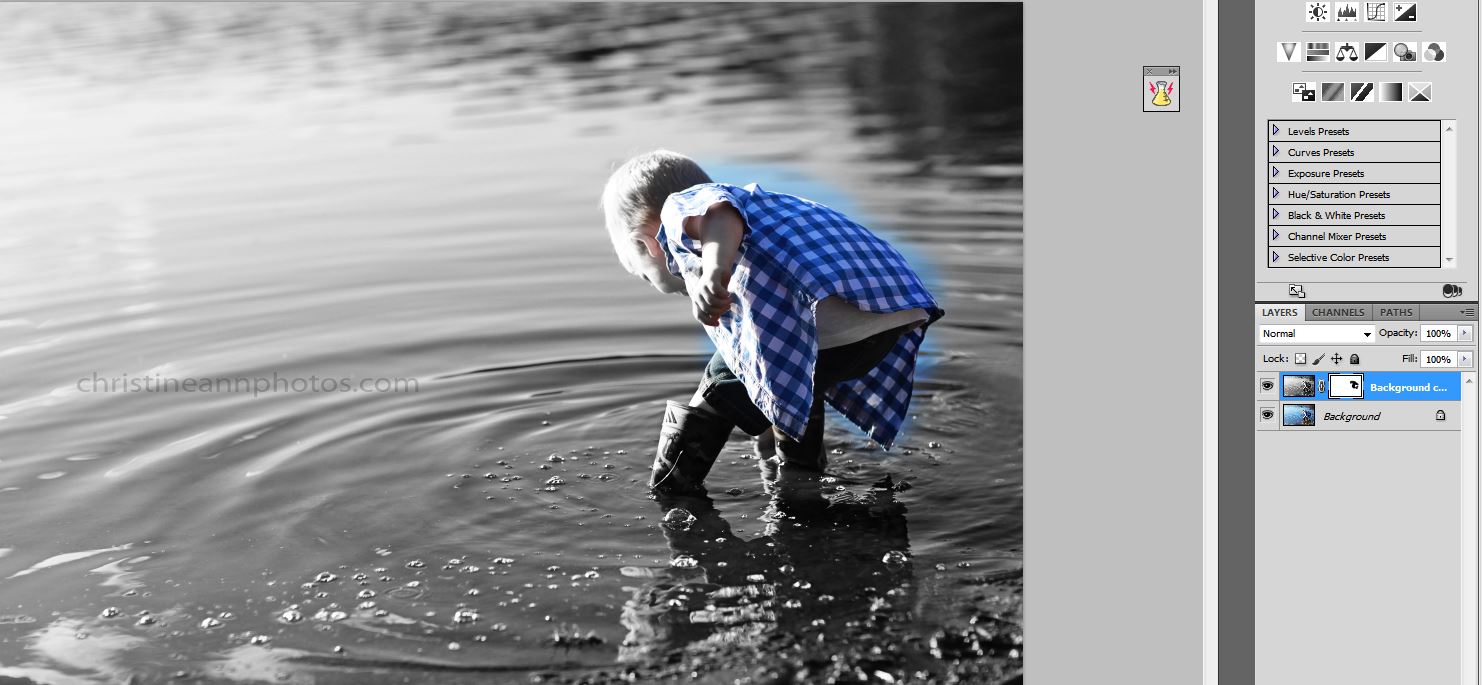
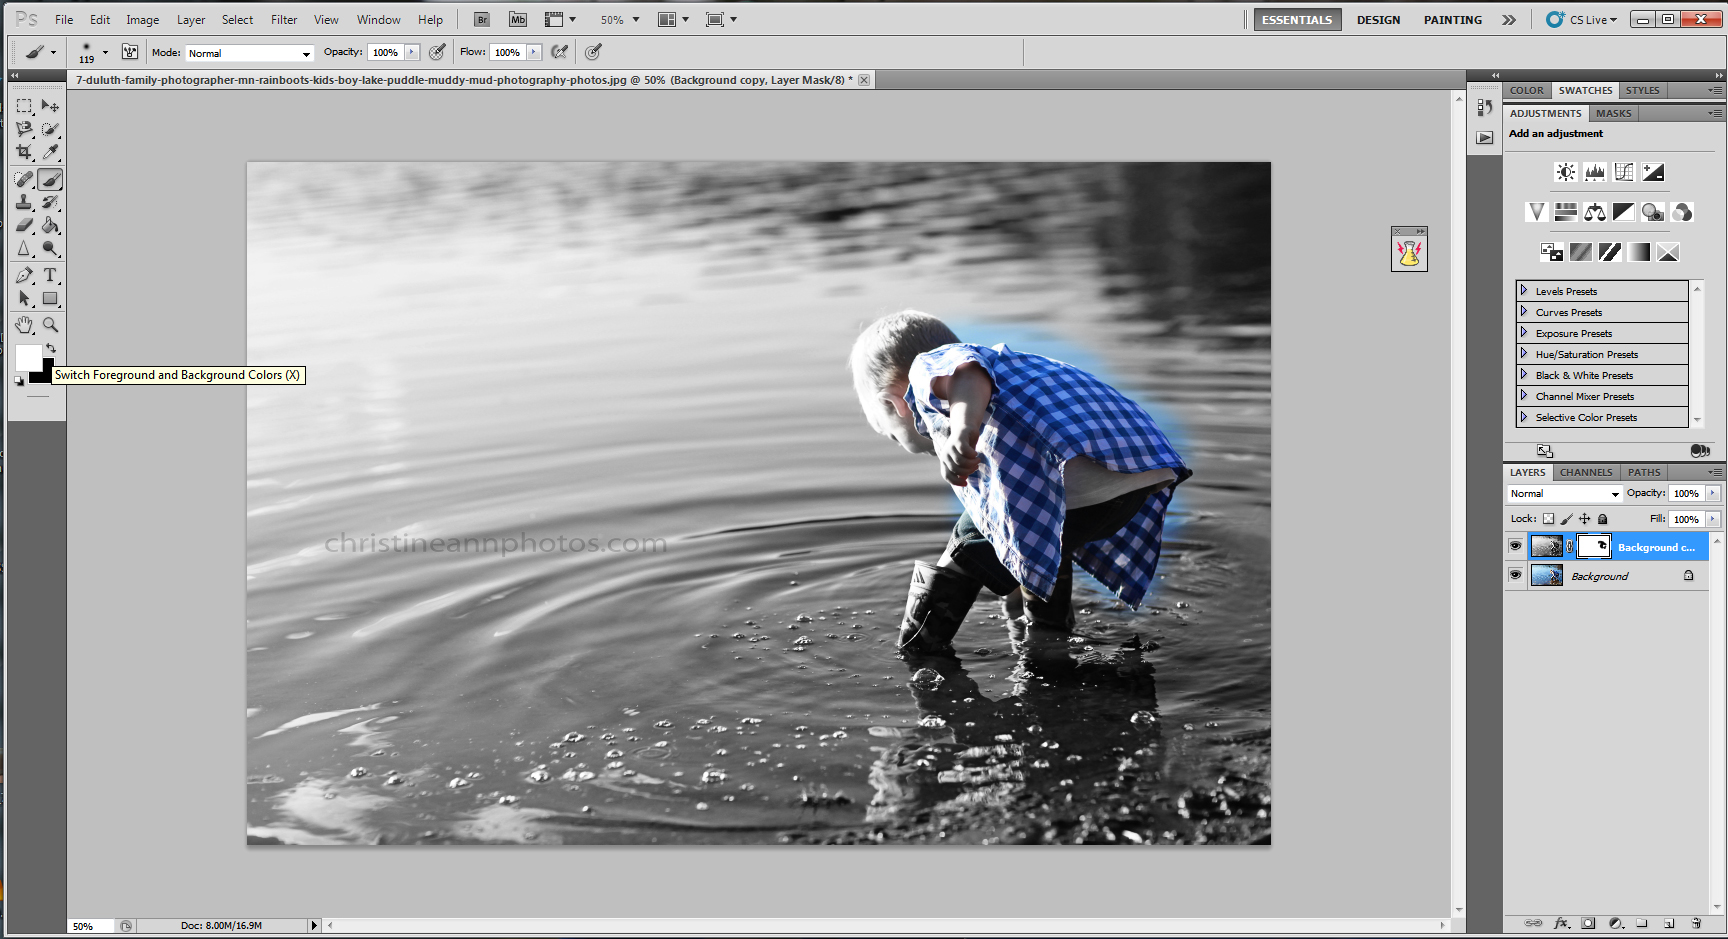
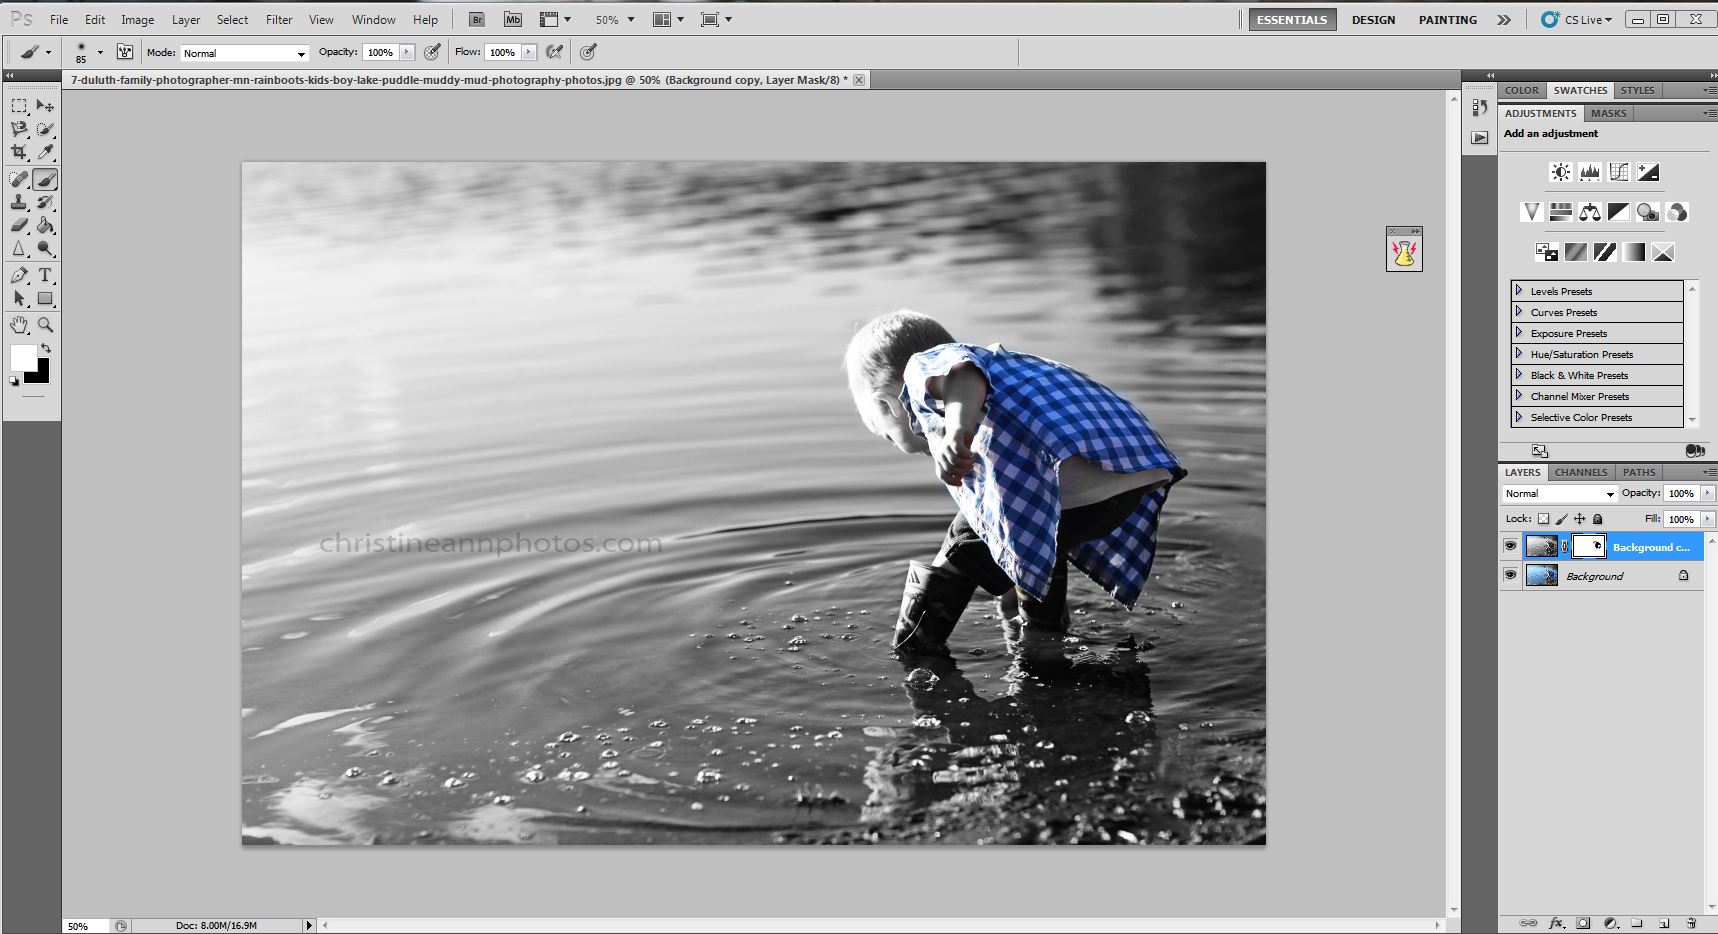
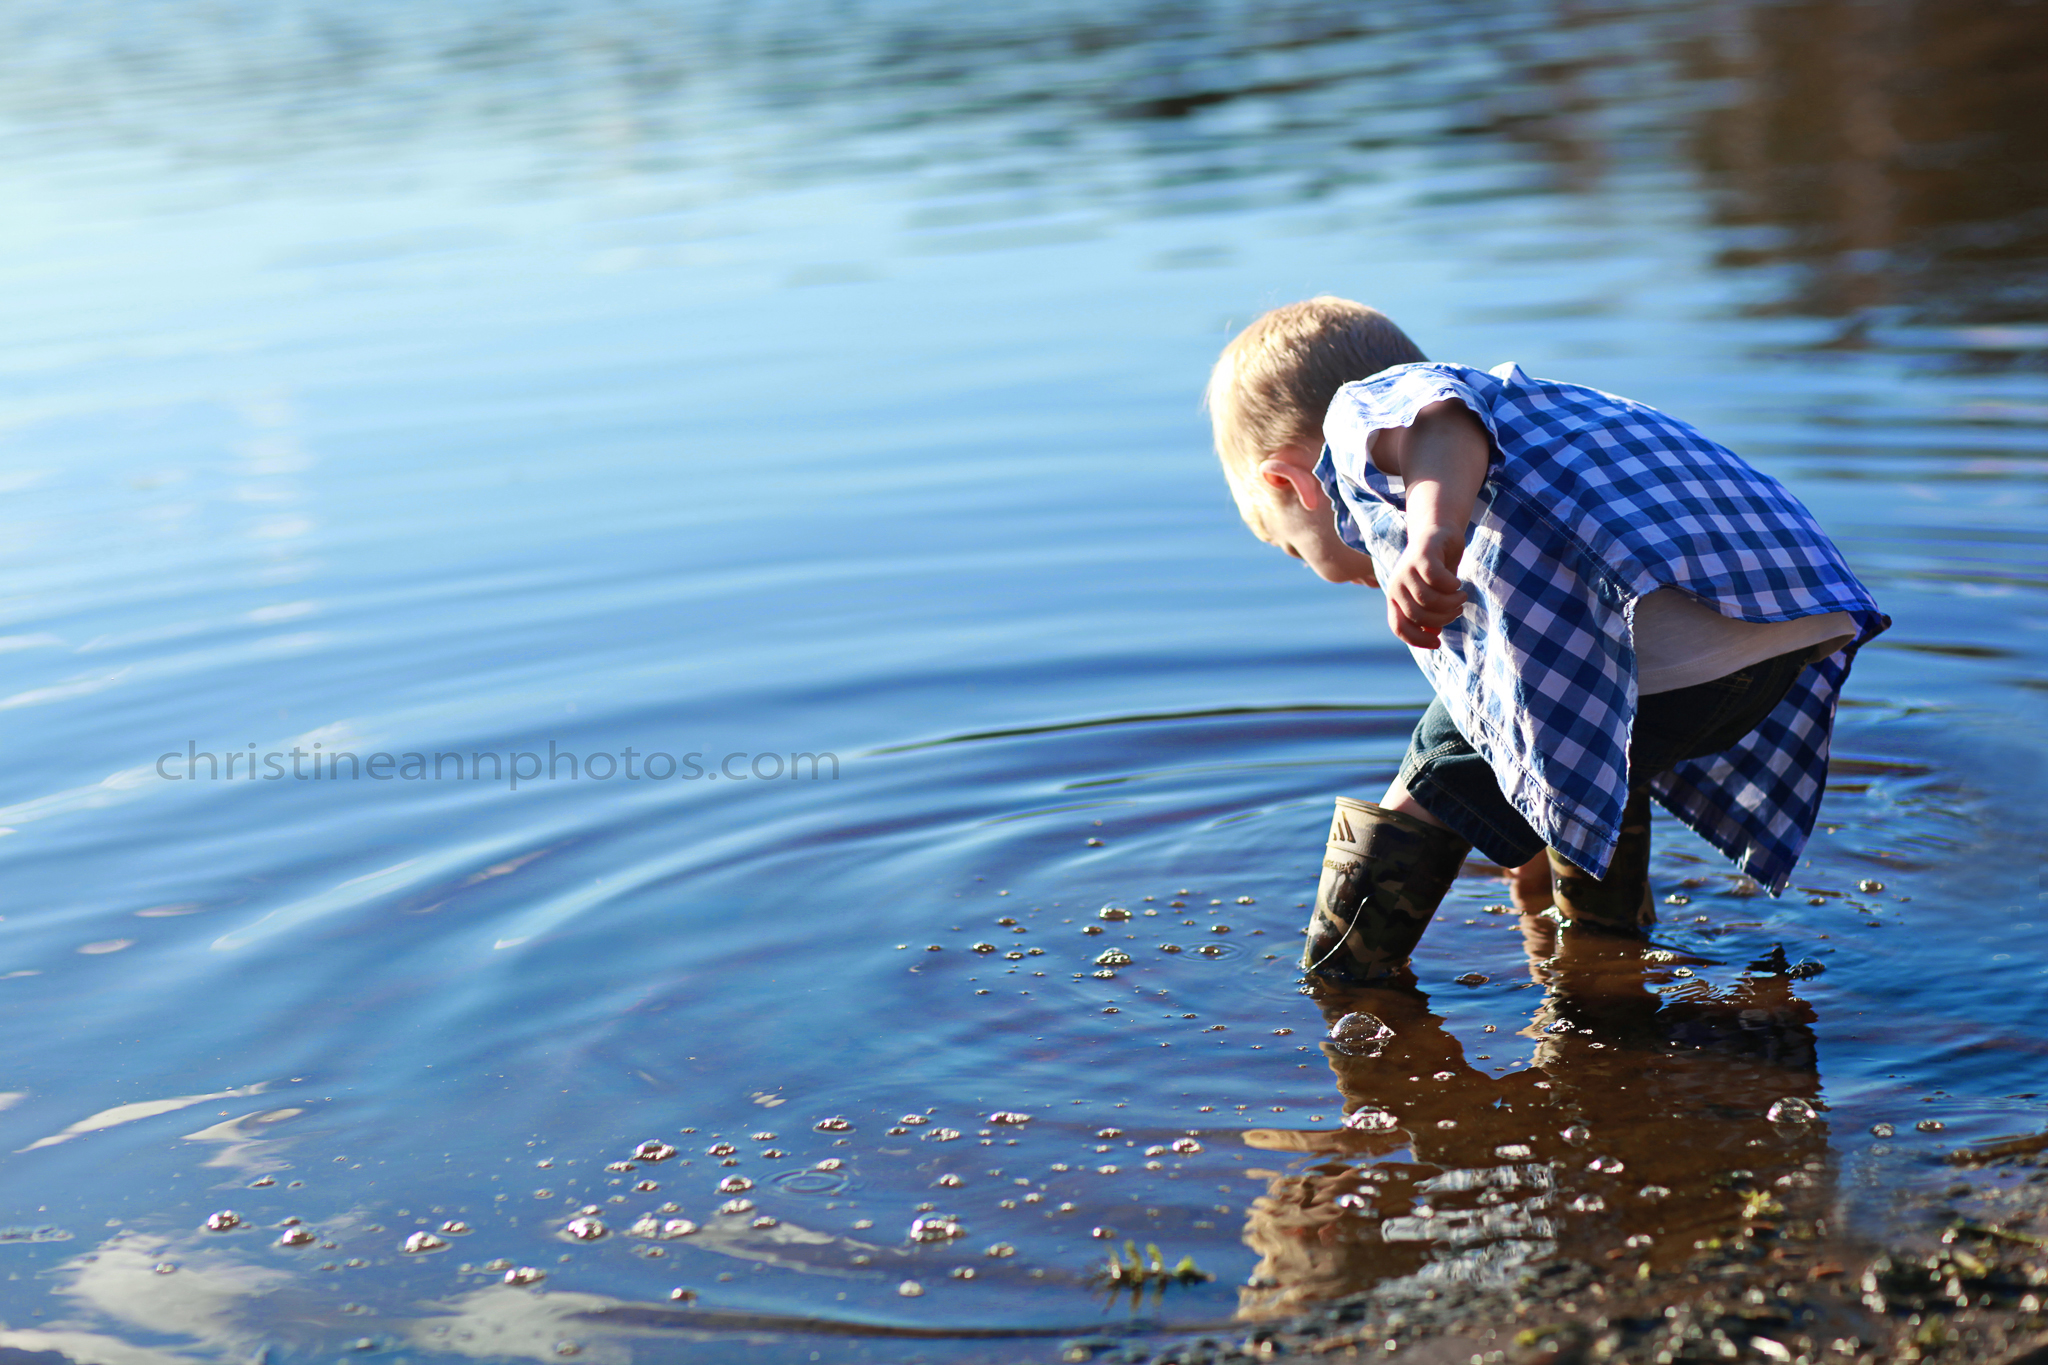
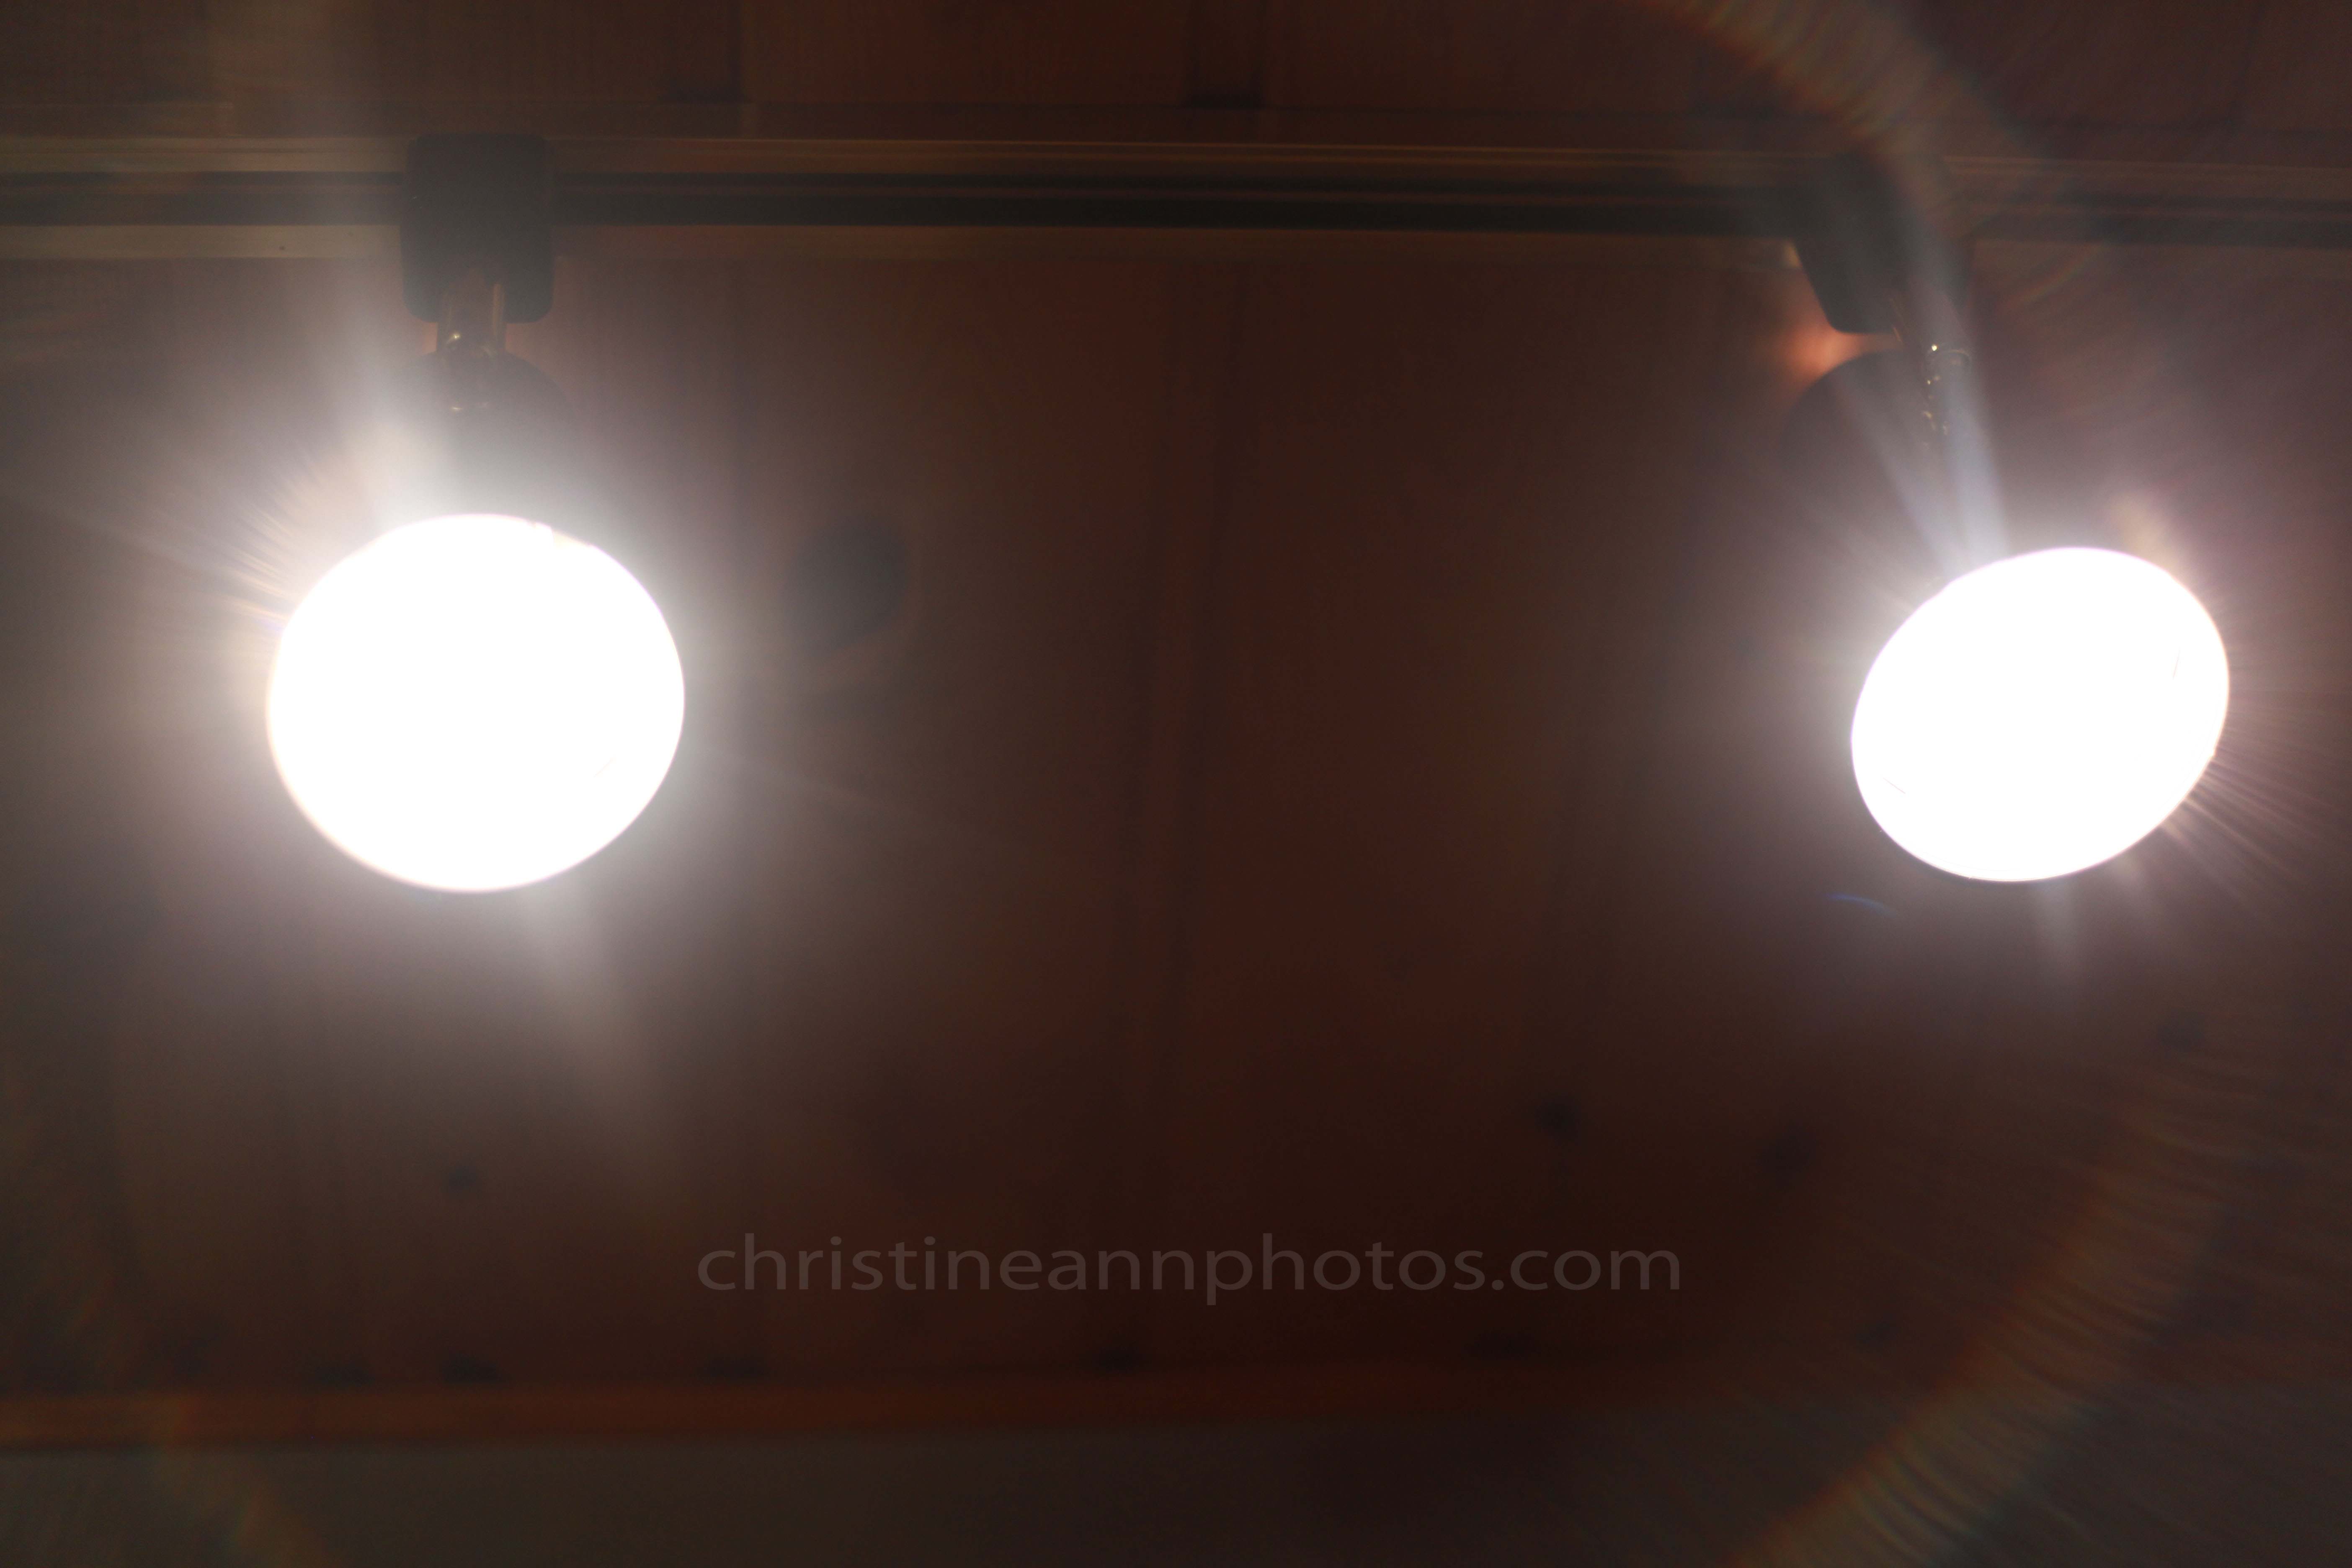
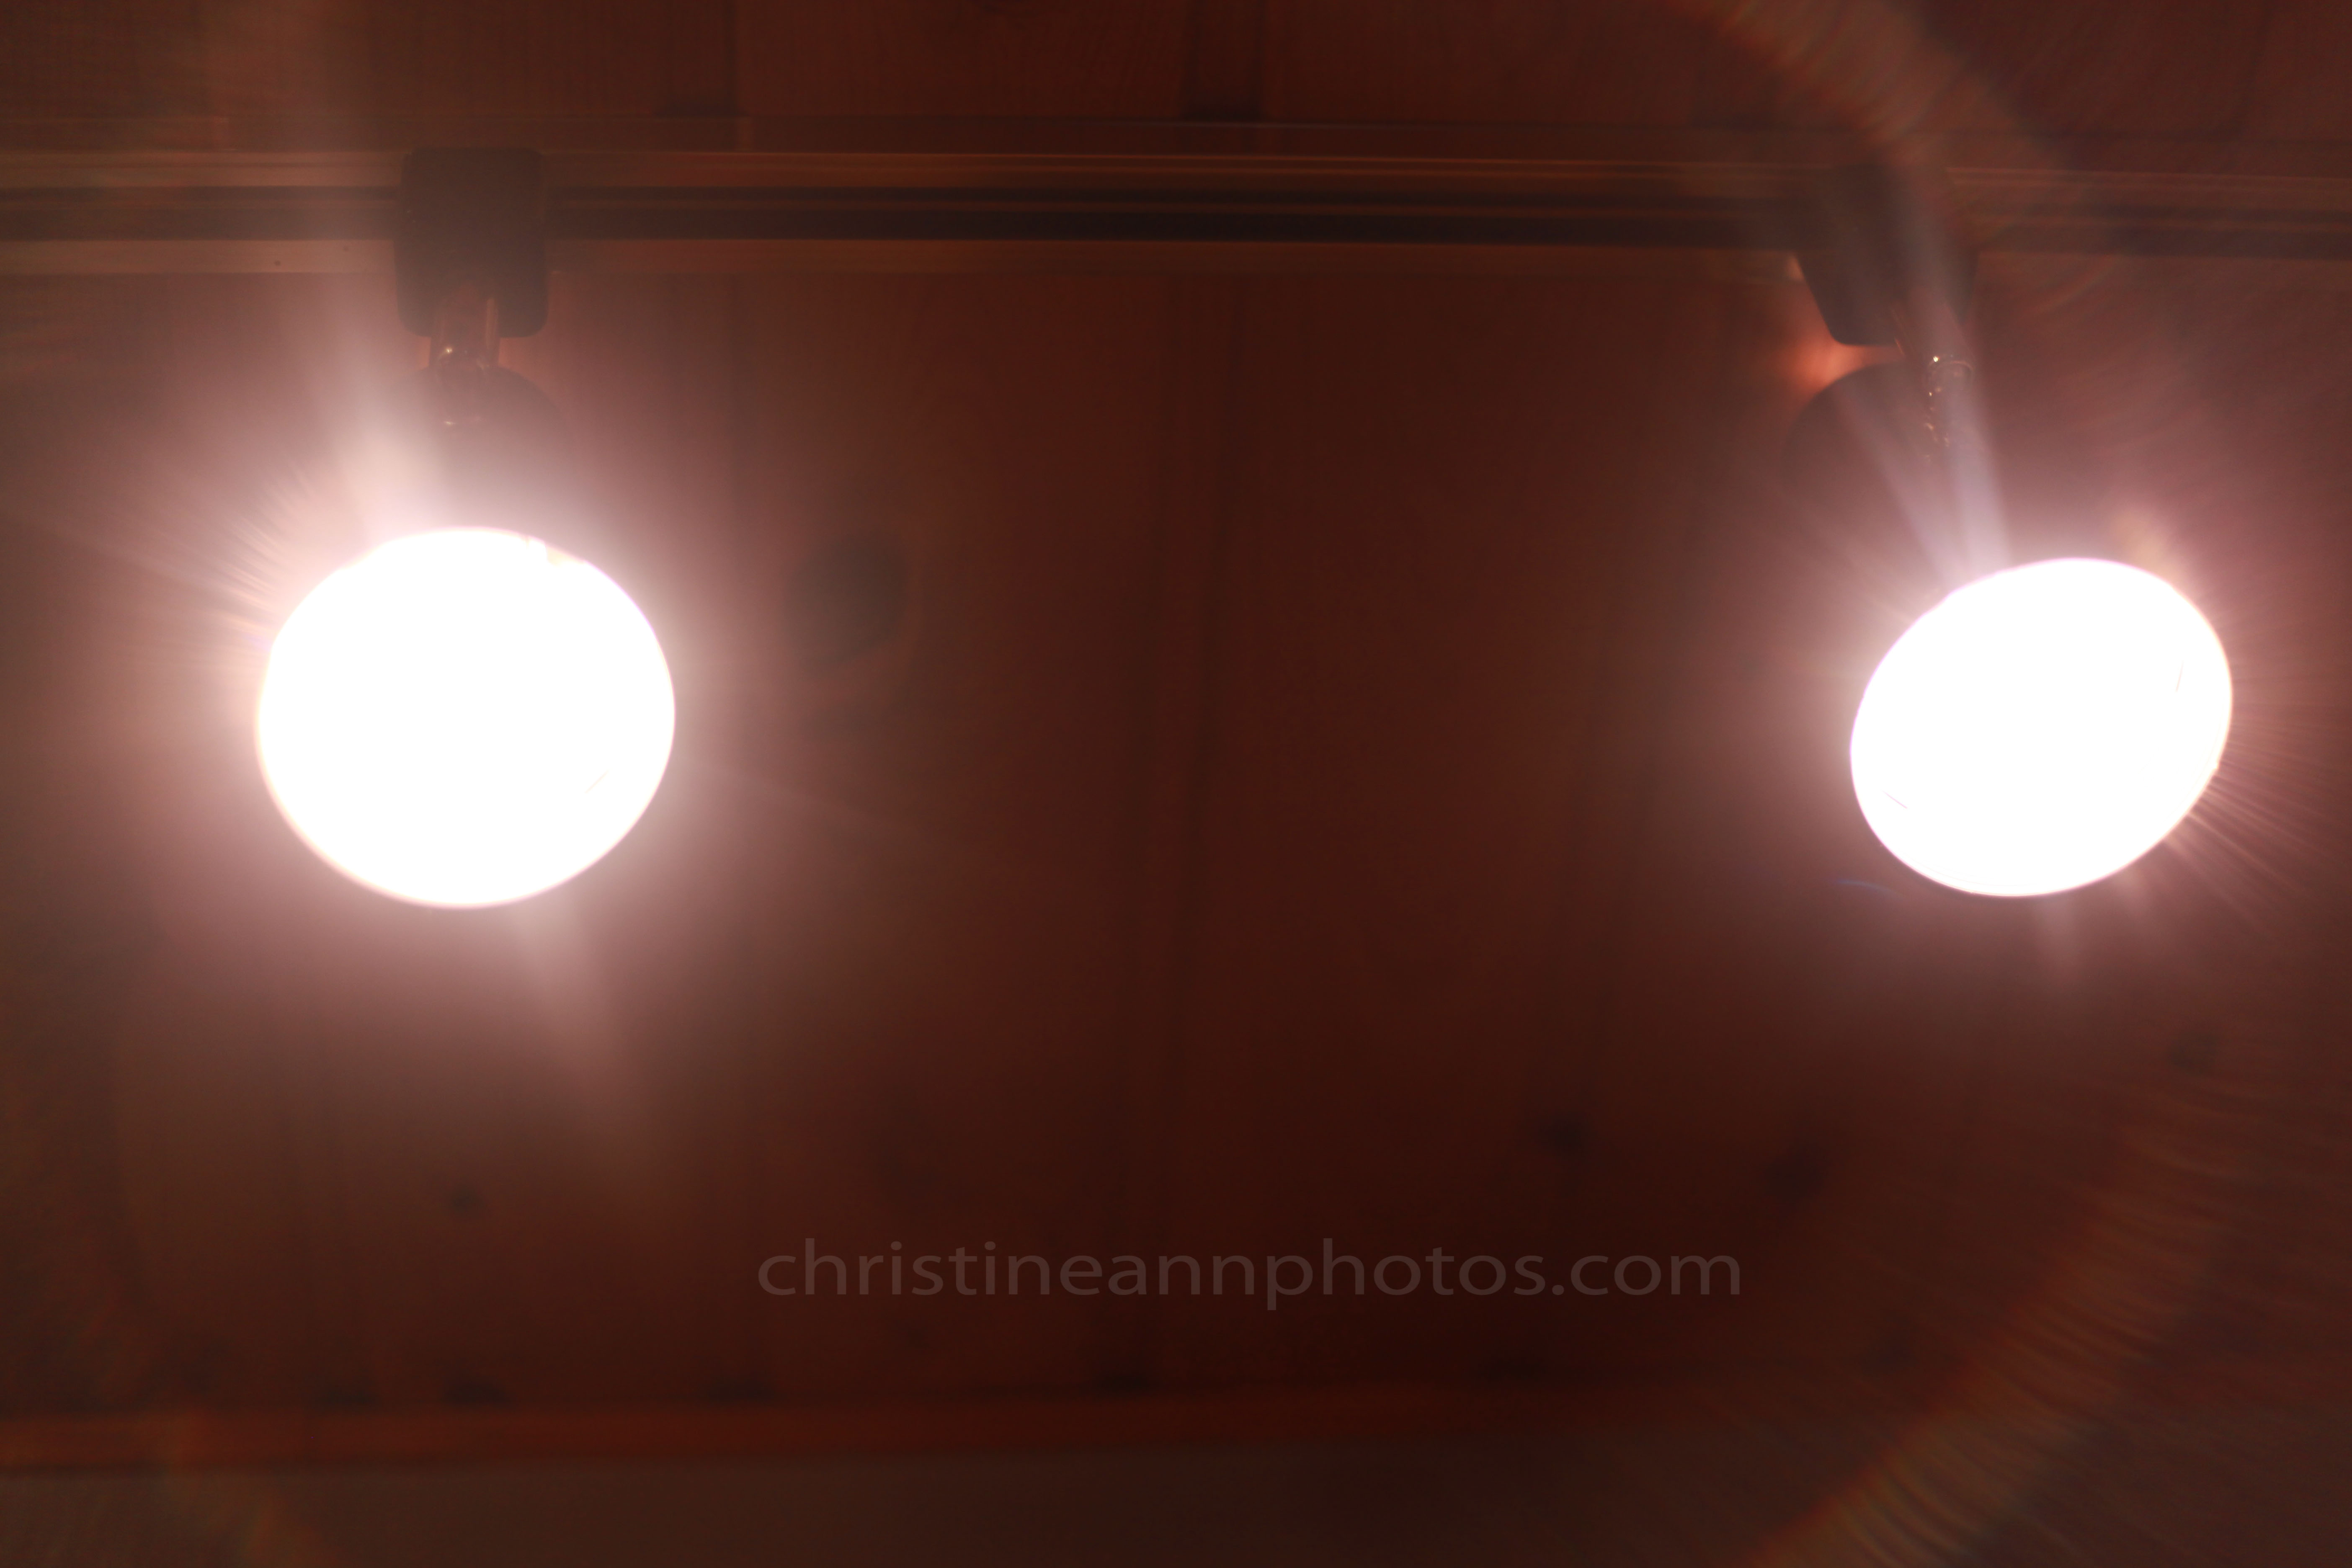
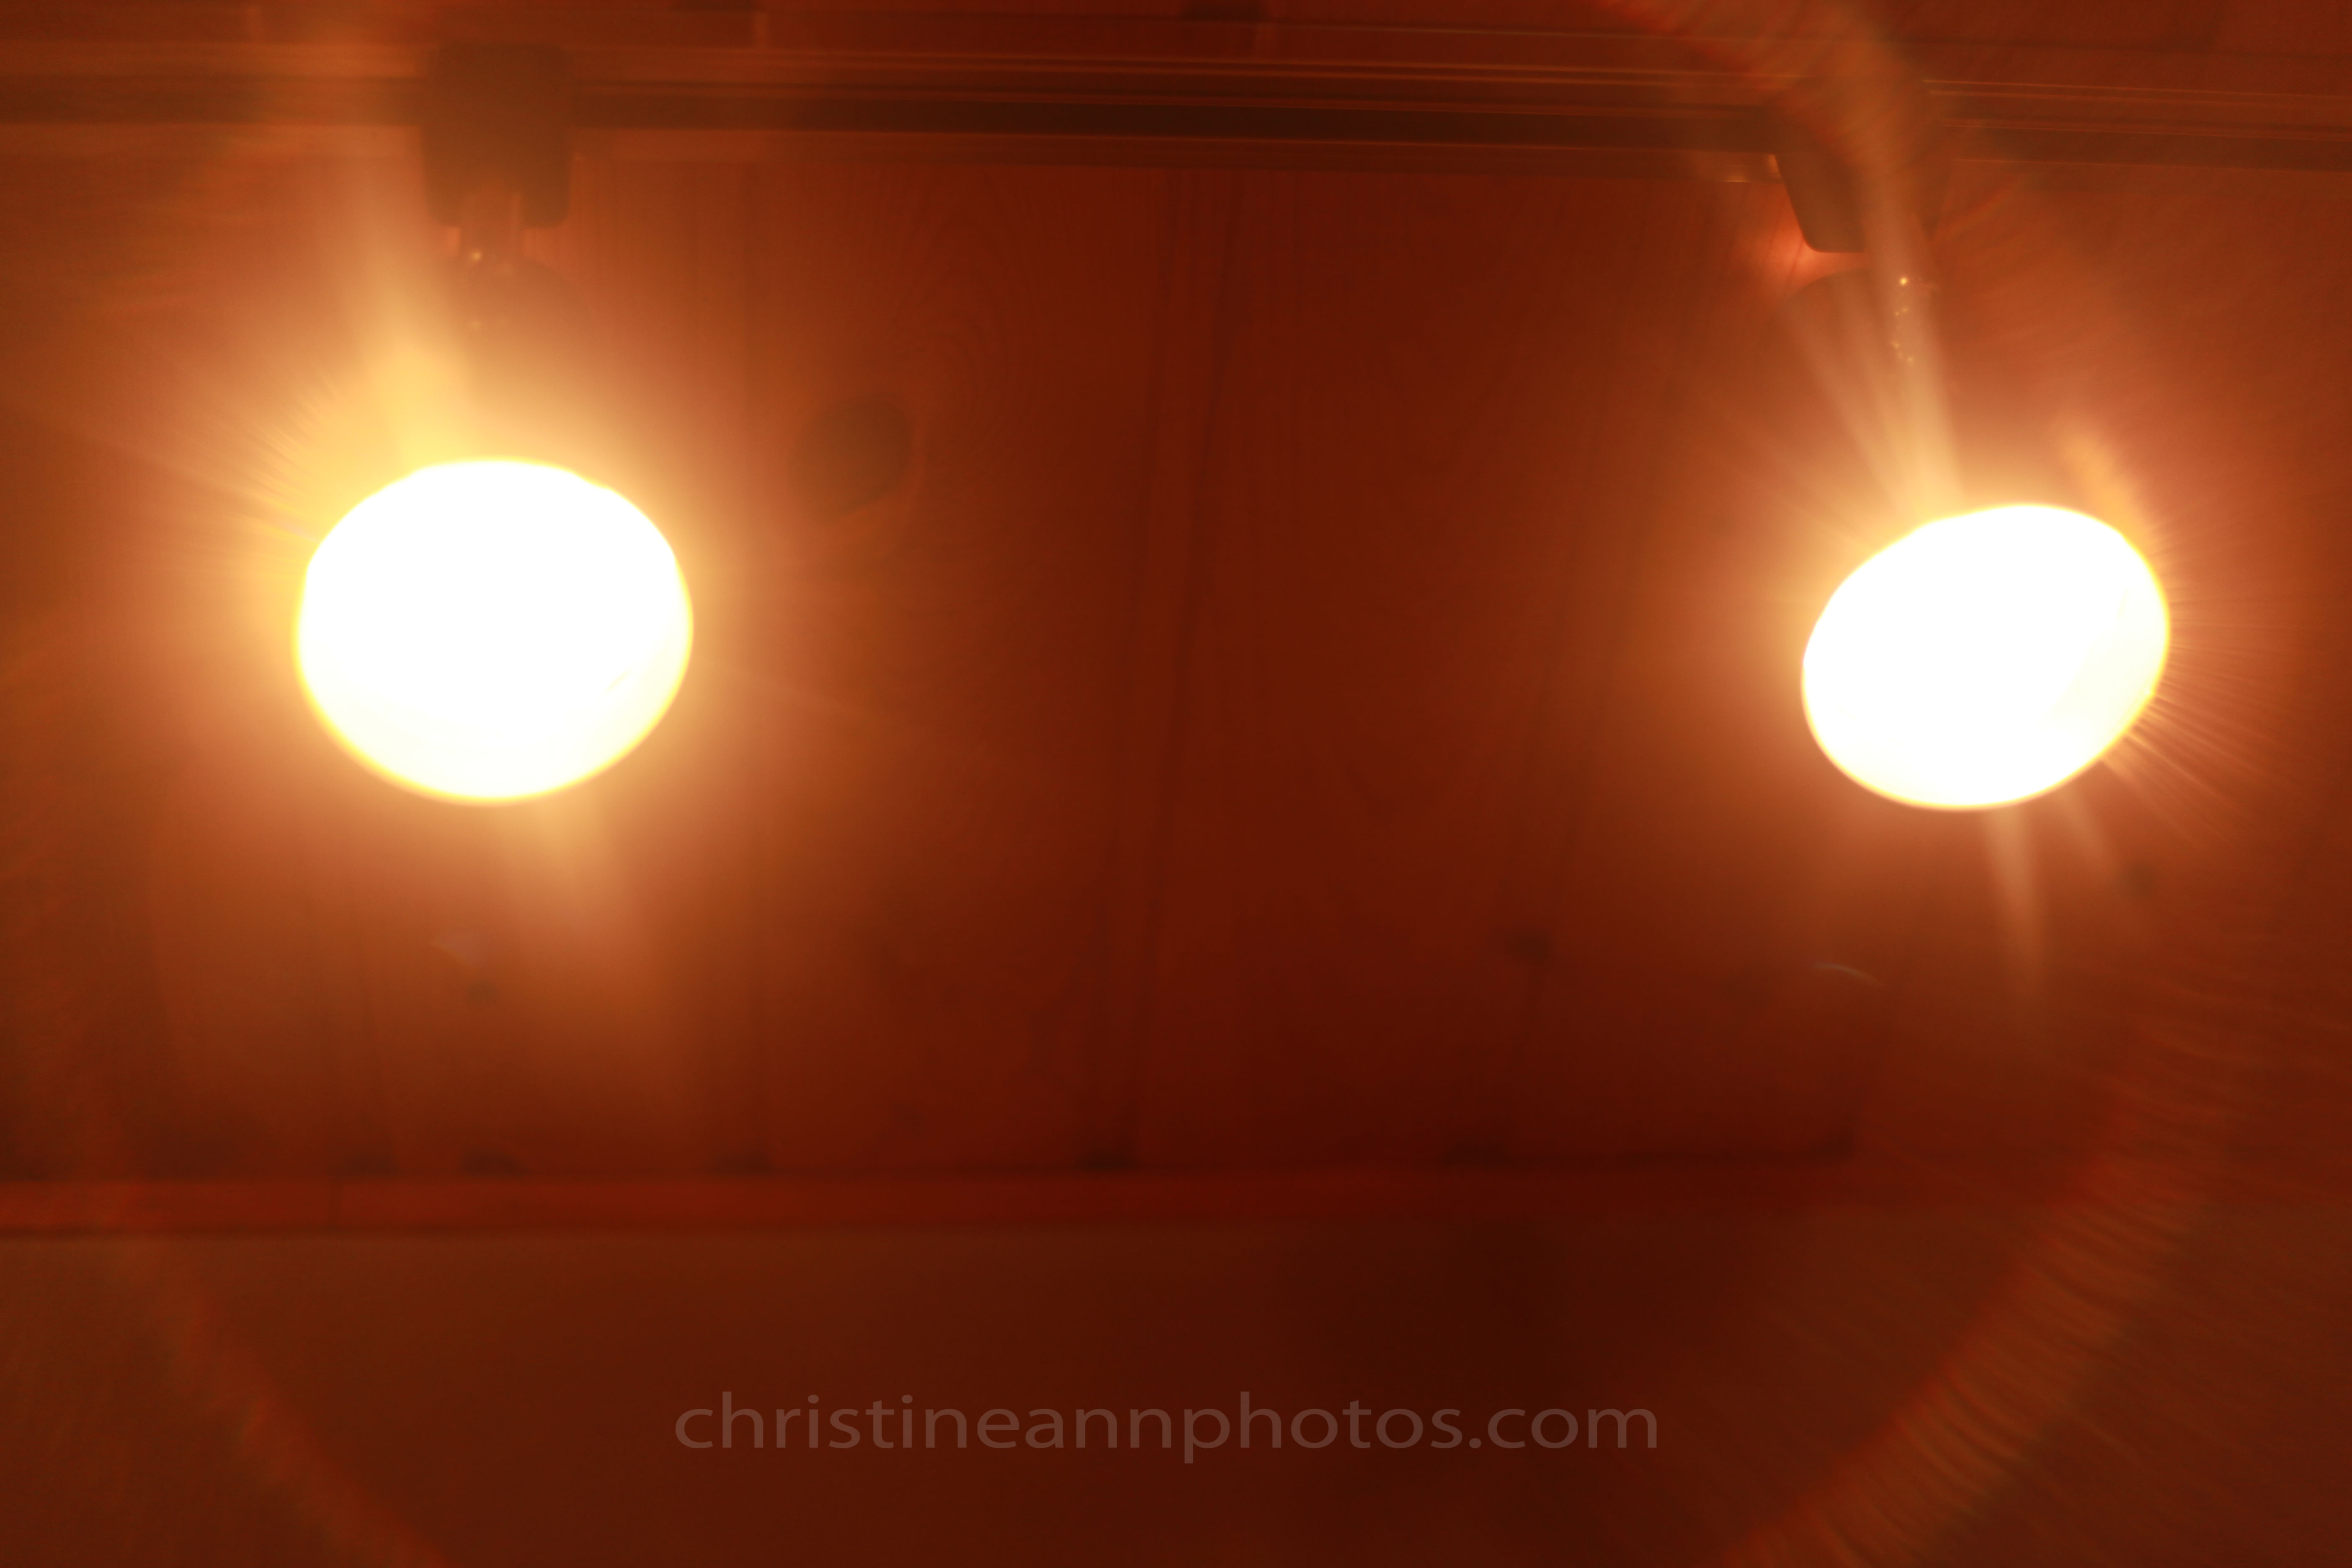
The easiest and most simple way to avoid motion blur in your photos is to get more light! Take your photos outside or closer to a window. You can also just turn more lights on inside but then you might want to be aware of your white balance because a lot of photos taken indoors will have an orange/red tint due to incorrect white balance (<– article about that tint and how to avoid it).

The last option is to use your flash. Most professional photographers will agree that the flash built into your camera is not good and actually hurts your photos. My rule for using in-camera flash is only use it if the alternative is a super blurry or black photo. A photo with flash is better than a blurry or dark photo. The other option for flash is to buy an external flash – one you can take off the camera and diffuse it. This is the ideal option if you need to use flash (I will write more on this later!). I try to shoot outdoors as much as possible :).

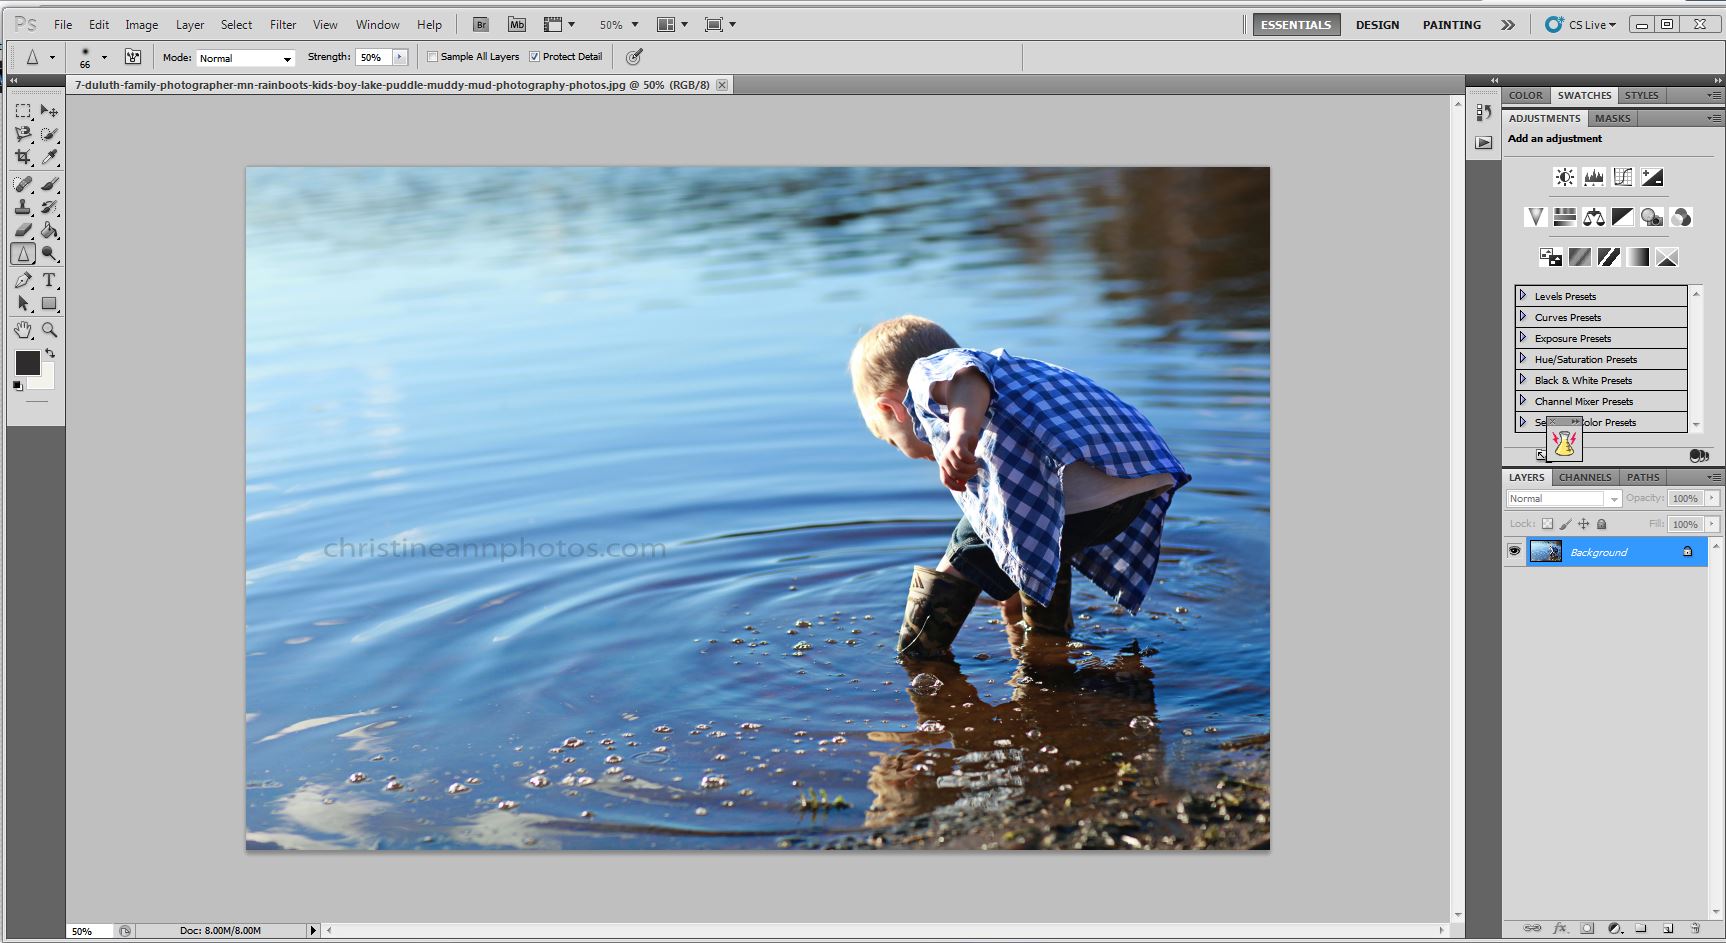
If you own a DSLR there is another option for eliminating motion blur: Set your own settings and tell the shutter what its speed needs to be.

There are two modes in which you can do this:


TV Mode. TV mode is found on your dial and it is “shutter priority mode”. Shutter priority means that all other settings are formed around your shutter speed.. so you tell your camera what your shutter speed needs to be, and it figures everything else out for you. It is a good setting for people starting out with their DSLRs – however there can be consequences to this such as your camera may bump up your ISO, causing your photos to be grainy, or shoot at too high or low of an aperture, losing the “blur” effect or giving you too much of a blur effect.. however you can guarantee they won’t have motion blur 🙂 and sometimes you have to made decisions like that (ie I’ll have a grainy photo instead of a blurred photo) because when there’s not enough light, something’s gotta give.


M Mode (Manual Mode). This is ideal. This is the mode most professional photographers shoot in. You tell your camera exactly what the settings need to be and it shoots at that regardless of what it would want to do in auto mode. You set the shutter speed (if you’re getting motion blur you increase the shutter speed), you set the aperture, you set the ISO.. you can understand what is happening in the photo and what the outcome of the photo will be based on your settings, however it requires more knowledge than TV mode so it’s perfectly fine to start with TV mode and keep working towards M mode.

The fun part of understanding how the shutter affects your photos is that you can use it to intentionally capture motion blur and make some interesting photos! Leaving the shutter open on purpose is called Bulb Photography.

To do bulb photography you must put your camera on a tripod so it stays perfectly still (otherwise there will be camera shake which will hurt the photo) and then have the subject move around while you leave the shutter open and capture all the movement.

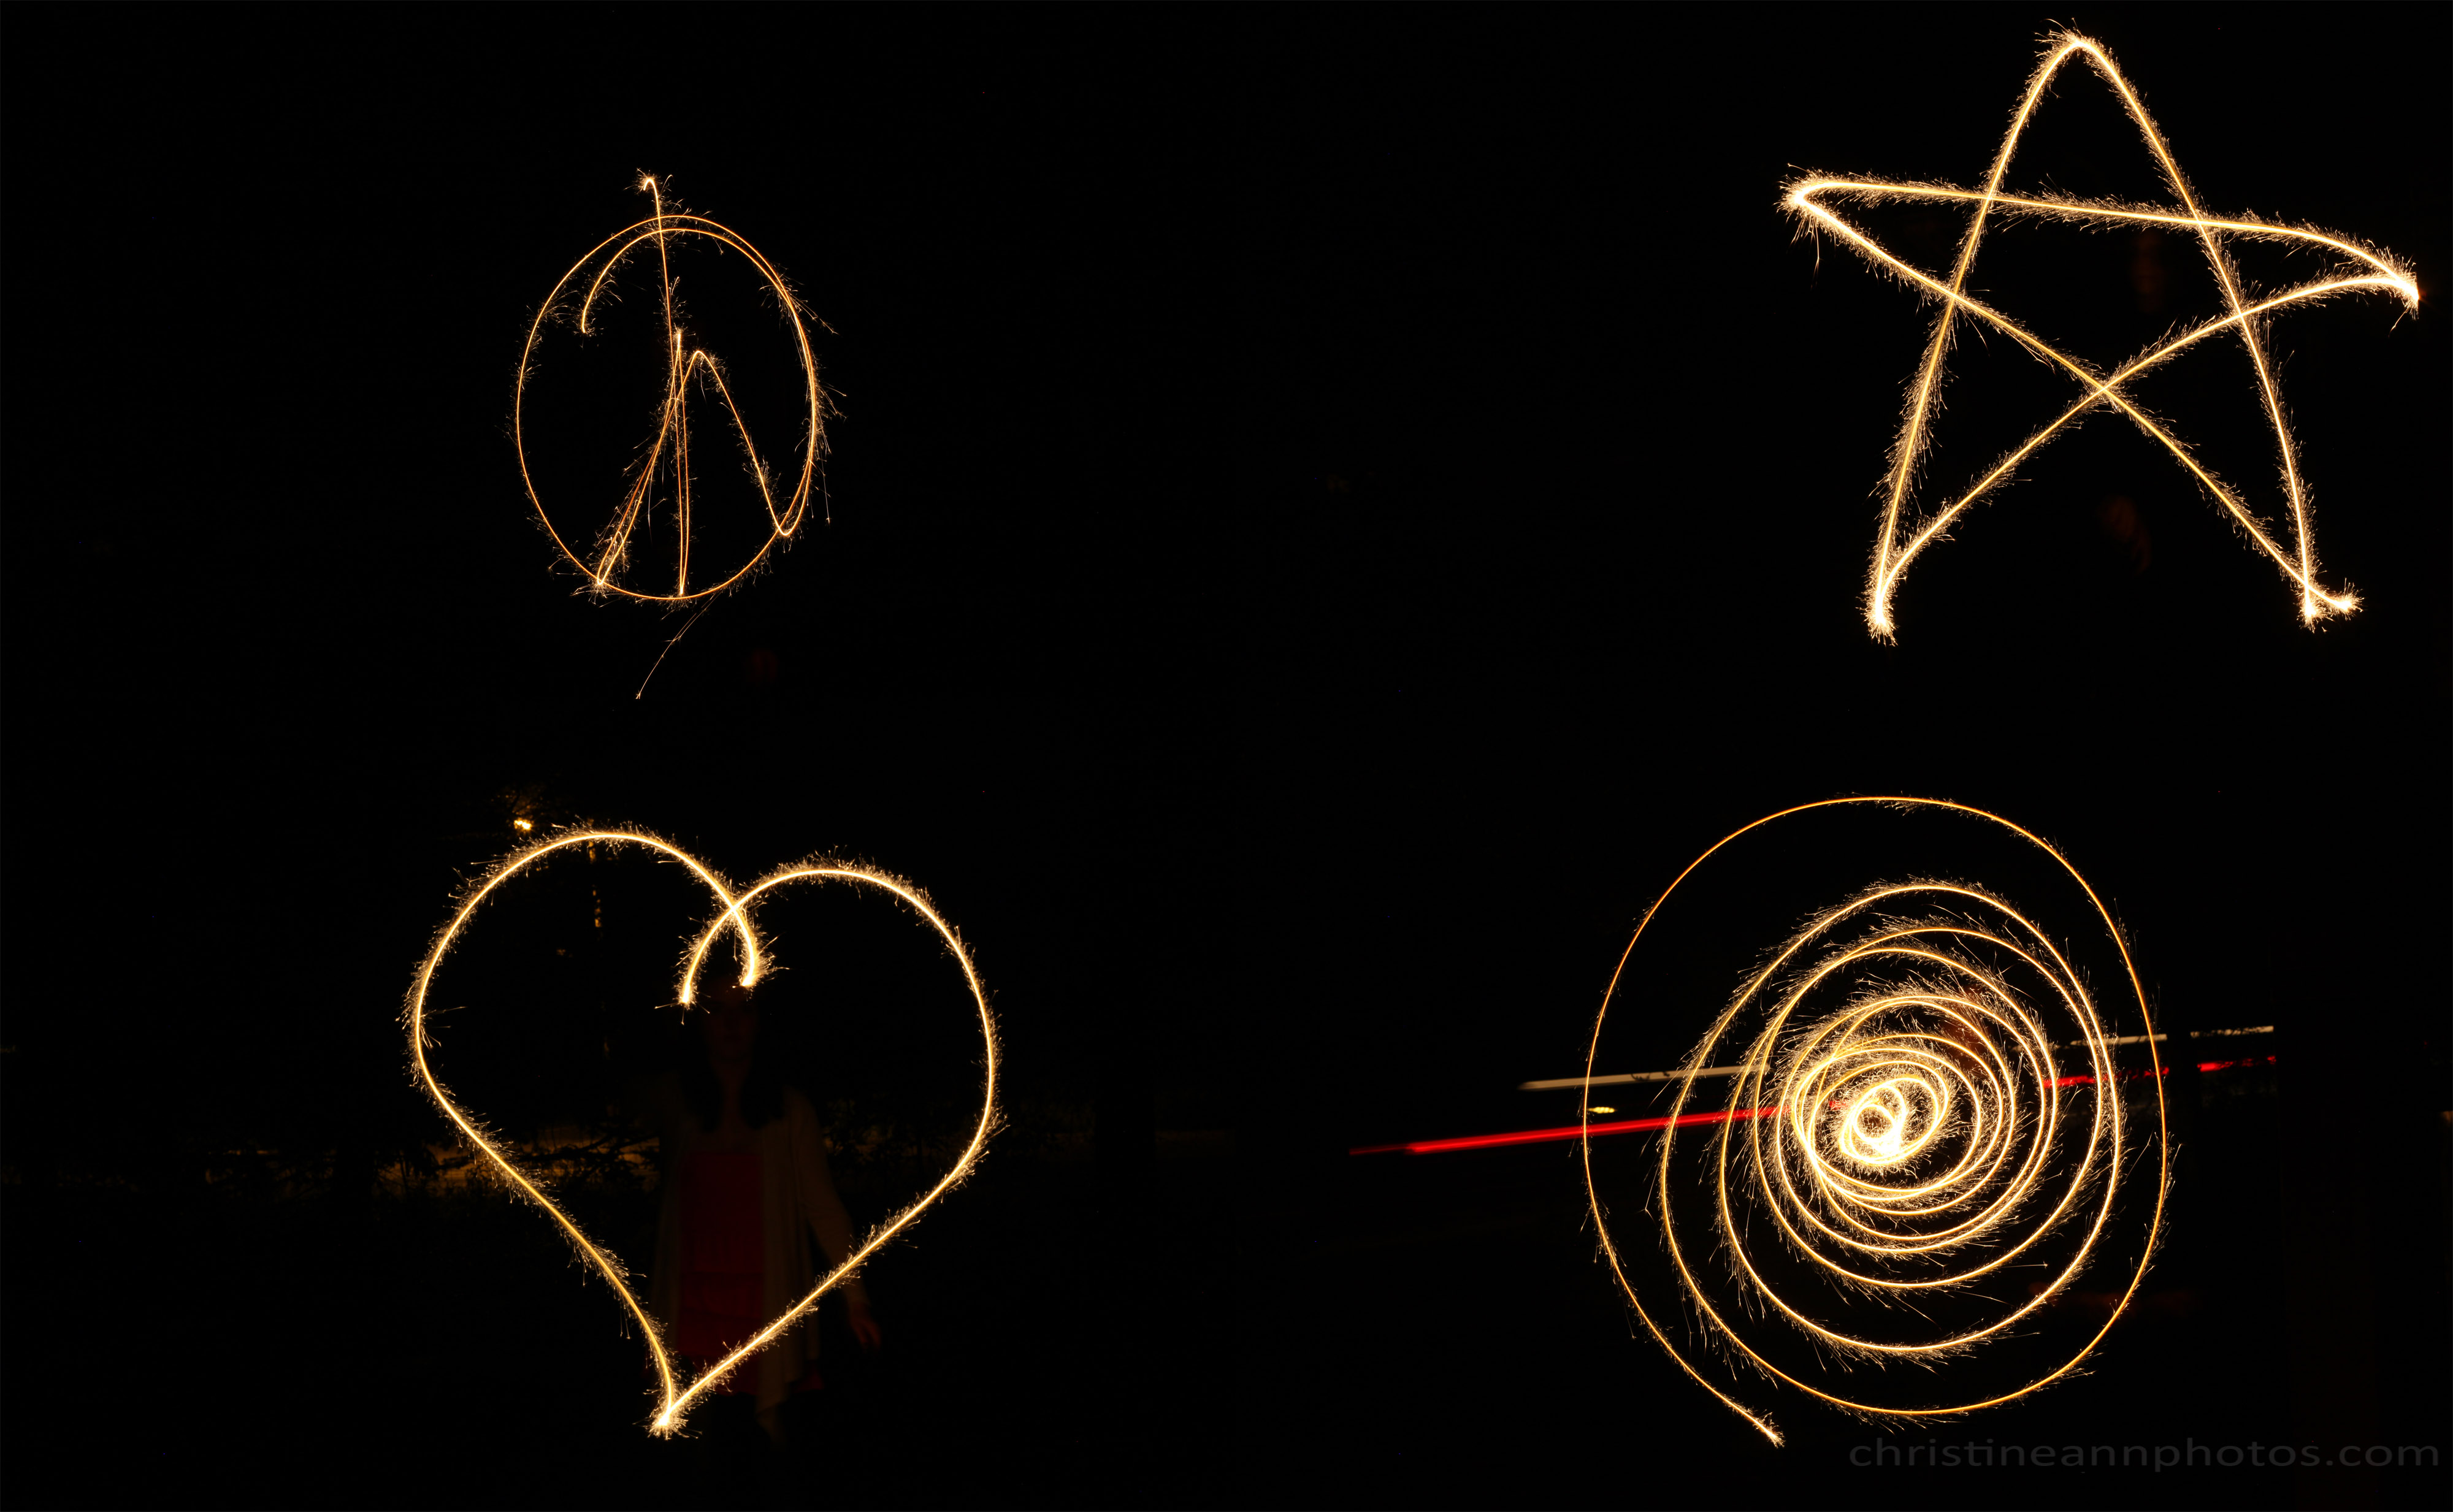
Here are some examples of the camera being on a tripod with the shutter left open:

Shutter speed explained, bulb photography examples, why are your photos blurry and have motion blur
f/3.2 ISO 6400, shutter: 1/25.

Untitled-1stamped
Notice in the bottom right photo you can see 2 red streaks in the background – those are the taillights of a car :).
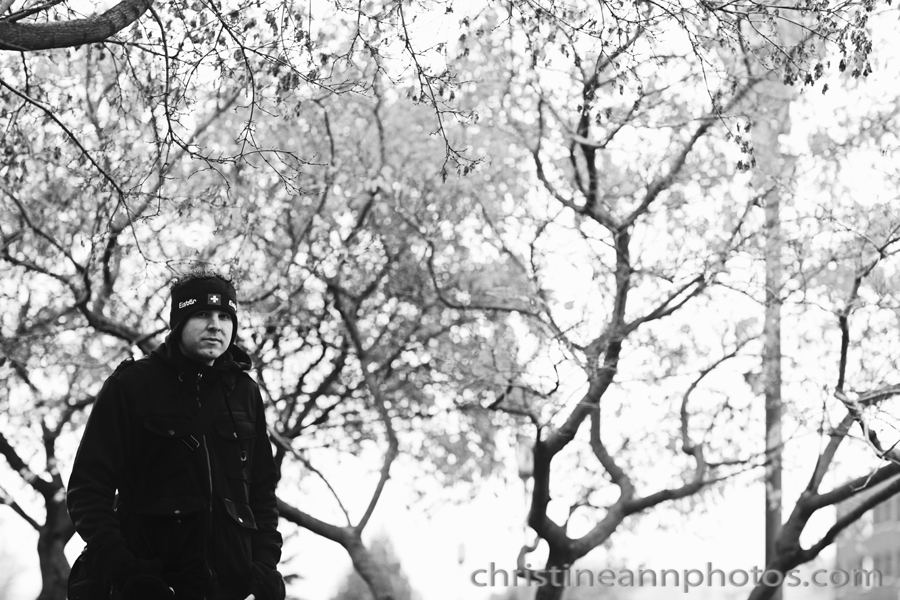
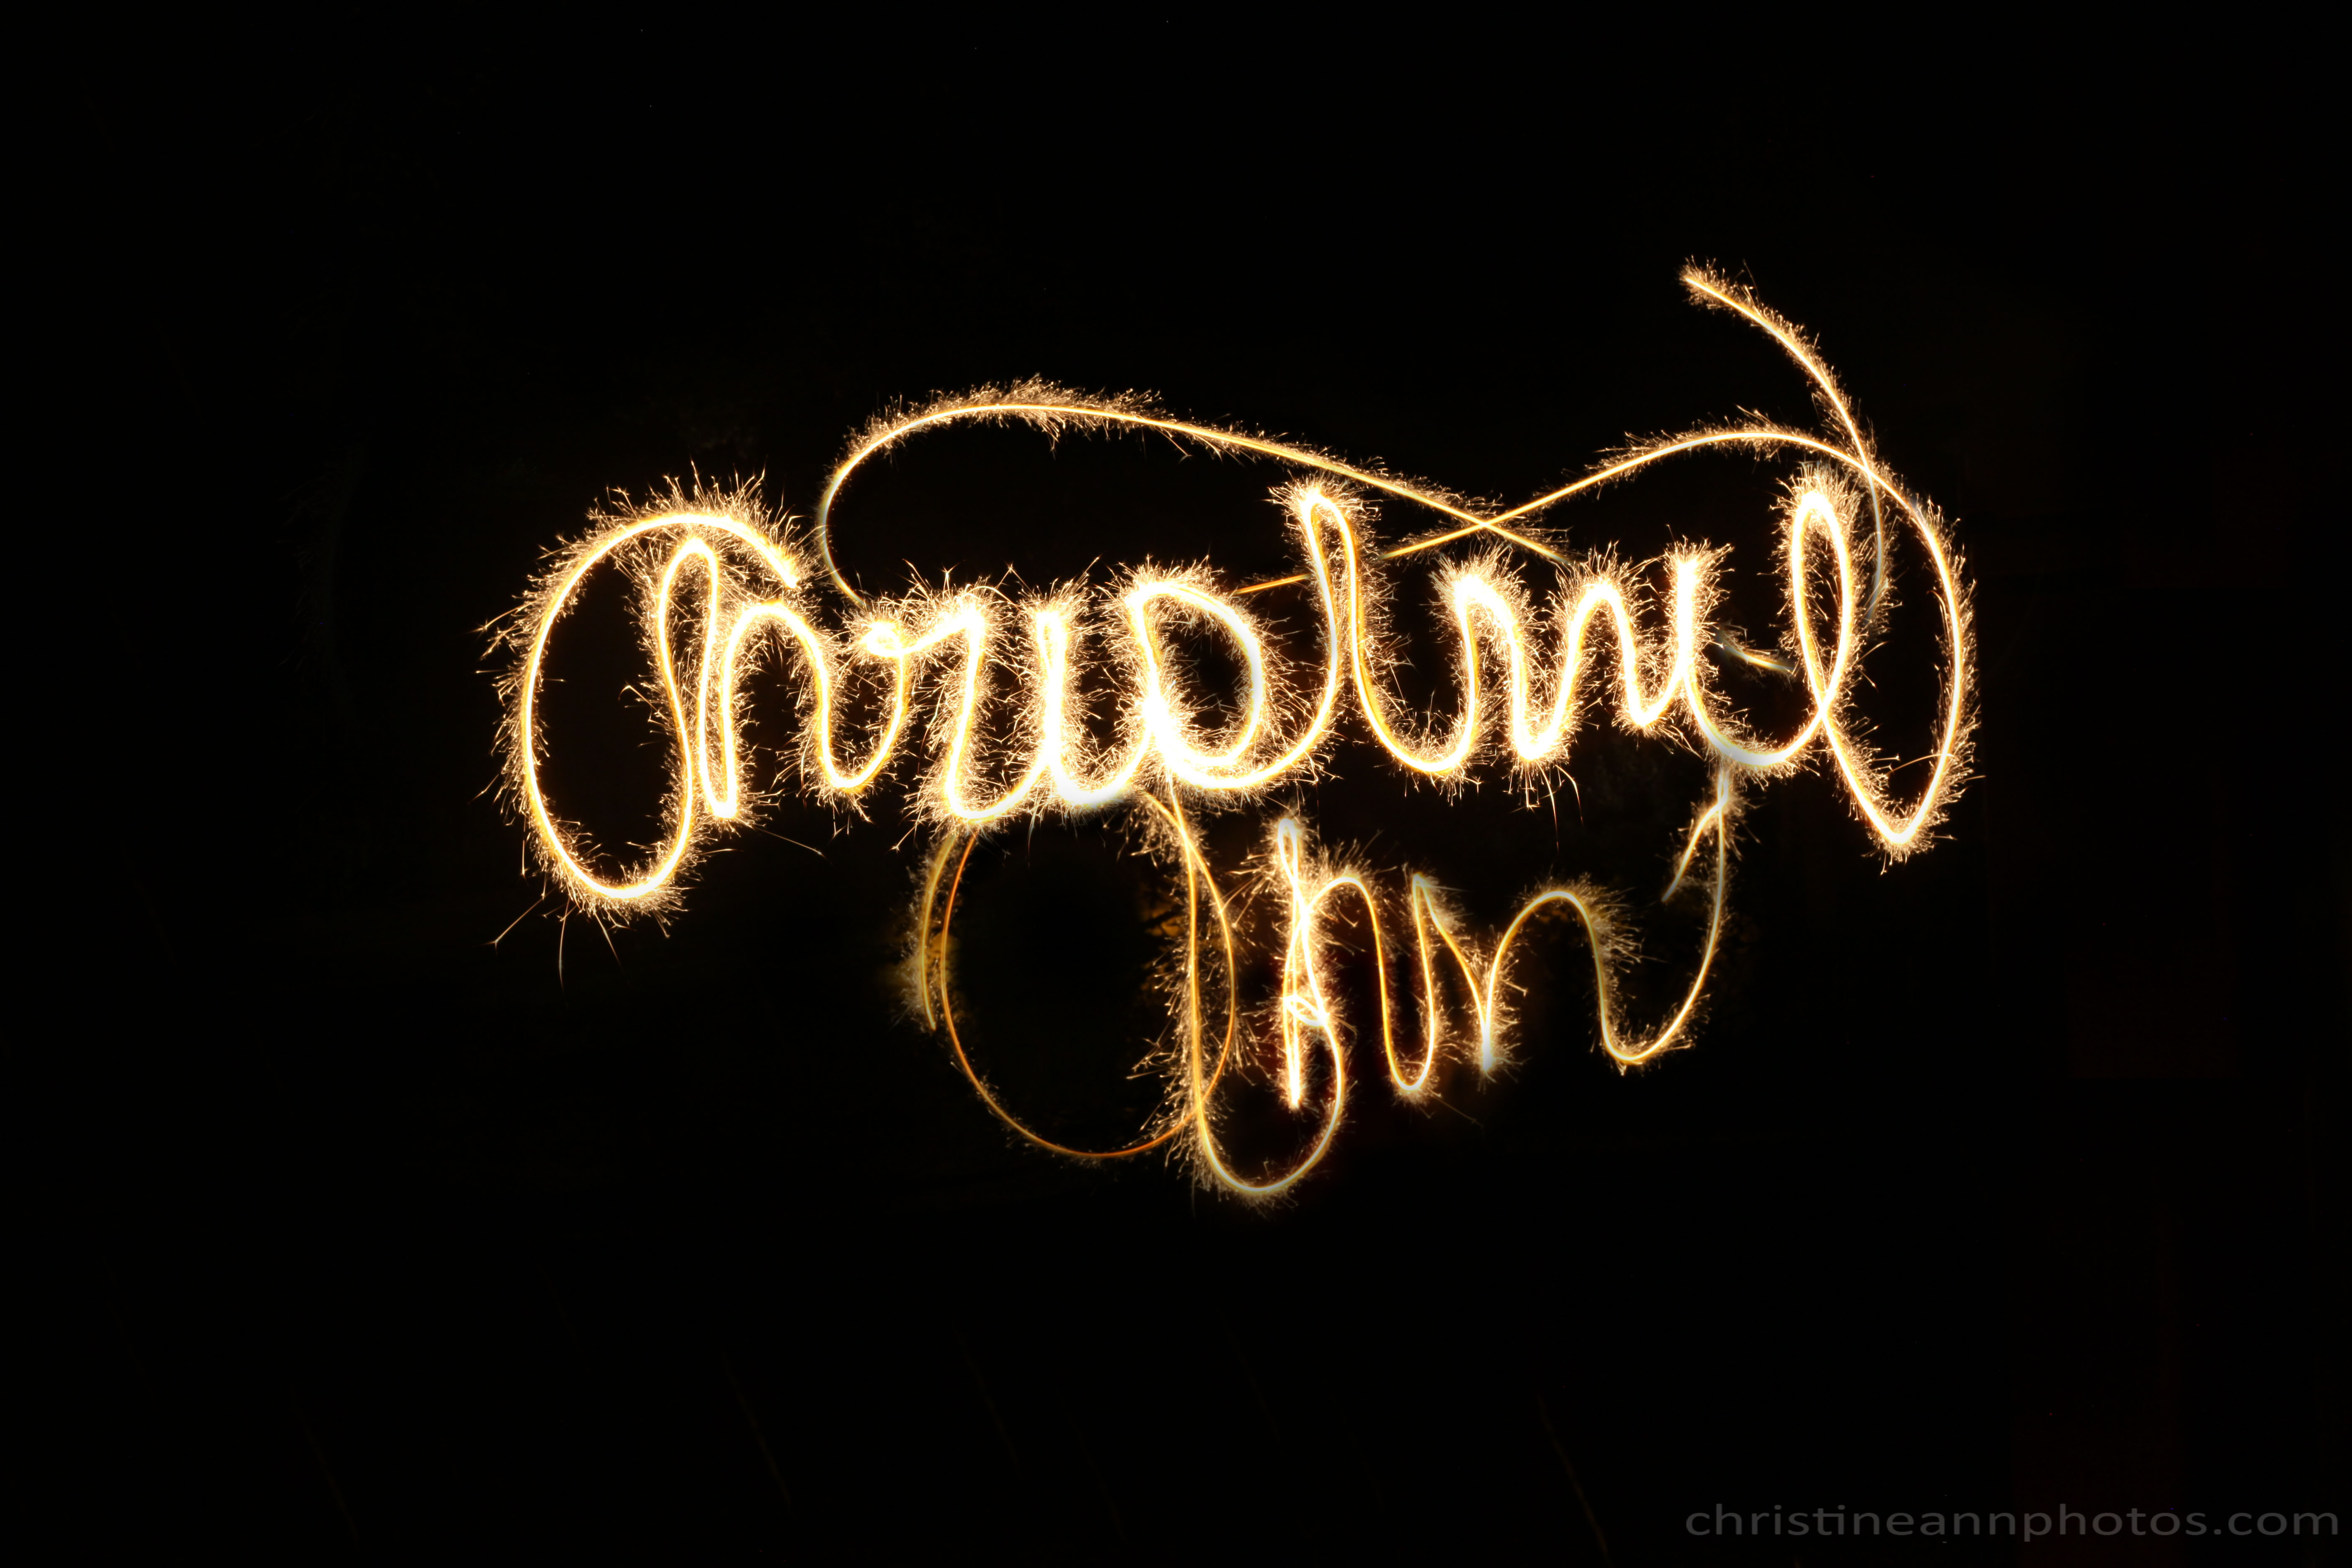
Settings: f/11 ISO 500, shutter speed 4 seconds (shutter was open for 4 seconds).

IMG_3714zzzzzstamp
Settings: f/11 ISO 500, shutter speed 7 seconds (shutter was open for 7 seconds). I was wearing all black to minimize being seen and did additional editing to completely “disappear” from behind the sparkler otherwise you would see me as motion blur in the background :).

Why your photos have motion blur and are blurry with bulb photography examples
(My white balance is off in this photo which is why it has a red/orange tint).

Night time sky with stars and the moon astrophotography bulb exposure duluth mn minnesota
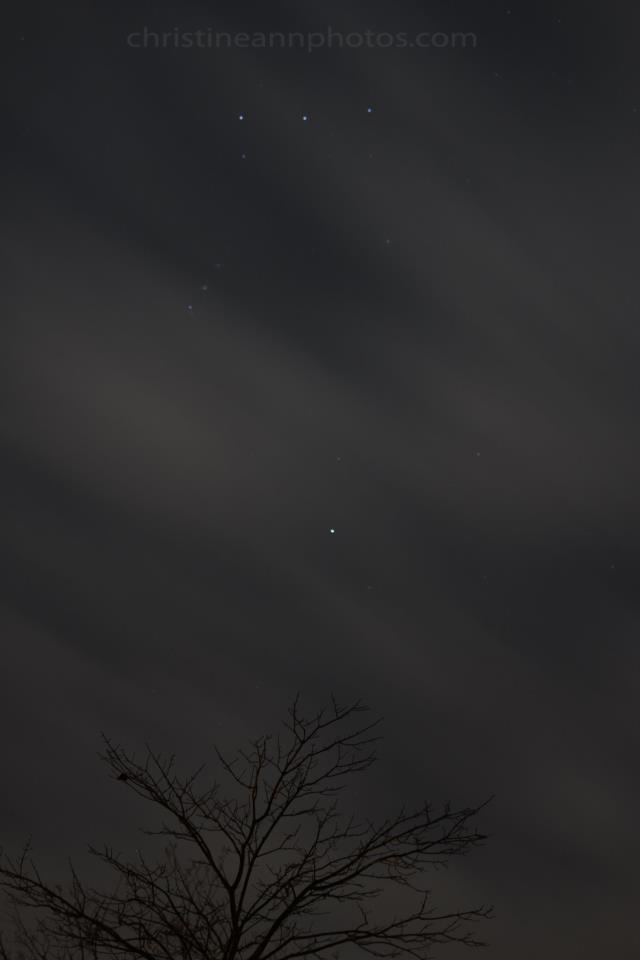
Most photos of the sky at night are done on a tripod with the shutter left open.. it allows the camera to pick up many stars. When I do exposures like this, the camera “sees” many more stars than I can.
nighttime sky in duluth minnesota mn bulb photography of stars and clouds and silhouette of a tree

—–
Fast shutter speed:
how to avoid motion blur in photos with a higher shutter speed with image examples
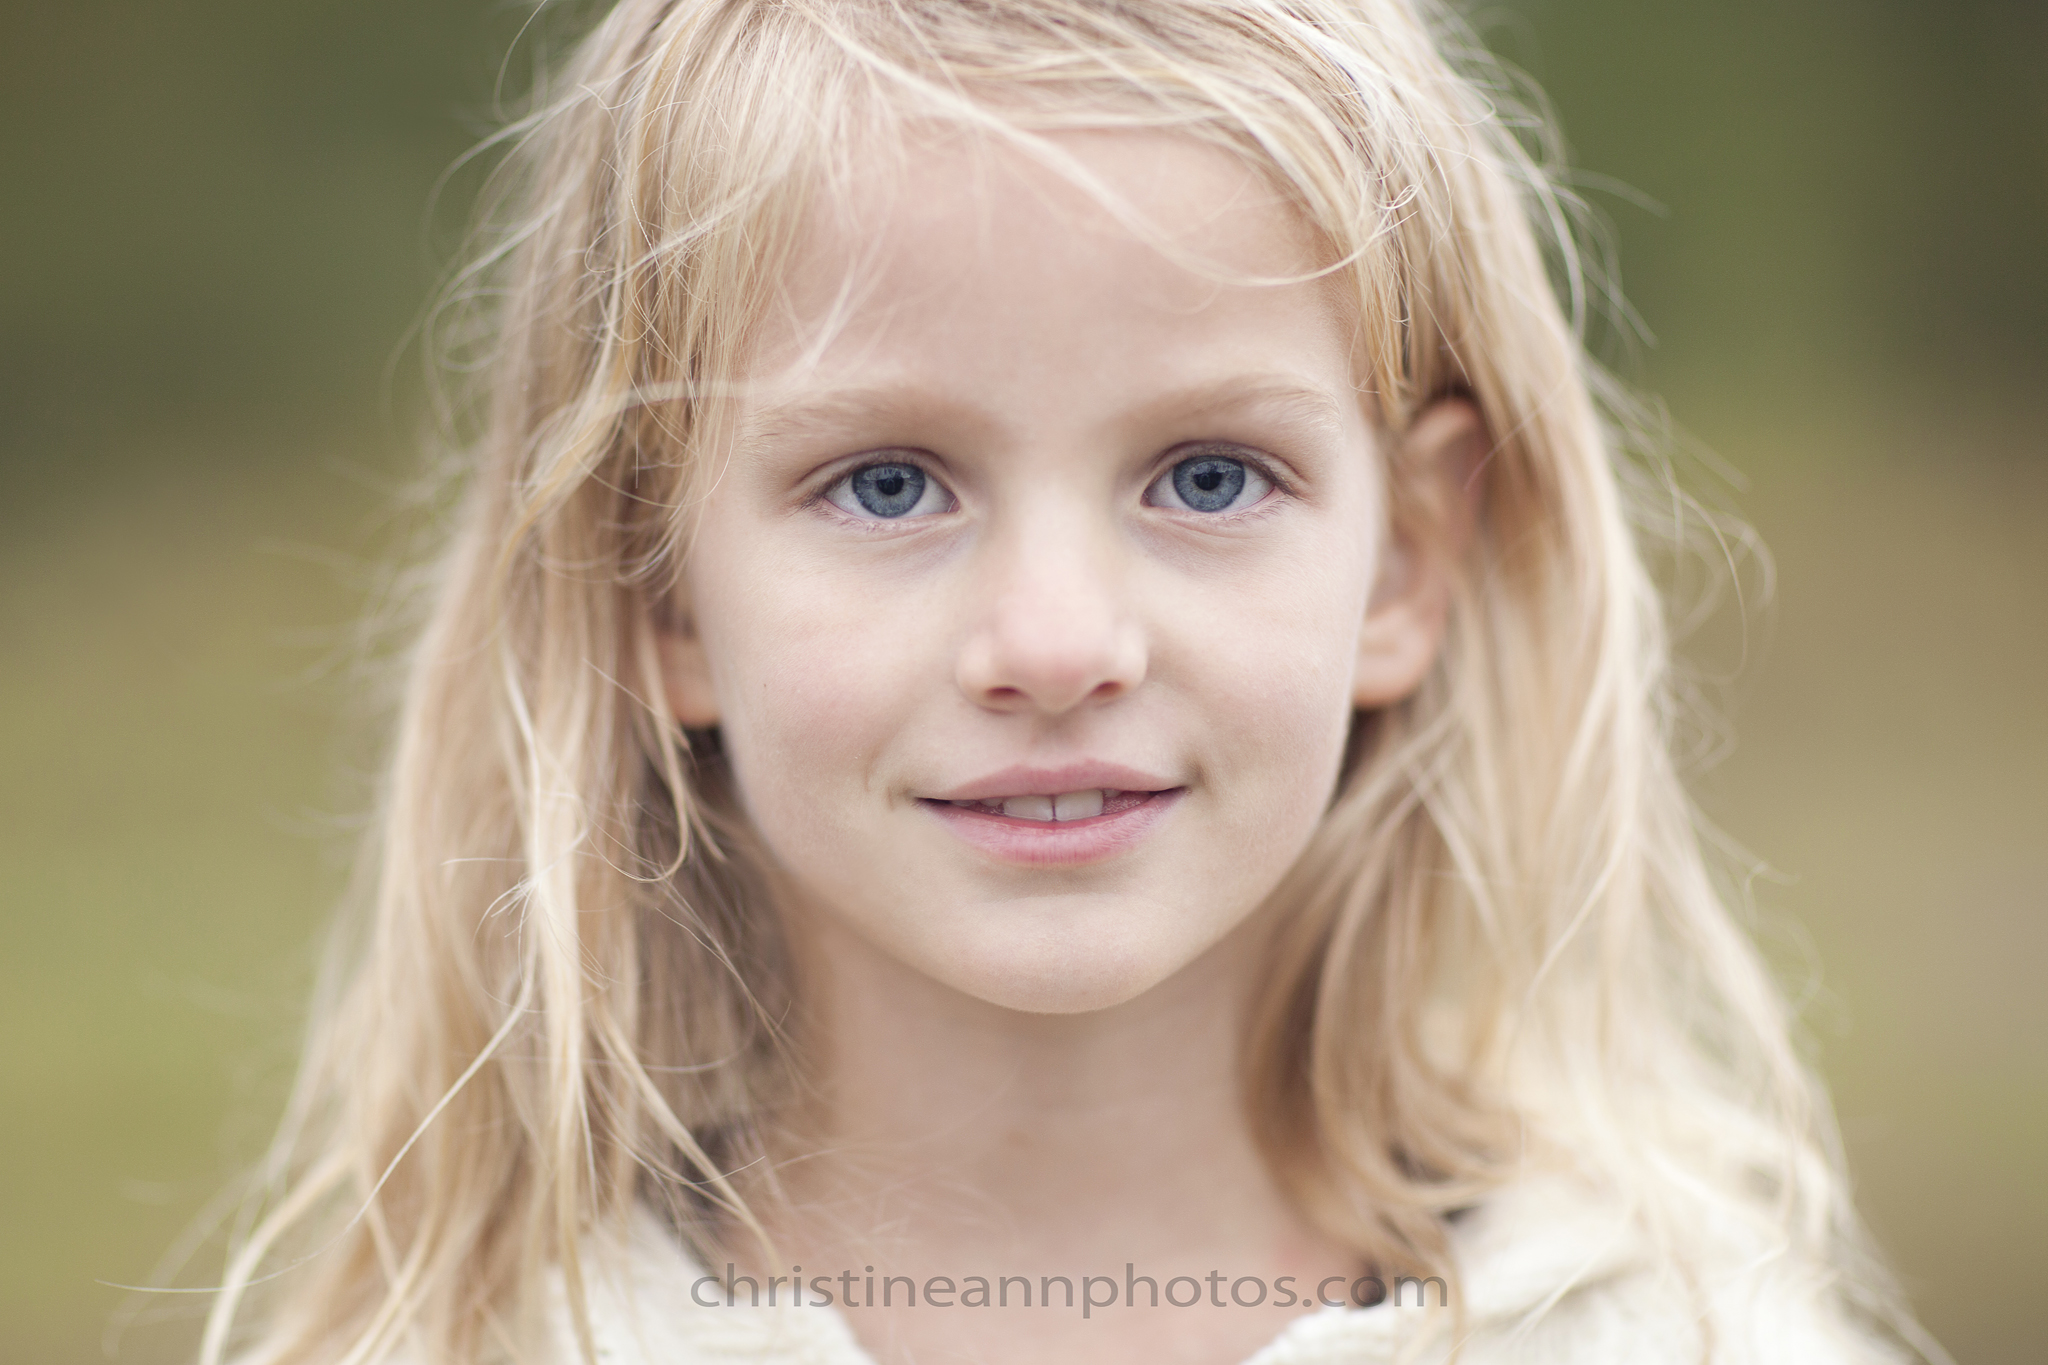
Just to contrast these photos with slow shutter speeds, here is an “action shot” frozen because of the fast shutter speed

ISO 100, f/9.0, shutter speed: 1/320 Please ignore the harsh lighting :p I only posted to show a photo taken with a fast shutter speed 🙂 she is mid-jump and there is no motion blur! At a low shutter speed there would be a ton of motion blur.

-Christine Ann
Duluth MN Senior Photographer Website
Facebook

Telephoto Distortion and Perspective and How It Affects Your Images

Guest blog post from Christopher Fisher – my husband and occasional second shooter for large groups and weddings :).

Telephoto Distortion and zooming with your feet

Photographers often talk about “zooming with their feet”. If they are using a fixed lens or their telephoto lens and it cannot capture the size of subject they desire, they just move [with their feet] closer or further away from their subject.  To the new photographer, they may not realize that zooming with their feet might compromise the composition of their photo.  While the subject might be brought to size, the background will look significantly different.

This difference is due to an effect called telephoto distortion. A human eye (or a camera) is a small fixed point to which an image is projected. This can be visualized in the below diagram:

Image1

While a tree may be several times the size of a person, the image of a tree is focused into a single point:  the human eye or camera lens. If the person walks closer to the tree, the subject appears larger. If the human being walks away from the tree, the subject appears smaller.
Image2

Look at the different figures. In the first figure, only a small section of the tree is visible. In the second figure, the entire height of the tree and more can be seen. Let’s see what each figure will see from the eye’s perspective.

Image3

Now let’s add a second subject:

Image4
-Post by Christopher Fisher

-Christine Ann Photography
Duluth MN Photographer Website
Facebook

Why Your Photos Have An Orange, Red, Blue, or Purple Tint – White Balance and How to Set It (With Images)

Have you ever taken a photo that turned out extremely orange, red, or blue?  It seems inevitable, especially when you’re indoors.. however there is a very simple way to fix/prevent this!  You have fallen victim to auto white balance.  On auto white balance your camera is trying to guess your lighting situation.. sometimes it does a good job and sometimes it does not.  If you simply tell your camera what your lighting situation is instead of it guessing you can get much more accurate colors.
The times I most notice incorrect white balance is when I’m indoors and my photos turn out red/orange.  I remember a few years ago I took some Christmas photos and the coloring seemed off on all of them.. and I had no idea why or how to fix it (most of them were turned to black and white).  Put simply, the white balance is off.

IMG_1356astamp

All I need to do to fix this is go into my camera and tell it my white balance is “tungsten” or “fluorescent” (depending on what type of lighting is in the room).
This is the easiest way to try to get it right in camera however there are a few other options:

1.  Use a grey card.  You take a photo with the grey card in the photo, then take the rest without it and later, in your editing software, you can use the “white balance dropper” tool to select the grey card and tell your program what your white balance truly was and it adjusts the photo based on that.
2.  Adjust it in an editing program.  Most editing programs have ability to “warm” the image or “cool” it down and these sliders help a lot to fix WB.
In the following image, the first one is straight out of the camera, unedited (VERY blue) and the second edit is my edit adjustment in Lightroom, adjusted only with the “WB slider”.. I moved the WB from “as shot” to “auto” (LR tries to predict what the auto wb should be) and then I slightly tweaked the slider from there.  Super easy.
ImageImage

3.  Adjust WB in camera based on the presets such as “daylight” “cloudy” tungsten” “shade” etc.

After seeing how blue the first shot came out I changed the WB to (I believe?) tungsten and this is how it affected the image.. this image is unedited.

Image

4.  Custom set your WB by telling your camera which temperature to shoot at.  The range on my camera is from 2500 (cool) to 10000 (very warm) .. I can set it at any increment of 100 between those 2 numbers.

Most photographers use the presets (cloudy/flash/etc) or set the temperature manually and then tweak it by hand during editing if necessary.

White Balance presets (ie:  daylight, cloudy, shade, flash etc):

Auto White Balance:
Image
Auto White Balance ^.

Daylight:
Image
^ Daylight.

Tungsten:
Image
^ Tungsten.

Fluorescent:
Image
^ Fluorescent.

As you can see,  the presets are pretty useful and accurate.. they are also very simple and make a big difference in the image.

If you select “color temp” you can manually enter what temperature you want the image to be taken at.  The range on my camera is 2500-10000 and it is measured in Kelvin.

2500 Kelvin – very “cool”:
Image
^  2500 Kelvin.

3500 Kelvin:
Image
^3500 Kelvin.

4500 Kelvin:
Image
^4500 Kelvin.

9500 Kelvin:
Image
^9500 Kelvin.

So as you can see there are many options when choosing how to set your white balance.  I feel that auto white balance often does a pretty good job but I usually use a preset (daylight, shade, flash, tungsten etc) and tweak during editing.. but everyone needs to try out different options and find for themselves what works the best for them and their style.

Hope this helps everyone in understanding what white balance is and how to accommodate it in your images to reflect the look you want!

Here is an excellent chart to summarize everything and make it concrete:

Christine Ann
Duluth MN Photographer
Facebook

Digital Backdrops

What is one great way to ruin a photo?  A wrinkled backdrop!  I recently did a session.. I had planned to use a non-wrinkled white backdrop but had to swap at the last minute.. it looked okay at a glance but when I pulled up my photos I quickly realized how wrinkled it really was.
When you have a wrinkled backdrop there are only a few things you can do: You can keep it wrinkled You can edit the wrinkles out (what most people do) You can use a digital backdrop I haven’t had much luck with digital backdrops in the past.  I feel they often times look very fake and cheesy.  However if you search long enough you can find ones that look more natural.  So much faster than editing the wrinkles out!  I will post a sample of my before and after photo using the straight out of camera image (I did edit a flyaway hair but everything else is unedited) and then the edited version with a digital backdrop, starting with the unedited.

IMG_5994zz
^
This is the original, unedited version.. notice the no good, wrinkley backdrop and how distracting it is. Nichollsbw (33)zstamp
^This is the edited version, used with a digital backdrop.  I could edit wrinkles out by hand but this method saved me a lot of time! If you would like to use a different, digital backdrop but don’t know how to do it I have a tutorial for changing backgrounds/doing face swaps here.

-Christine Ann Duluth Photographer {Website} {Facebook}